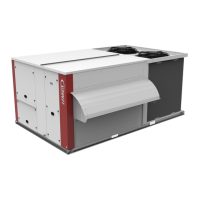
Page 38 - IOM / Rooftop Smart and Linéa™ Range
POWER EXHAPOWER EXHA
POWER EXHAPOWER EXHA
POWER EXHA
USUS
USUS
US
T FT F
T FT F
T F
ANSANS
ANSANS
ANS
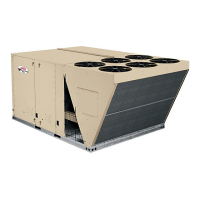
APPLICATION
Power exhaust fans are applied to LINEA series units
installed with downflow air discharge and equipped with an
economiser. The power exhaust fan option cannot be used
in horizontal air discharge applications.
INSTALLATION
1. Disconnect electrical power to unit.
2. Remove both upper and lower rear panels from unit.
Also remove optional gravity exhaust damper if unit
contains one.
3. Install outdoor air hood using instructions provided with
economiser.
4. Apply foam insulating tape on the back of the flanged
edges.
5. Lift the fan assembly and place in the bottom of the
opening in the unit. Slide top of assembly into top of
opening first. Secure with screws provided.
6. Reach through fan orifice and connect power exhaust
fan P18 plug and unit J18 jack.
7. Install gravity exhaust damper according to instructions
provided with damper.
For wiring detail, refer to unit wiring diagram and information
supplied with power exhaust fan assembly.
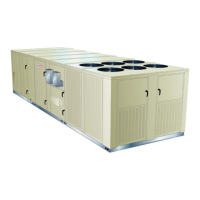
P18
POWER EXHAUST FAN ASSEMBLY
UNITS 055 TO 090 SHOWN
Figure 52
Power exhaust fan assembly
Economiser fresh air hood
Gravity exhaust dampers
NOTE :
Apply foam insulating tape to back of
flanged edges before installing
UNITS 020 to 045 :
Have 1 fan
 Loading...