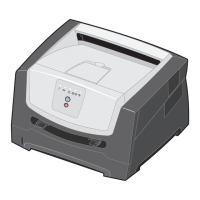
4-6 Lexmark™ E250d and E250dn
4512-220, -230
Rear cover removal
1.
Remove the right side cover. See “Right side cover removal” on page 4-5.
2. Remove the left side cover. See “Left side cover removal” on page 4-4.
3. Remove the two screws (A).
4. Open the rear cover.
5. Lift the rear cover, unhooking it from the frame at the bottom, and remove.
Note: In re-installation, check to make sure that the fuser ground cable is routed out of the way and is not
pinched or damaged.
 Loading...
