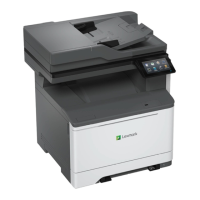
Jam locations
4 Multipurpose feeder
5 Manual feeder
Paper jam in the automatic document
feeder
Paper jam under the ADF top cover
1
Remove all original documents from the ADF tray.
2
Open door C.
3
Remove the jammed paper.
Note: Make sure that all paper fragments are removed.
4
Close door C.
Paper jam under the ADF output bin
1
Remove all original documents from the ADF tray.
2
Lift the ADF tray, and then remove the jammed paper.
Note: Make sure that all paper fragments are removed.
3
Place the ADF tray back into place.
Paper jam in door A
Paper jam below the fuser
1
Open door A.
CAUTION—HOT SURFACE: The inside of the printer
might be hot. To reduce the risk of injury from a hot
component, allow the surface to cool before touching
it.
Warning—Potential Damage: To prevent damage from
electrostatic discharge, touch any exposed metal frame of
the printer before accessing or touching interior areas of the
printer.
2
Remove the jammed paper.
Note: Make sure that all paper fragments are removed.
14

 Loading...