DISASSEMBLY
-8-
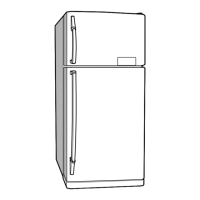
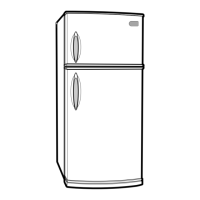
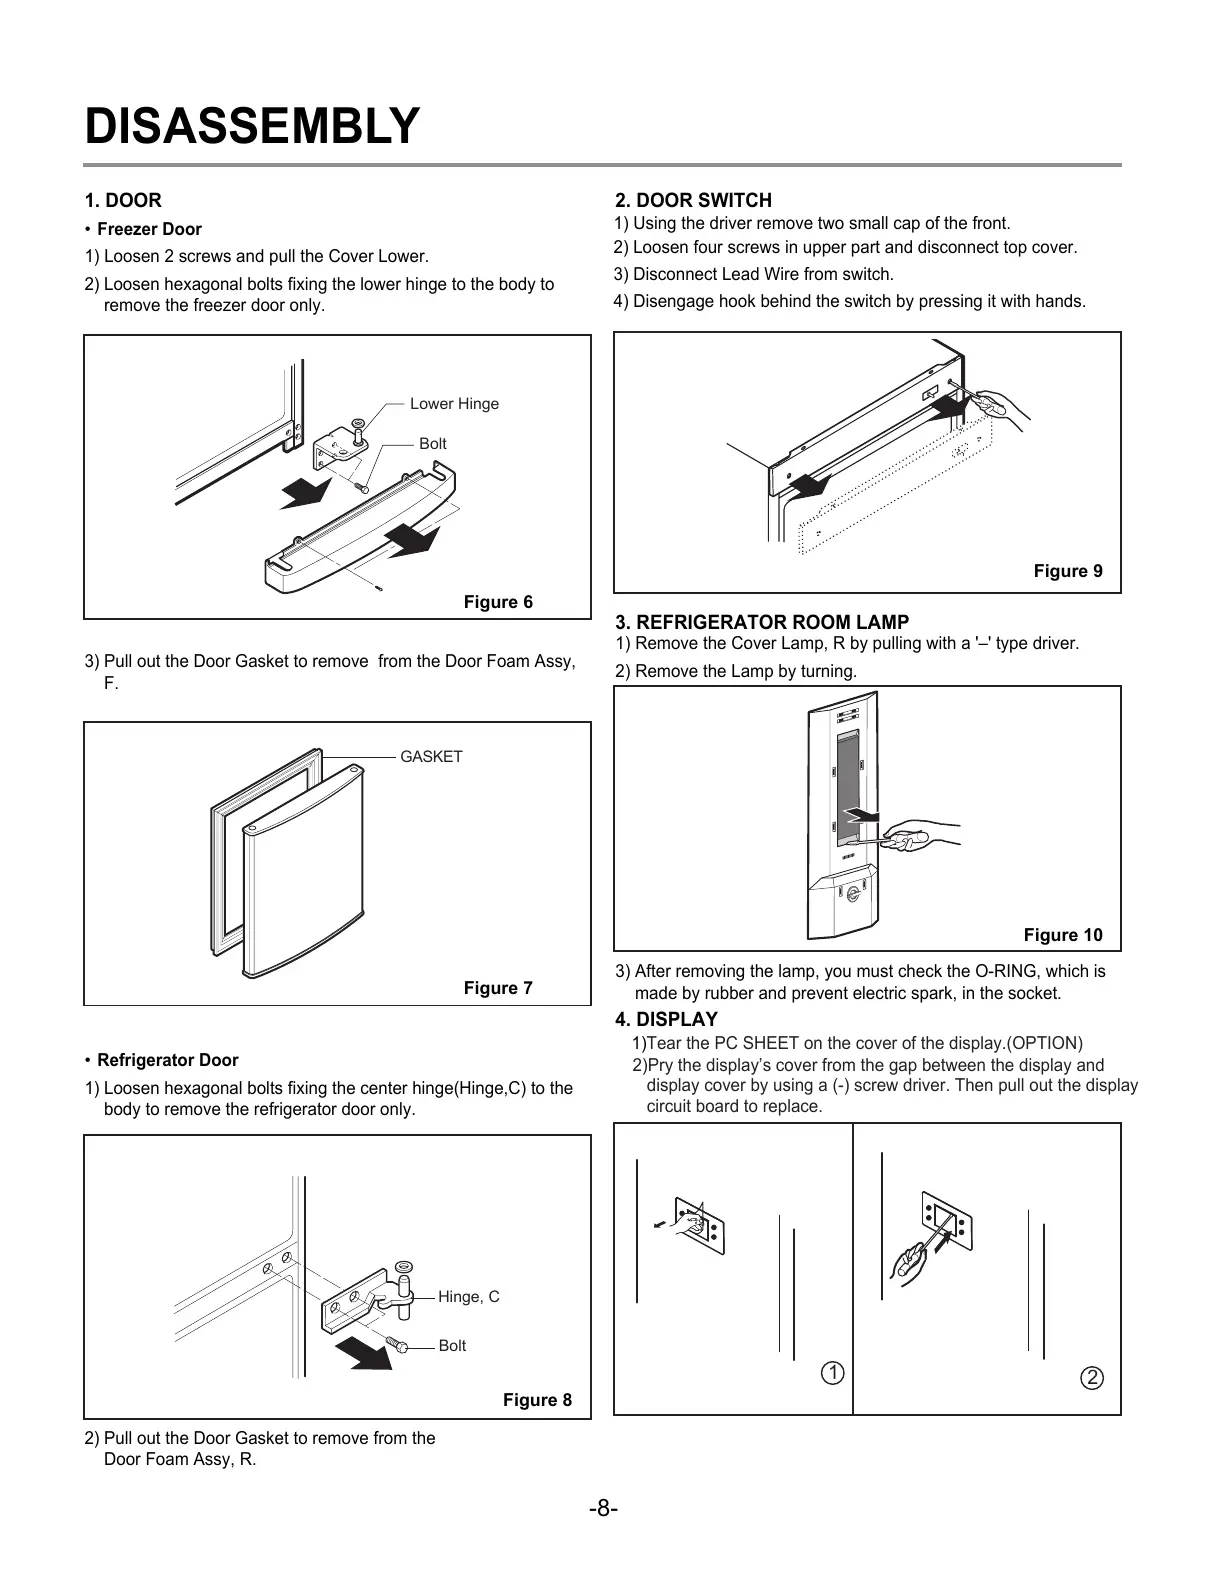
1. DOOR
•
Freezer Door
1) Loosen 2 screws and pull the Cover Lower.
2) Loosen hexagonal bolts fixing the lower hinge to the body to
remove the freezer door only.
3) Pull out the Door Gasket to remove from the Door Foam Assy,
F.
•
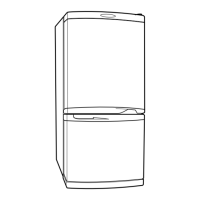
Refrigerator Door
1) Loosen hexagonal bolts fixing the center hinge(Hinge,C) to the
body to remove the refrigerator door only.
2) Pull out the Door Gasket to remove from the
Door Foam Assy, R.
2. DOOR SWITCH
2) Loosen four screws in upper part and disconnect top cover.
1) Using the driver remove two small cap of the front.
3) Disconnect Lead Wire from switch.
4) Disengage hook behind the switch by pressing it with hands.
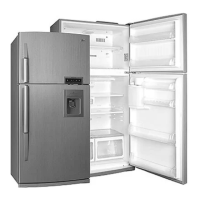
4. DISPLAY
3) After removing the lamp, you must check the O-RING, which is
made by rubber and prevent electric spark, in the socket.
2)Pry the display’s cover from the gap between the display and
display cover by using a (-) screw driver. Then pull out the display
circuit board to replace.
1)
Tear the PC SHEET on the cover of the display.(OPTION)
Figure 9
GASKET
Hinge, C
Bolt
Figure 8
Figure 10
Figure 7
1
2
3. REFRIGERATOR ROOM LAMP
1) Remove the Cover Lamp, R by pulling with a '–' type driver.
2) Remove the Lamp by turning.
 Loading...