6
INSTALLATION GUIDE
ENG
ENGLISH
INSTALLATION GUIDE
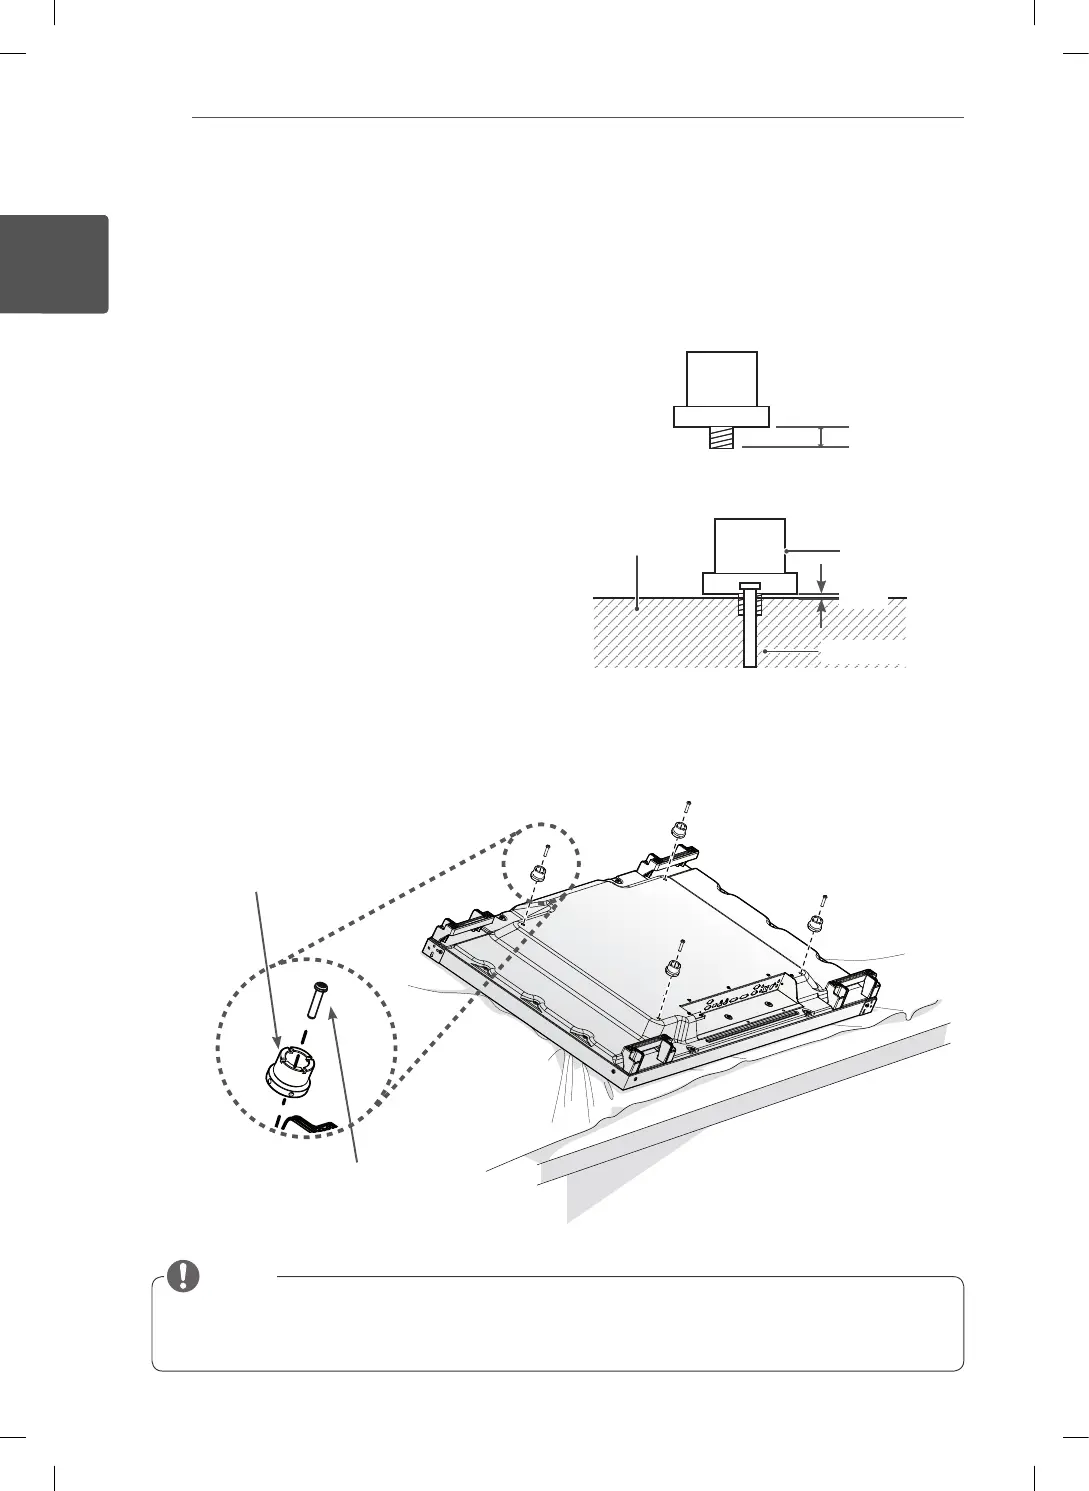
If the screws are not fully tightened when you fix the guide spacers, check the length of the screws and refer to
the technical service manual.
NOTE
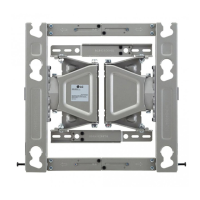
1
Place the multi-vision on a table with its screen
facing downward.
- Make sure that you place it on soft clothing or
a cushion on the flat surface
2
Remove any screws that have been installed
on the fixing area of the multi-vision wall
mounting bracket.
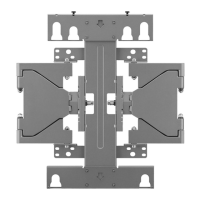
3
Check if the guide spacer is at the maximum
value.
4
Place the guide spacers over the screw holes
on the Multi-Vision. Tighten the guide spacers
with the guide spacer fixing screws (M6 x L40).
5
Turn the screw until the gap between the guide
spacer and the Multi-Vision has about 1 mm
remaining.
- The picture may differ from the actual product.
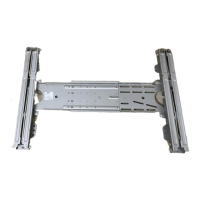
Preparing the Multi-Vision to Be Attached to Product
Guide Spacer Fixing Screw
Guide Spacer
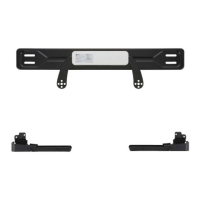
Guide Spacer
Multi-vision
Guide Spacer Screw
Maximum
1 mm
 Loading...