Do you have a question about the LG WT4901C Series and is the answer not in the manual?
Guides on leveling the washing machine for proper installation and stability.
Instructions for safely connecting the water supply hoses to the tap and the machine.
Procedures for correctly connecting the drain hose to ensure proper drainage.
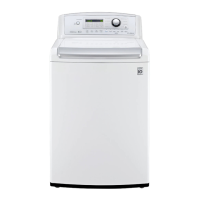
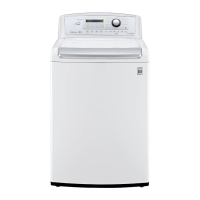
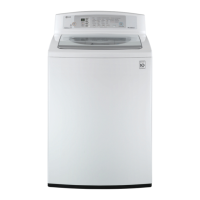
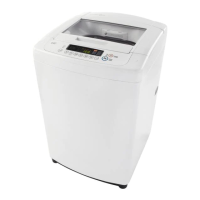
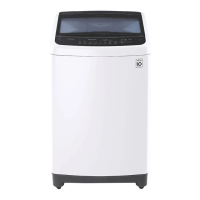
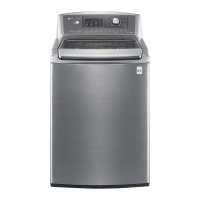
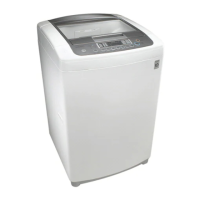
Identifies and explains the function of various external and internal parts of the washing machine.
Essential steps and checks before starting a wash cycle, including sorting and loading.
Details on selecting water temperature and its impact on washing performance.
Guidance on choosing and using the correct detergent and bleach for optimal cleaning.
Instructions on how to properly load detergent, fabric softener, and additives into the dispenser.
Provides a detailed guide and chart for effective removal of various common stains.
Explains the purpose and operation of each control button on the washing machine panel.
A guide to the different wash cycles, recommended fabric types, and settings.
Recommended procedures for cleaning and maintaining the washing machine to ensure longevity.
Step-by-step guide for safely disassembling the washing machine for repair or part replacement.
Detailed instructions for disassembling specific internal components of the washing machine.
Procedures for safely removing the top cover and lid of the washing machine.
Steps to disassemble the tub cover and the pulsator assembly for maintenance.
Instructions on assembling a service tool for specific maintenance tasks.
Procedure for removing the hub attachment nut using a service tool.
Steps to remove the back cover and the drain pump assembly.
Procedures for removing the damper assembly from the washing machine.
Instructions for disassembling the rotor and stator components of the motor.
Steps to safely remove and replace the door lock switch assembly.
Illustrates the electrical connections and circuits within the washing machine.
Procedure for testing the washing machine functions without water.
How to enter and utilize the service mode for diagnostics and testing.
Solutions for common washing issues like poor soil removal, stains, and lint.
A summary of common troubleshooting steps for various machine issues.
Explains how to diagnose and resolve errors indicated by specific codes on the display.
Specific troubleshooting steps for resolving the drain error code.
Diagnostic procedures and solutions for locked motor error codes.
Steps to troubleshoot unbalance and overflow error conditions in the washer.
Guidance on resolving issues related to the pressure sensor error code.
Covers additional troubleshooting scenarios not addressed by specific error codes.
Steps to diagnose and fix issues where the washing machine does not power on.
Solutions for problems where the power button is unresponsive or malfunctioning.
Details on testing the electrical filter assembly, including circuit diagrams and resistance values.
Information on testing the door lock switch, its function, and circuit.
Testing procedures for the stator assembly, including winding resistance checks.
Guidance on testing the pump motor assembly for proper operation and resistance.
Information on testing the inlet valve solenoids for resistance and function.
Details on testing the thermistor (temperature sensor) for accurate readings.
An exploded diagram showing all parts of the top cover assembly.
An exploded diagram illustrating the components of the outer case assembly.
An exploded diagram detailing the parts that make up the tub assembly.
| Type | Top Load Washer |
|---|---|
| Energy Star Certified | Yes |
| Wash Programs/Cycles | 12 |
| Color | White |
| Steam Technology | Yes |
| Washer Interior Material | Stainless Steel |