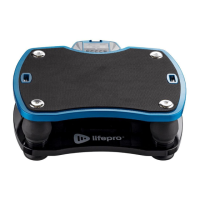
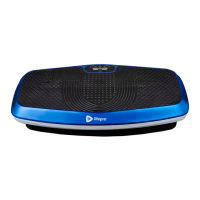
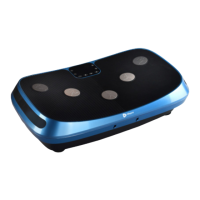
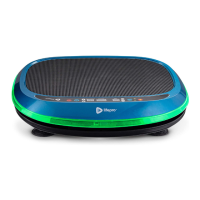
GATHER HARDWARE
AND COMPONENTS
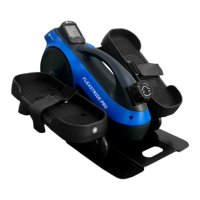
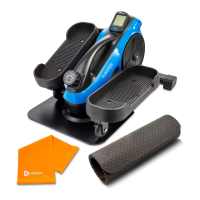
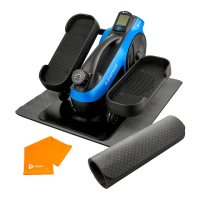
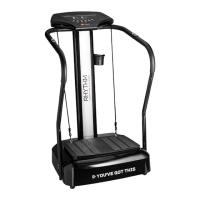
1. Gather all the required assembly components and hardware for your
FlexStride Pro, listed below.
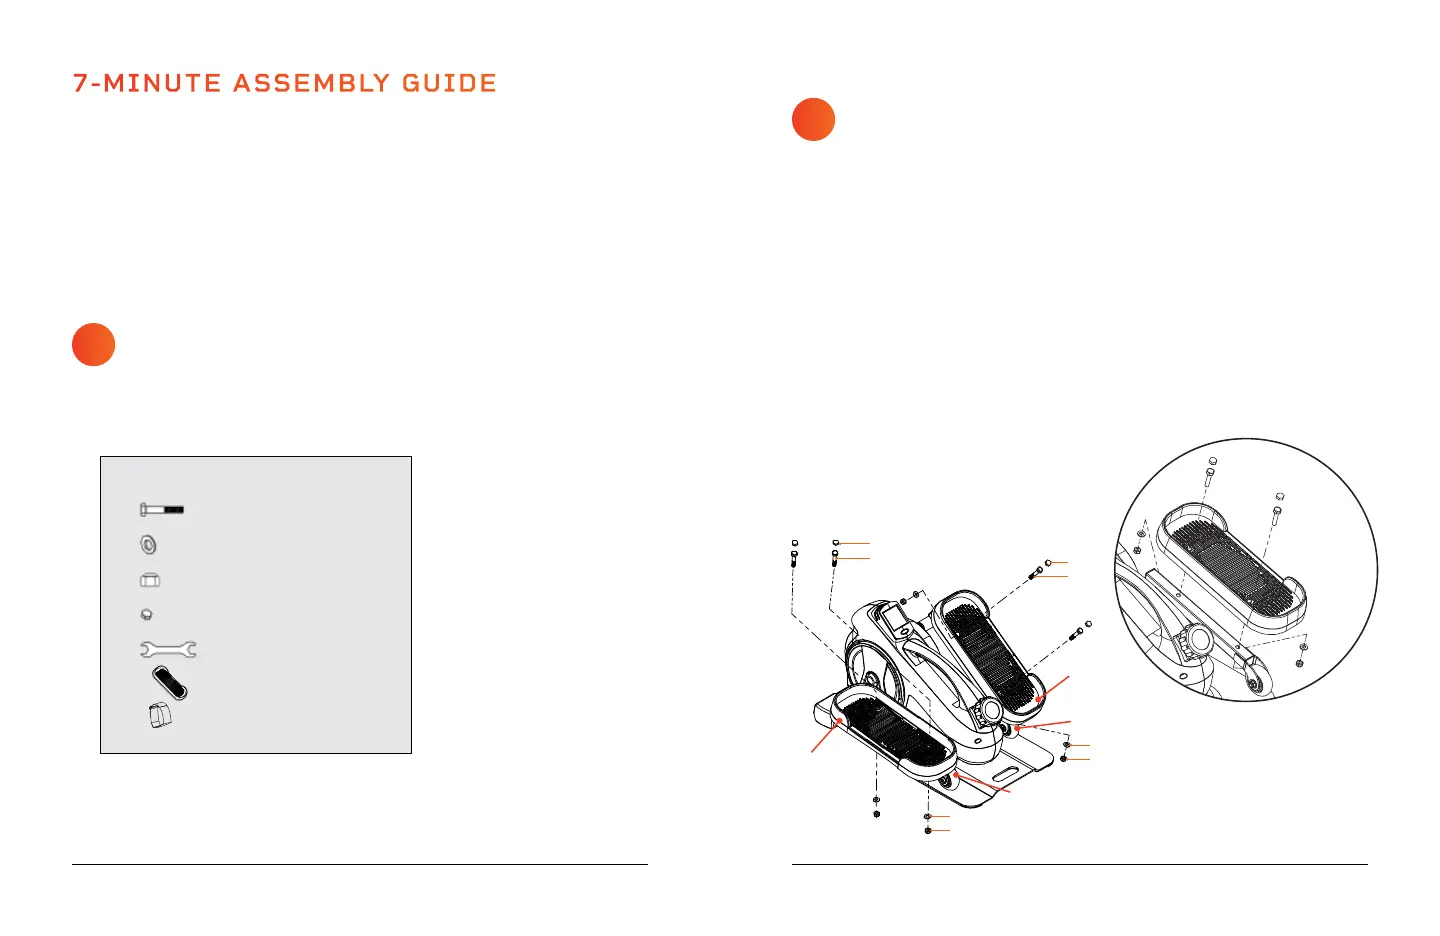
ATTACH THE PEDALS
TO THE PEDAL ARMS
1. Align the one pedal (F) with the screw holes in the right pedal arm (H).
2. Insert two bolts (A) through the top of the pedal and through the screw
holes in the pedal arm.
3. Put a washer (B) onto the end of each bolt.
4. Screw a lock nut (C) onto the end of each bolt.
5. Use the wrench (E) to tighten the two nuts, securing the pedal to the
pedal arm. Make the nuts as tight as you can.
6. Remove the adhesive backing from two foam pads (D) and firmly press
one to each bolt head.
7. Align the second pedal with the screw holes in the left pedal arm (I).
8. Repeat steps 2–6 to secure the left pedal.
7-MINUTE ASSEMBLY GUIDE
8 FlexStride Pro User Manual Lifepro Endurance Training Collection 9
ASSEMBLY NOTES
• Assemble the FlexStride Pro on a flat, sturdy floor, covered by a mat or
cloth to protect your carpet or flooring.
• Ensure the space is free of obstructions.
F
F
A
C
C
A
D
B
B
D
H
I
1
2
A
B
C
D
E
F
G
M8 Bolts (x4)
D8 Flat Washers (x4)
M8 Lock Nuts (x4)
Foam Pads (x4)
Wrench (x1)
Pedals (2)
Velcro
®
Pedal Straps (2)
HARDWARE AND COMPONENTS