Recovery + Fitness Collection 9 8 WaverMini User Manual Lifepro
INSERT BATTERIES
• Remove the back of the remote control and insert
two AAA batteries into the battery compartment.
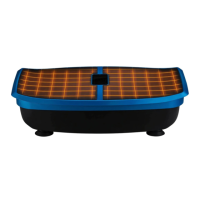
ATTACH THE RESISTANCE BANDS
• Locate the two short black metal bars
on the underside of the unit.
• Swivel each bar so it extends out to
the side of the unit.
• Loop a resistance band through the
hole in each of the metal bars.
CONNECT TO POWER
• Insert the power cord firmly into the front of the WaverMini.
NOTE: Press forcefully until you feel a click, which indicates that the
cord is securely connected. The power cord fits tightly so it will not
loosen during use.
• Plug the power cord into an AC outlet.
POWER ON THE WAVERMINI
• Flip the breaker switch on the front of the WaverMini to the
ON position.
• Press the power button on the WaverMini’s display.
• That’s it. Your WaverMini is now ready to use. See OPERATING
INSTRUCTIONS and CHOOSING A PROGRAM on the next pages
for details about how to use your WaverMini.
EASY-START SETUP GUIDE
Setup your WaverMini in just 4 easy steps:
3
4
2
1
MODES
Standby mode: The WaverMini is powered on, but no program is selected.
Program Mode: Choose from preset workout programs: P00-P09. Each program has
low, medium, or high vibration speed.
Manual mode: Set your own workout duration and vibration speed.
GET ACQUAINTED
Remote
Control
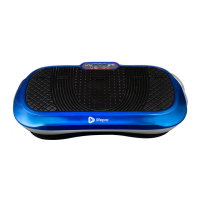
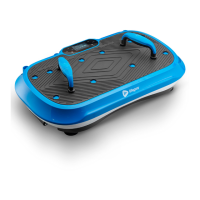
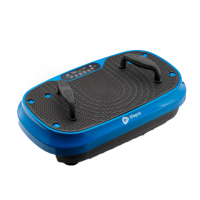
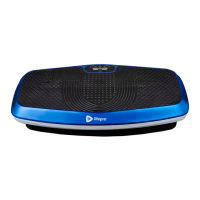
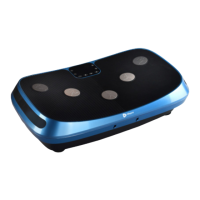
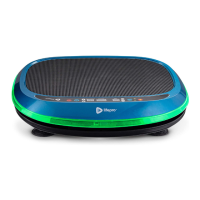
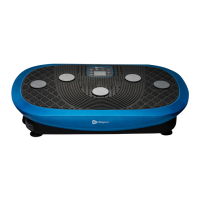
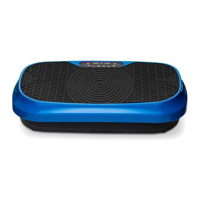
WaverMini
Vibration Plate
4 Mini
Bands
2 Resistance
Bands