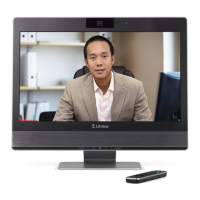
LifeSize Room Installation Guide 11
4. Insert the video display cable into the port on the rear of your display and the opposite
end into the port marked with the display 1 symbol on the back panel of the codec.
Insert the display power cord into a power outlet on the wall.
To connect a second display to LifeSize Room, insert the video display cable into the
port on the rear of your display and the opposite end into the port marked with the
display 2 symbol on the back panel of the codec. Attach the display power cord to a
power outlet. By default, the second display is blank and displays a message directing
you to configure preferences for the display. After you complete the initial configuration,
refer to “Configuring a Second Display” on page 13 to complete this process.
5. Insert the audio cable into the port on your display and the opposite end into the line out
port marked with the symbol on the back panel of the codec.
6. Insert the network cable into the network port marked with the LAN symbol on the
back panel of the codec. Insert the opposite end of the network cable into a network port
on the wall.
7. Do one of the following:
a. If you are using the LifeSize Phone for audio, insert the phone cable into the port
marked with the LAN symbol on the underside of the phone.
Note: The exterior port marked with the symbol on the LifeSize Phone is
reserved for future use.
Insert the opposite end of the phone cable into the port marked with the LifeSize
Phone symbol on the back panel of the codec. Ensure the cables are secured
into the guides to avoid damage to them.
Note: When the LifeSize Phone is connected to a LifeSize video communications
system, you are unable to configure it as a standalone speakerphone. Configure
your system using the LifeSize video communications system interface.
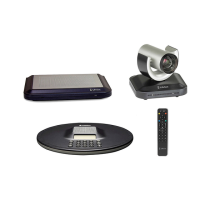
b. If you are using the LifeSize MicPod for audio, insert the end of the cable from the
LifeSize MicPod into the microphone port marked with the microphone symbol
on the back of the codec. LifeSize recommends you route this cable through the
strain relief guide on the stand. (See “Optional Peripherals” on page 13 for the dual
LifeSize MicPod option.)
Caution: If the LifeSize MicPod cord is exposed to foot traffic, use some form of cable
management system to avoid the possibility of tripping on it. Tripping on the cord can
cause personal injury as well as permanent damage to the LifeSize MicPod cord
connector and/or the connector in the codec.
2
 Loading...