27
TOOLS AND HARDWARE REQUIRED / OUTILS ET QUINCAILLERIE REQUIS / HERRAMIENTAS Y HERRAJE REQUERIDOS
X SECTION 5 (CONTINUED) / SECTION 5 (SUITE) / SECCIÓN 5 (CONTINUACIÓN)
7.5’
10’
5.5
5.6
AKQ
AKP
CNE
CNE
AKQ
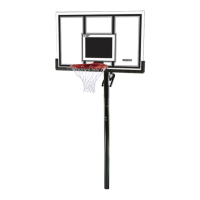
• Button snaps into the hole
• Le bouton doit entrer dans le trou
• El botón se encaja en el agujero
CNJ
ALB
CNE (x1)
• Attach the outer tube bushing (CNJ) to the outer tube (ALB).
• Attachez la bague du tube externe (CNJ) au tube externe (ALB).
• Sujete el casquillo del tubo externo (CNJ) al tubo externo (ALB).
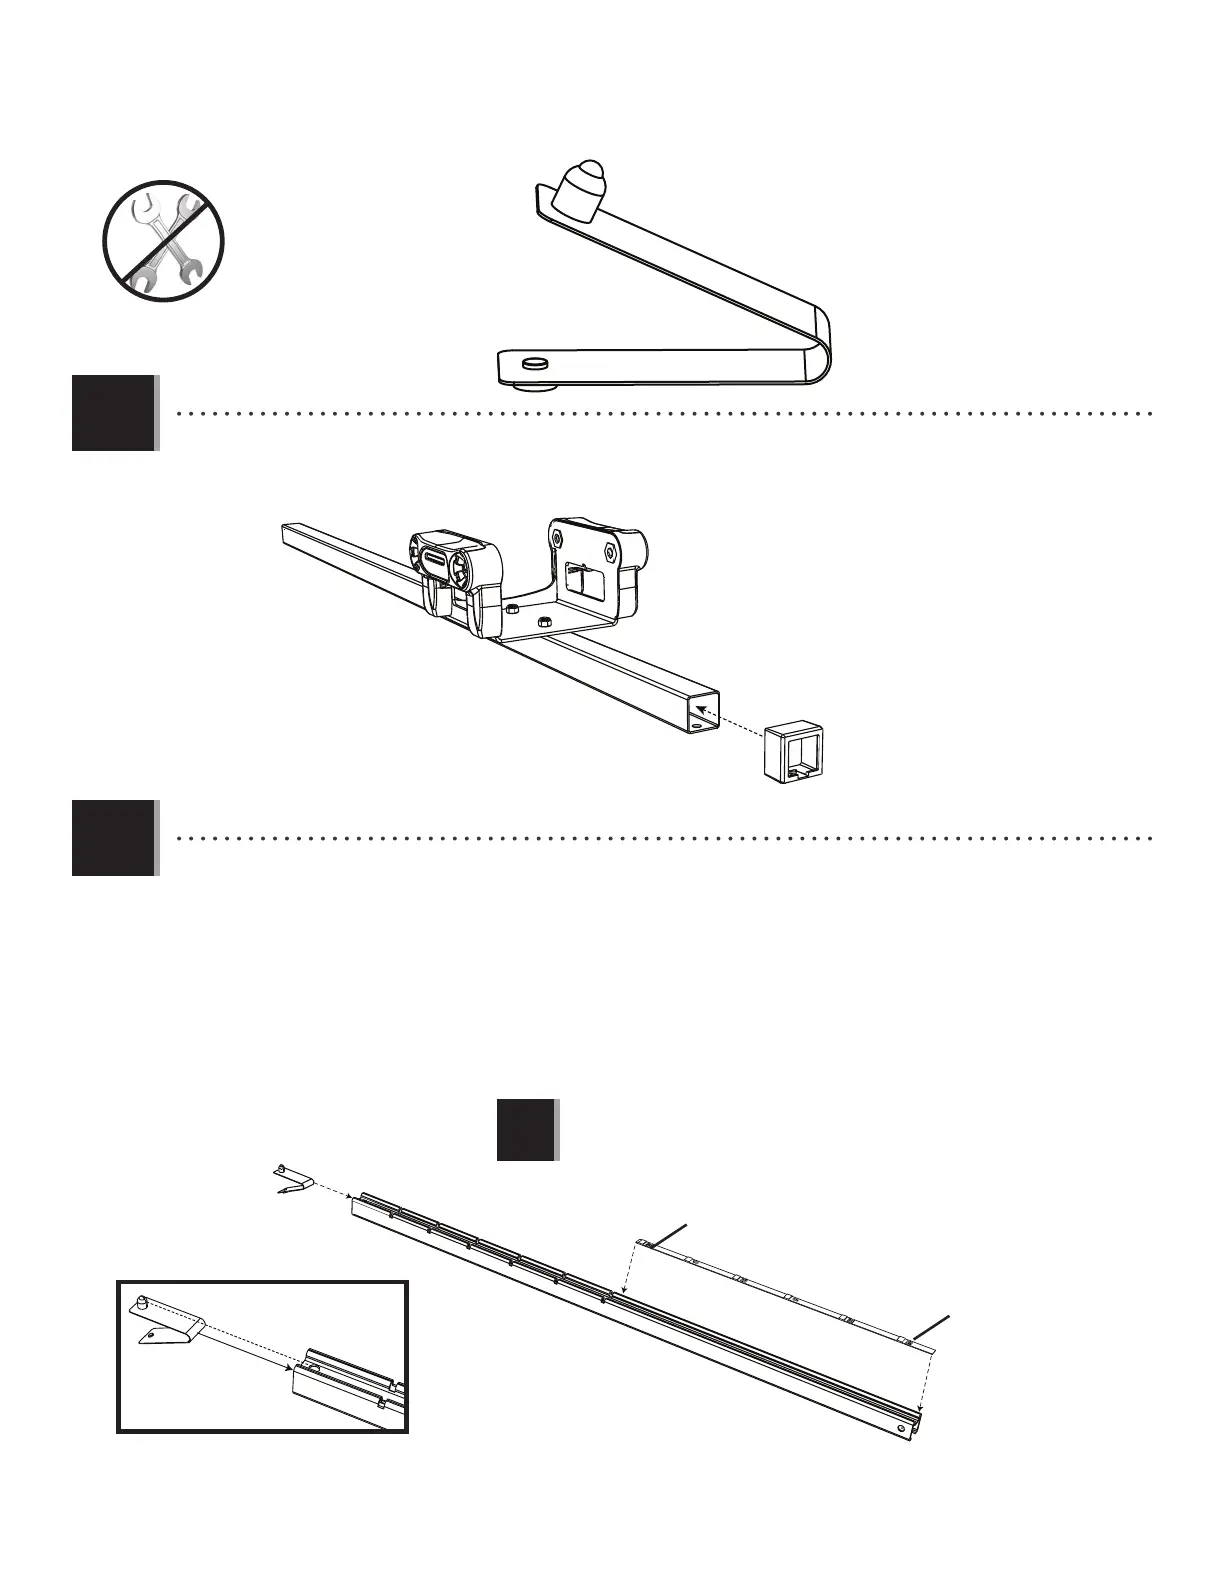
• Slide the double-end spring button (CNE) into the hole at the top of the inner channel (AKQ). Orient the height sticker (AKP) as
shown and place it within the grooves of the inner channel. Line up the bottom end of the sticker with the edge of the
inner channel.
• Glissez le bouton à ressort (CNE) dans le trou à la partie supérieure du canal interne (AKQ). Orientez l’autocollant de hauteur (AKP)
comme illustré, et collez-le dans la rainure du canal interne. Alignez l’extrémité inférieure de l’autocollant de la hauteur
avec le bord du canal interne.
• Deslice el botón a resorte (CNE) dentro del agujero al extremo superior del canal interno (AKQ). Oriente the etiqueta adhesiva
de altura (AKP) como se muestra y adhiérela dentro de la ranura del canal interno. Alinee el extremo inferior de la
etiqueta adhesiva con el borde del canal interno.
• Wipe off any grease that may be on the inner channel before attaching the height sticker.
• Enlevez de la graisse qui est sur le canal interne avant d’attacher l’autocollant de hauteur.
• Quite cualquier grasa que está en el canal interno antes de adherir la etiqueta adhesiva de altura.
!
 Loading...