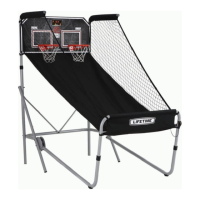
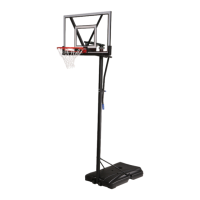
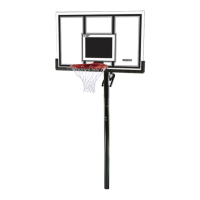
Do you have a question about the Lifetime 90046 and is the answer not in the manual?
Register your product online for feedback, new product notifications, and recall information. Registration is voluntary.
Contact Lifetime customer service for questions or missing parts. Do not contact the store; phone and web support available.
Lists all included parts with IDs, descriptions, quantities, and provides visual identification.
Specifies the tools needed for assembly. No tools are required for this product.
Remove storage straps from the goal assembly. Notes on handling the net and assembly are provided.
Swing out the goal legs and secure them using the locking pins on the corner brackets.
Extend the goal legs by pressing the push buttons and sliding them until they lock into the last hole.
Raise the goal to its highest setting by pressing push buttons and sliding legs into the highest holes.
Unfold the back of the assembly to form a right angle and lock the legs using corner bracket pins.
Slide stakes onto metal tubes and push them into the ground to secure the goal's position.
Instructions to adjust the goal width and height to 6 feet by 4 feet using push buttons and tube holes.
Instructions to adjust the goal width and height to 4 feet by 3 feet using push buttons and tube holes.
Use four net straps to tighten the net onto the goal frame by placing them on the metal tubing.
Use the remaining net straps to gather excess netting to itself, not on the metal tubing.
Before folding the goal for takedown, adjust the assembly to its smallest size for easier storage.
Learn about adding accessories or other Lifetime products to enhance your purchase. Visit website or call for details.
Details the 90-day warranty for sporting goods, covering defects in material/workmanship, and exclusions.
Information on how to file warranty claims, required documentation, and how to register your product.
| Brand | Lifetime |
|---|---|
| Model | 90046 |
| Category | Sports & Outdoors |
| Language | English |
