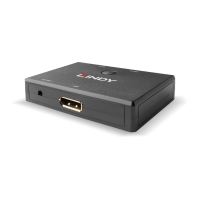
6
Installation
Mounting
LINDY KVM IP offers three main mounting methods:
• Supplied four self-adhesive rubber feet
• Optional single unit rack brackets
• Optional double unit rack brackets
Connections
5V
2A
A
M
O
D
E
M
DV
I
DV
I
VG
A
VG
A
K
/
M
K/M
V
M
PO
WER CONTR
OL
IN
D
O
O
R
U
S
E
O
N
L
Y
B
1
2
C
F
G
COMPUTER / KVMA SWITCH
KVMA CONSOLE
1
2
ON
Single unit rack brackets
These two brackets (plus four screws), extend the
size of the LINDY KVM IP so that it fills the
full width of a 1U rack slot.
5V
2A
A
M
O
D
E
M
K/M
IN
D
O
O
R
U
S
E
O
N
L
Y
B
1
2
C
F
G
1
2
O
N
5V
2A
A
M
O
D
E
M
DV
I
DV
I
VG
A
VG
A
K
/
M
K/M
V
M
PO
WER CONTR
OL
IN
D
O
O
R
U
S
E
O
N
L
Y
B
1
2
C
F
G
COMPUTER / KVMA SWITCH
KVMA CONSOLE
1
2
ON
5V
2A
A
M
O
D
E
M
DV
I
DV
I
VG
A
VG
A
K
/
M
K/M
V
M
PO
WER CONTR
OL
IN
D
O
O
R
U
S
E
O
N
L
Y
B
1
2
C
F
G
COMPUTER / KVMA SWITCH
KVMA CONSOLE
1
2
ON
Double unit rack brackets
This kit comprises four brackets (plus twelve
screws) and allows two LINDY KVM IP
units to be connected side by side
and fitted into a 1U rack slot.
HT