2. Move the joystick left or right to move the block.
Moving the joystick down moves the block to a new parallel B path. See "Serial
vs. Parallel Routing" for details.
NOTE: A block on Path 1 cannot be moved to Path 2 (and vice versa). You
can, however, copy and paste a block from one path to the other. See next
section.
3. Press ACTION again (or ) to close the action panel.
Copying and Pasting a Block
Blocks from one path can be copied and then pasted into the same path, the other
path, or a path in an entirely dierent preset.
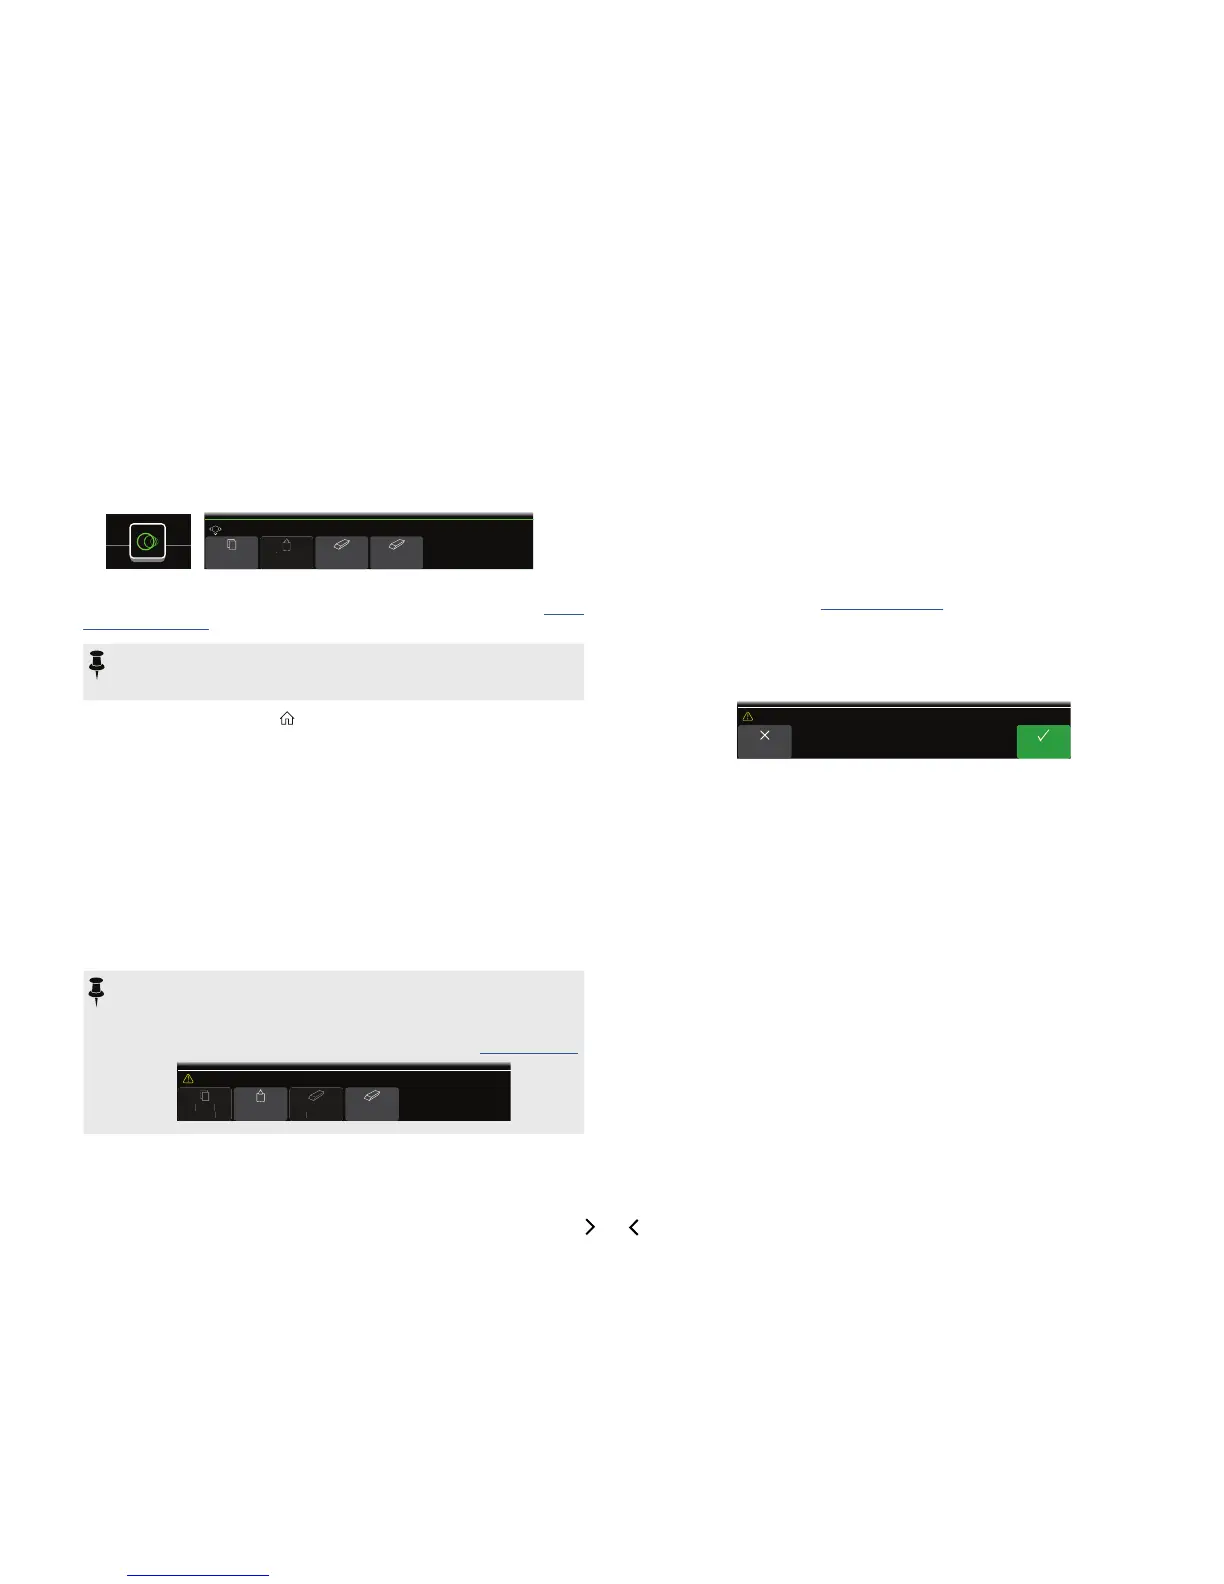
1. Select the block you wish to copy and press ACTION.
2. Press Knob 1 (Copy Block).
3. Select the location you wish to paste the block—even in a dif-
ferent preset—and press ACTION.
4. Press Knob 2 (Paste Block).
NOTE: Inputs, Outputs, Splits, Merges, and Loopers can also be copied and
pasted. However, if you, for example, try pasting the Looper into the Split
block's location, Knob 2 (Paste Block) will be grayed out. Furthermore, if the
destination path’s DSP cannot accommodate the copied block, the header
will briey read “Cannot Paste—Path 1 [or 2] DSP full!” See "Dynamic DSP"
C
Cannot Paste—Path 1 DSP Full!
Clearing a Block
1. Select the block you wish to clear and press ACTION.
2. Press Knob 3 (Clear Block).
Clearing All Blocks
Clearing all blocks removes all processing blocks (including the Looper) and resets
both Path 1 and 2 to serial. It does not aect Path 1A or Path 2A Input and Output
blocks, nor does it aect the "Command Center"
1. Press ACTION.
2. Press Knob 4 (Clear All Blocks).
The following dialog appears:
OKCancel
Clear all blocks?
3. Press Knob 6 (OK).
 Loading...

