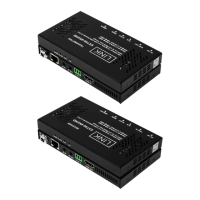
CEC function should be set to enable.
The extender supports two channels to output eARC/ARC audio from the
connected display.
1. Set the DIP switch of transmitter to eARC/ARC or S/PDIF channel (See
“DIP Switch Settings
” section).
2. Connect the receiver’s HDMI IN port to an AV Receiver’s eARC/ARC
HDMI output port. Or connect the receiver’s S/PDIF OUT port to an AV
Receiver’s Toslink input port.
3. Connect the transmitter’s HDMI OUT port to a display’s eARC/ARC input
port. Or connect the transmitter’s S/PDIF IN port to a display’s Toslink
output port.
4. Connect UTP OUT port of the transmitter to UTP IN port of the receiver.
5. Using the provided Micro USB to USB Type-A cables to connect the
tran
smitter and receiver to 5V power sources.
6. Power on all attached devices. The return audio signal from HDMI OUT
port will be transmitted to HDMI IN port, or the return audio signal from
S/PDIF IN port will be transmitted to S/PDIF OUT port (according to the
selection in step 1).
For additional wiring:
Bi-directional IR pass-through: Connect the provided IR receiver to IR
IN port of the transmitter/receiver, and connect the provided IR emitter to
IR
OUT port of the receiver/transmitter. You can control the display at
receiver side or control the AV receiver at transmitter side.
Bi-directional RS232 pass-through: Connect RS232 enabled devices
such as PC to RS232 ports of the transmitter and receiver. (See “
RS232
Pass-Through” section)