3
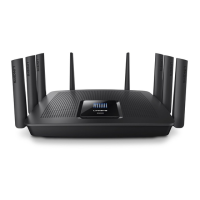
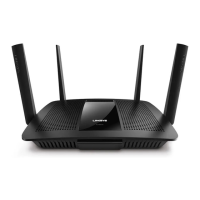
Linksys EA8500
Setting Up Your Router
Where to find more help
• Linksys.com/support/EA8500 (documentation, downloads, FAQs,
technical support, live chat, forums)
• Linksys Smart Wi-Fi (linksyssmartwifi.com; click Help at the top of
the screen)
NOTE
Licenses and notices for third party software used in this product may
be viewed on http://support.linksys.com/en-us/license. Please contact
http://support.linksys.com/en-us/gplcodecenter for questions or GPL
source code requests.
How to install your router
Note: If replacing an existing router, disconnect that router first.
1. Connect the antennas (if included) and plug in the router to a power
source. Press power switch to | (on) to power on the router. (Not all
routers have power switches.)
2. Connect the Internet cable from your modem to the yellow Internet port
on the back of your router. Wait until the power indicator on your router
is solid.
3. Connect to the secure wireless name shown in the Quick Start Guide that
came with your router. (You can change these details later.) Select the
option to automatically connect to this network in the future. You will not
have Internet access until you complete router setup (see Step 4).
4. Open a web browser to launch the Linksys Smart Wi-Fi Router setup
instructions. If you don’t see the instructions, type linksyssmartwifi.com in
the address bar.
At the end of setup, follow the on-screen instructions to set up your Linksys
Smart Wi-Fi account. Use Linksys Smart Wi-Fi to manage your router’s settings,
including:
• Change your router’s name and password
• Set up guest access
• Configure parental controls
• Connect devices to your network
• Test your Internet connection speed
NOTE
As part of Linksys Smart Wi-Fi account setup, you will be sent a
verification e-mail. Make sure that you open the e-mail from Linksys
and click the provided link, and log in from a device connected directly
to the router.
Setting Up Your Router
 Loading...