VoiceDirector Device Configuration Guide Linksys PAP2
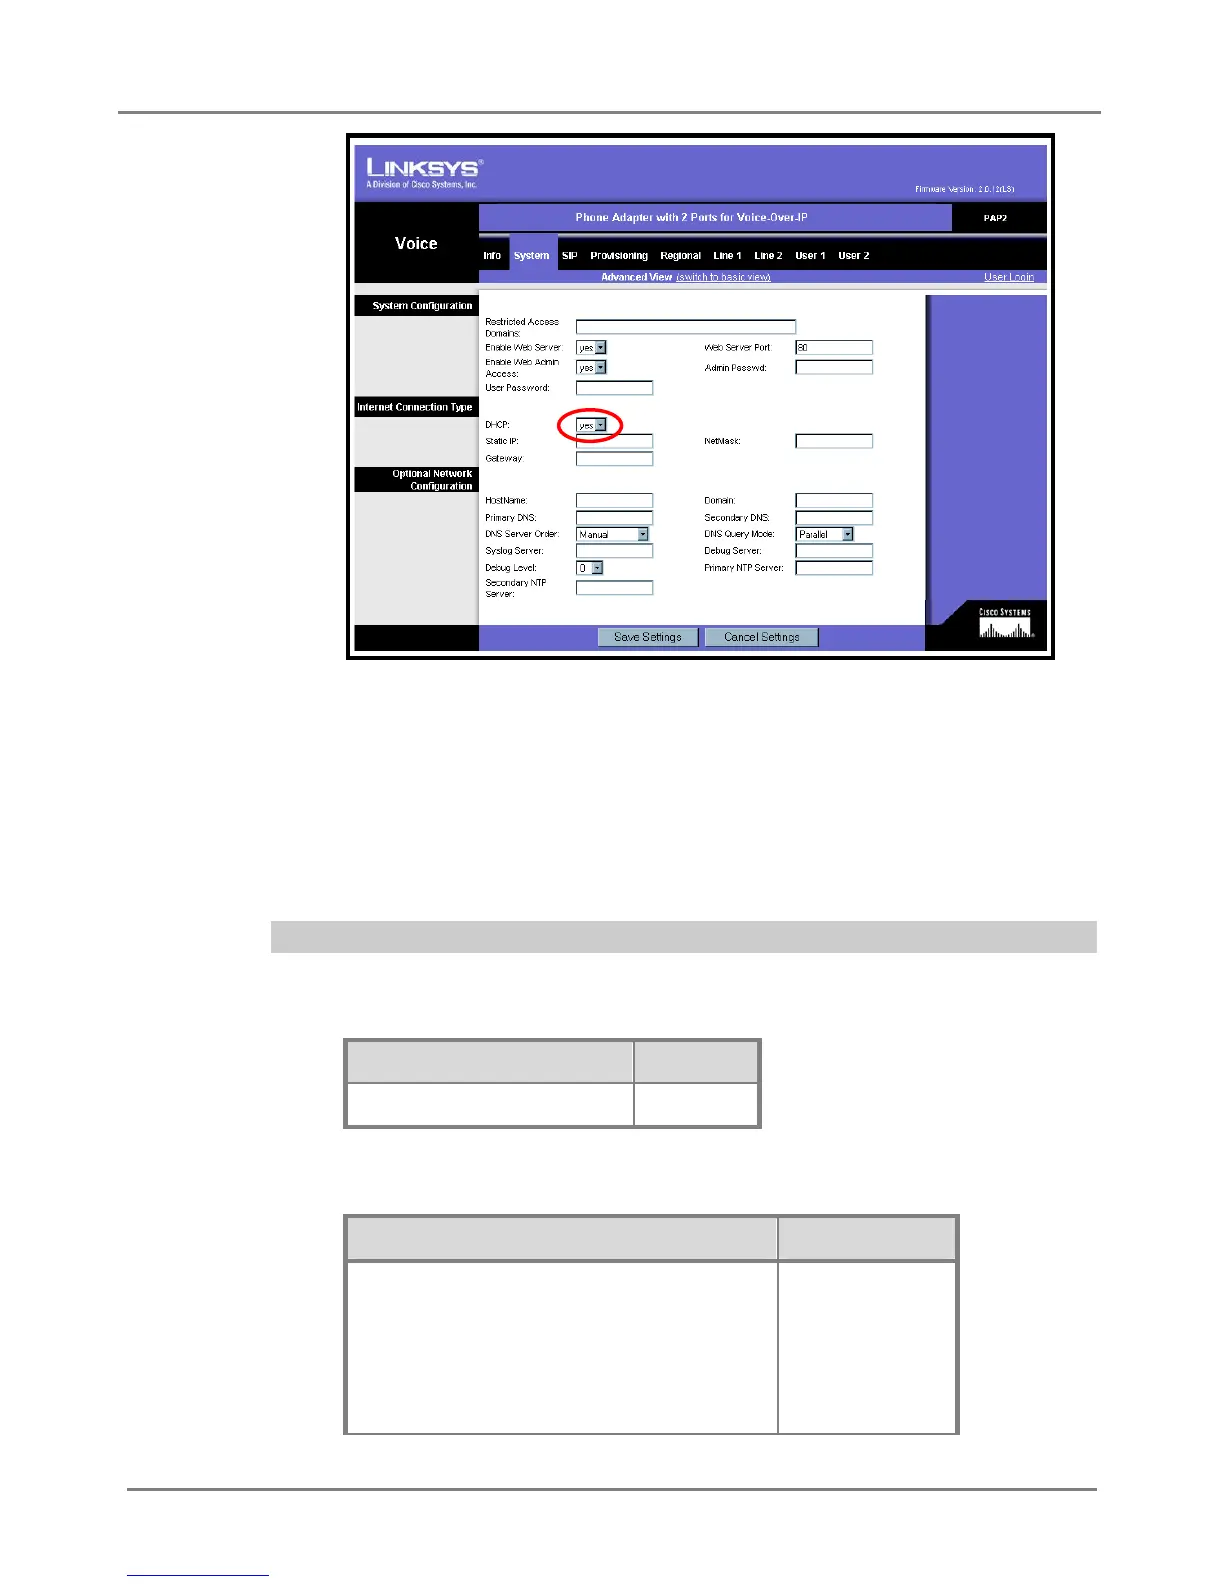
System Tab
3. If you set DHCP to no, enter the Static IP, NetMask, and Gateway
information.
If you set DHCP to yes, continue to step 5.
4. Click the Save Settings button at the bottom of the page to save the
settings.
STEP 5 – LINE-SPECIFIC CONFIGURATION
1. Click the Line1 or Line2 tab at the top of the page, and in the NAT
Settings section, change the following setting:
Field Value
NAT Keep Alive Enable no
2. In the Proxy and Registration section (see the screen on the following
page), change the following settings:
Field Value
Proxy
NOTE: If using a DNS, do not
include “http://” in the Proxy
name. For example, if the DNS
name is 000.00.000.00, enter
000.00.000.00 as the Proxy.
Enter the
VoiceDirector
IP address or
DNS name.
Page 3
 Loading...