Step 1:
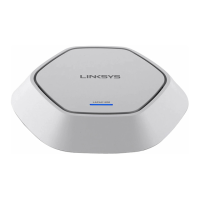
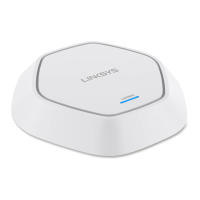
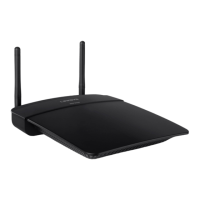
Determine where you want to mount the WAP300N. Make sure that the wall you use is smooth, flat, dry,
and sturdy. In addition, make sure that the location is near an electrical outlet.
Step 2:
Drill two holes into the wall. Ensure that the holes are 135 mm apart.
Step 3:
Insert a screw into each hole, and leave 3 mm of its head exposed.
Step 4:
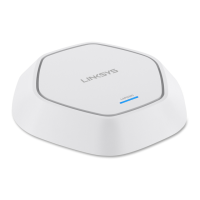
Position the WAP300N so the wall-mount slots line up with the two screws.
Step 5:
Place the wall-mount slots over the screws and slide the WAP300N down until the screws fit snugly into the
wall-mount slots.
 Loading...
