LK2 Service Manual
Page6 Copyright © 2000 Linn Products Limited. All rights reserved.
Contents Paul O'Neill
Step 2. Remove the heatsinks from the boards (if required)
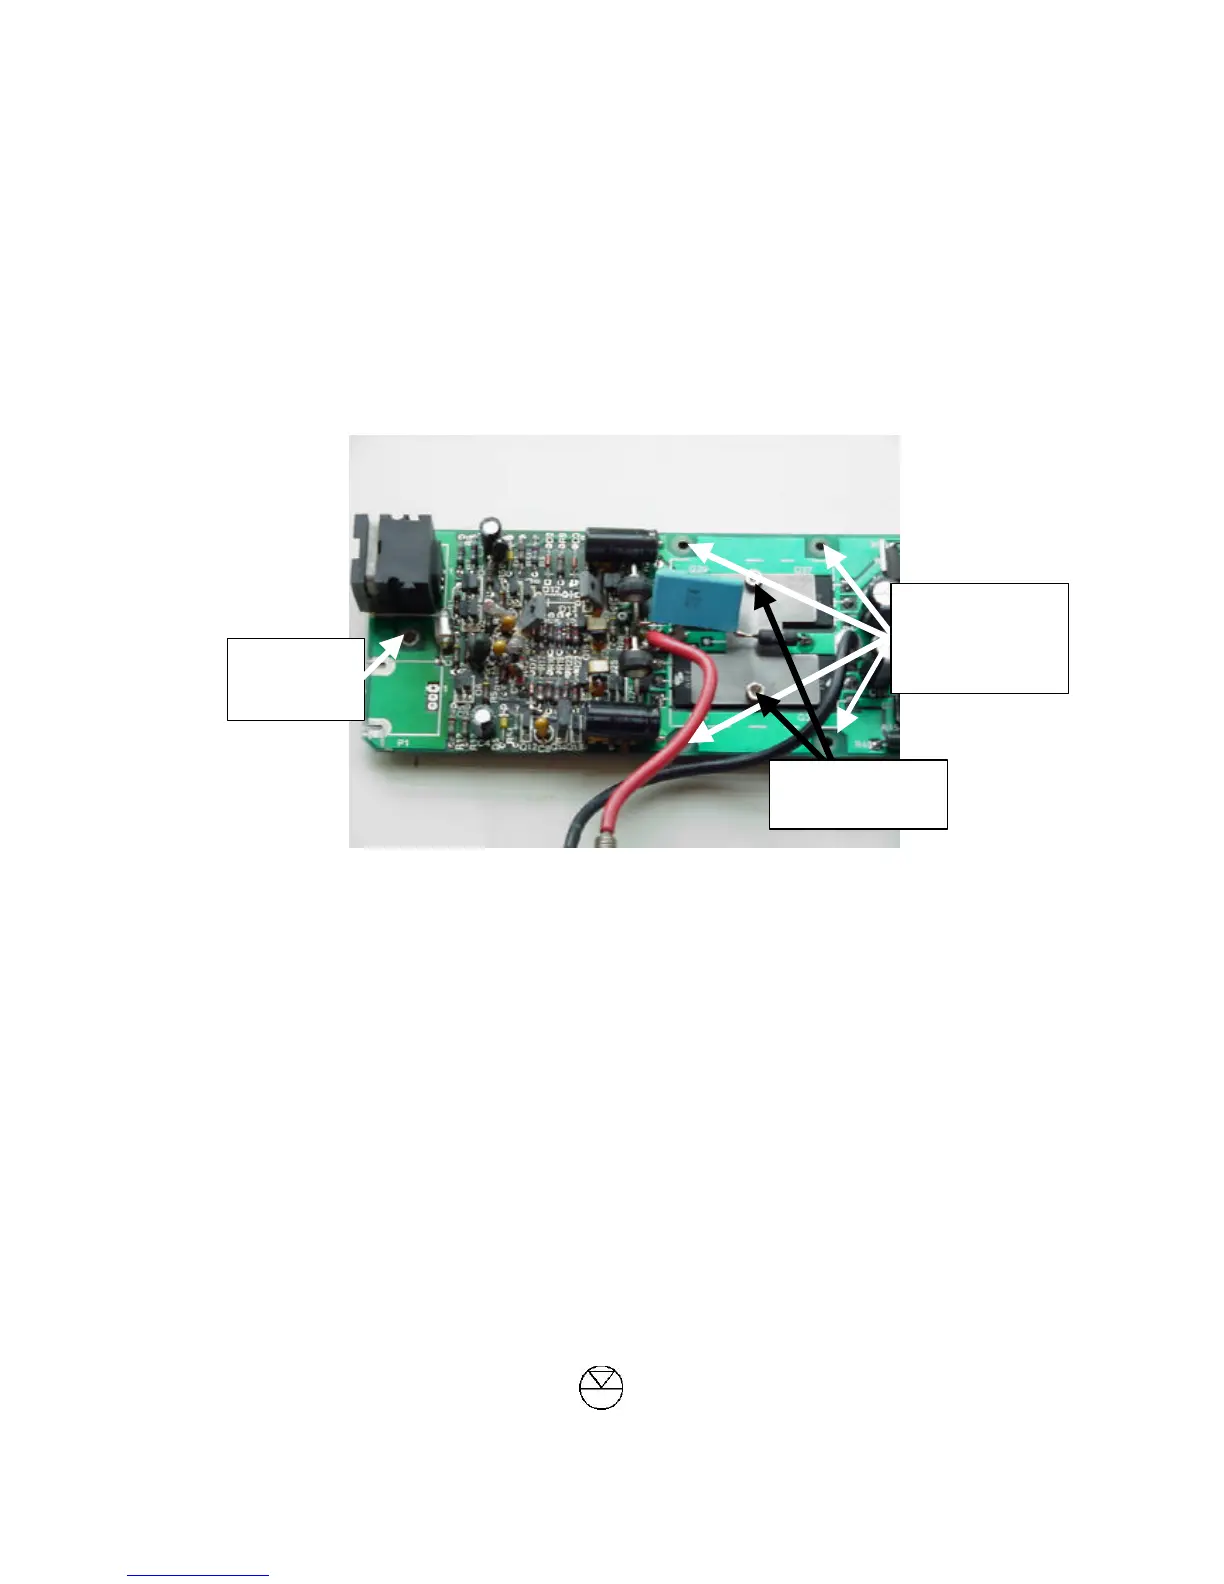
1. Using the 5.5mm spanner or nut-runner, loosen the single nut/bolt found beside the 3-pin cannon socket
(see picture below) – do not remove the nut completely, but loosen it to the point where only a very small
amount of the bolt is protruding from one side of the nut.
2. The board is now held on to the heatsink by 4 allen screws or 4 nuts/bolts (see picture below).
• If nuts/bolts are fitted, loosen them but do not remove them (as with single bolt above), pull the board
upwards until there is a gap between the board and the heatsink and then slide the board to one side. If
the board will not move easily, check that you have loosened all 5 nuts/bolts. If all are loosened correctly
and it is still not free, the board may be held on by the heatsink compound and will require some slight
pressure to free it.
• If the board is held on by allen screws, completely remove all 4 screws, lift the board away from the
heatsink and slide the single bolt beside the cannon socket sideways to free the board.
3. Use a tissue or paper towel to clean the heatsink compound from the board and from the heatsink (if you
don’t, you will find out very quickly that heatsink compound has a knack of ending up all over your
clothes, hands, face etc)
Step 3/