page 7
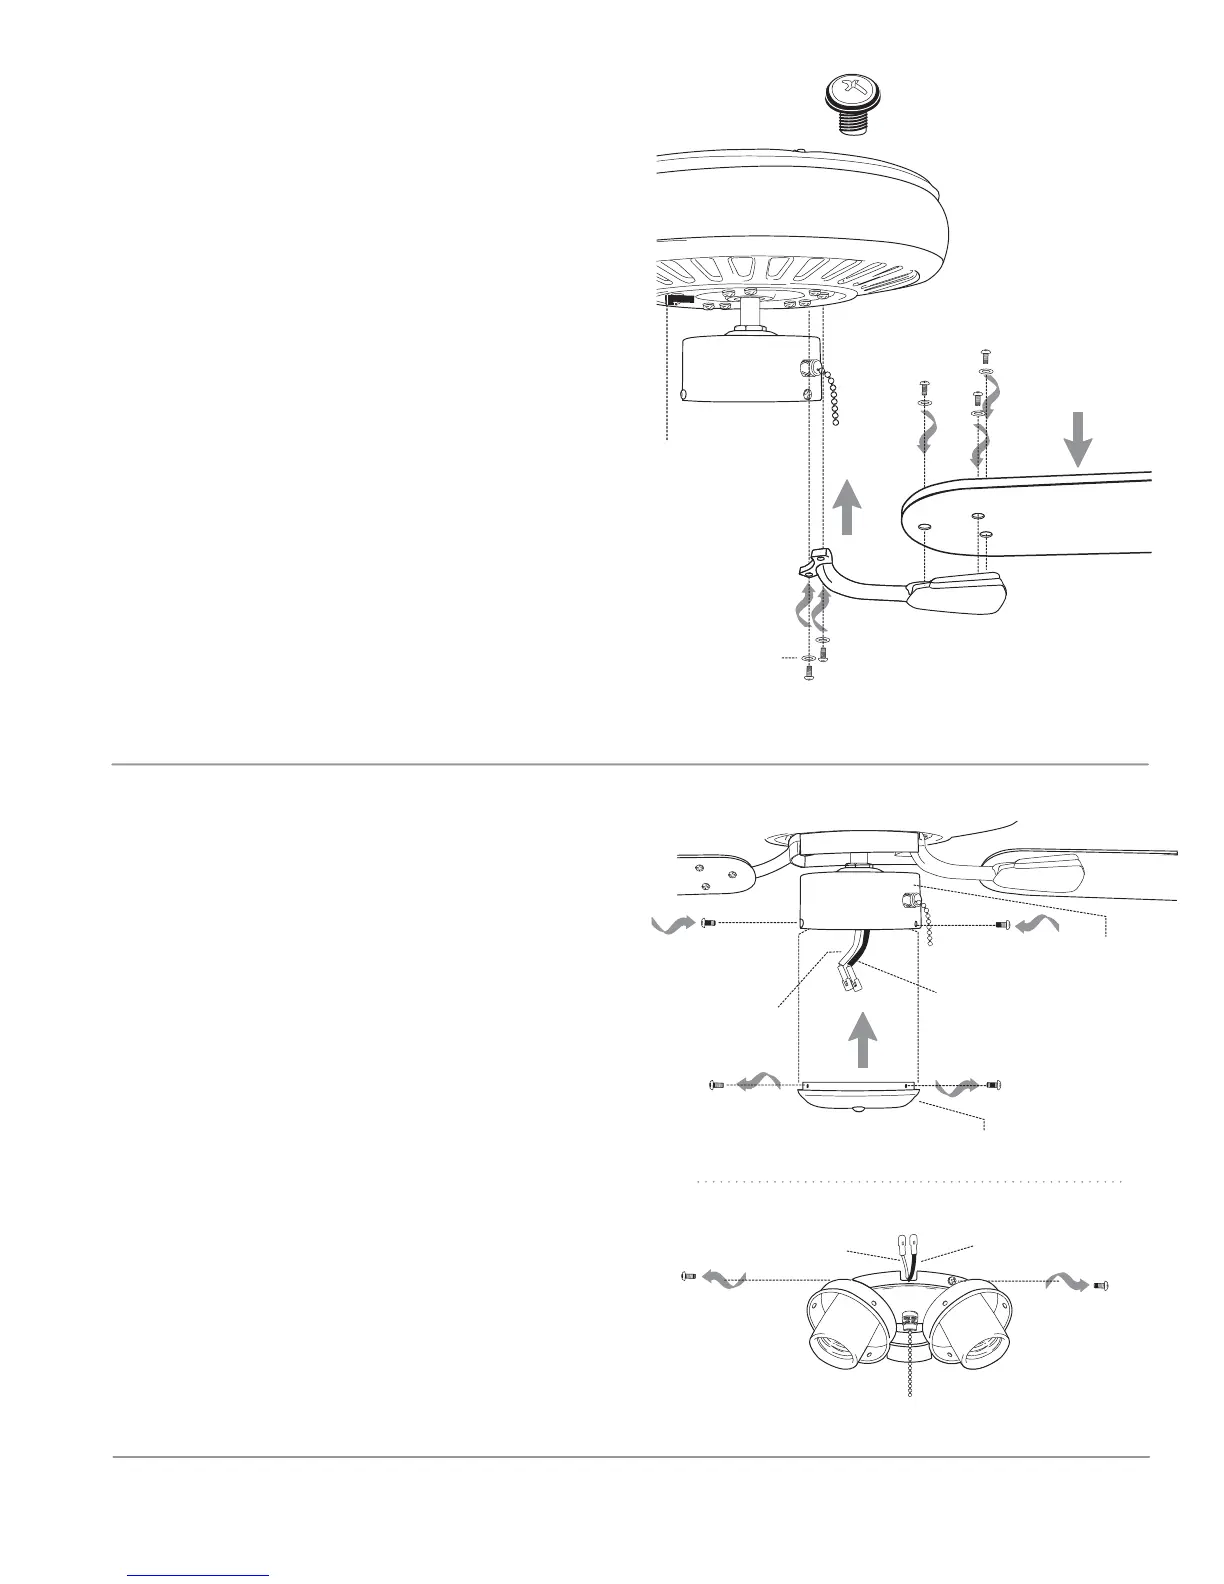
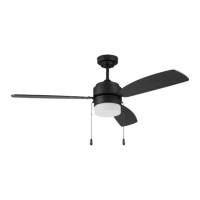
9. Blade Assembly.
10. Light Kit Assembly (Optional).
motor housing
blade arm
blade
light kit fitter
If you wish to use your fan WITHOUT a light
kit, remove 3 screws from switch housing cap.
Align holes in switch housing cap with holes
in switch housing. Use screws that were
removed to attach switch housing cap to
switch housing. Please proceed to Section 11
on the following page to complete installation
without light kit.
If you wish to use your fan WITH a light kit,
remove 3 screws from light kit fitter. Locate
BLUE and WHITE wires in the switch housing
labeled FOR LIGHT. Remove and discard
cardboard label and plastic that hold these 2
wires together.
Next, locate WHITE and BLACK wires in light
kit fitter labeled FOR LIGHT KIT CONNECTION.
["Light Kit Assembly" continued on next
page.]
blade attachment
screws and washers
blade arm screws
lock washer
blade screw and washer
motor housing
switch housing cap
switch
housing
blue wire
white wire
black wire
white wire
Time Saver: Washers for blade screws can be
set on each blade screw prior to installing
blades.
Locate 15 blade attachment screws and
washers in one of the hardware packs. Hold
blade arm up to blade and align holes. Insert 3
blade attachment screws (along with washers)
with fingers first and then tighten screws
securely with a Phillips screwdriver. Repeat for
the remaining blades.
Remove blade arm screws and lock washers
from fan motor and set aside. Then, if applicable,
remove plastic motor blocks from underside of
motor and discard plastic motor blocks (save
blade arm screws and lock washers to secure
blade arms). Align blade arm holes with motor
screw holes and attach blade arm with lock
washers and blade arm screws. Before securing
screws permanently, repeat with remaining
blade arms. Securely tighten all screws.
Note: Tighten blade arm screws twice a year.
plastic
motor
block