57
b) Free standing cooker: type X – class 1; point a) also applies to this class, with the exception
that one side of the cooker must be left free so that the flexible rubber gas piping, can be
inspected.
After unpacking the cooker, remove the plastic protection from the stainless steel,
aluminium and/or painted parts to avoid it melting. The utmost care must be taken when
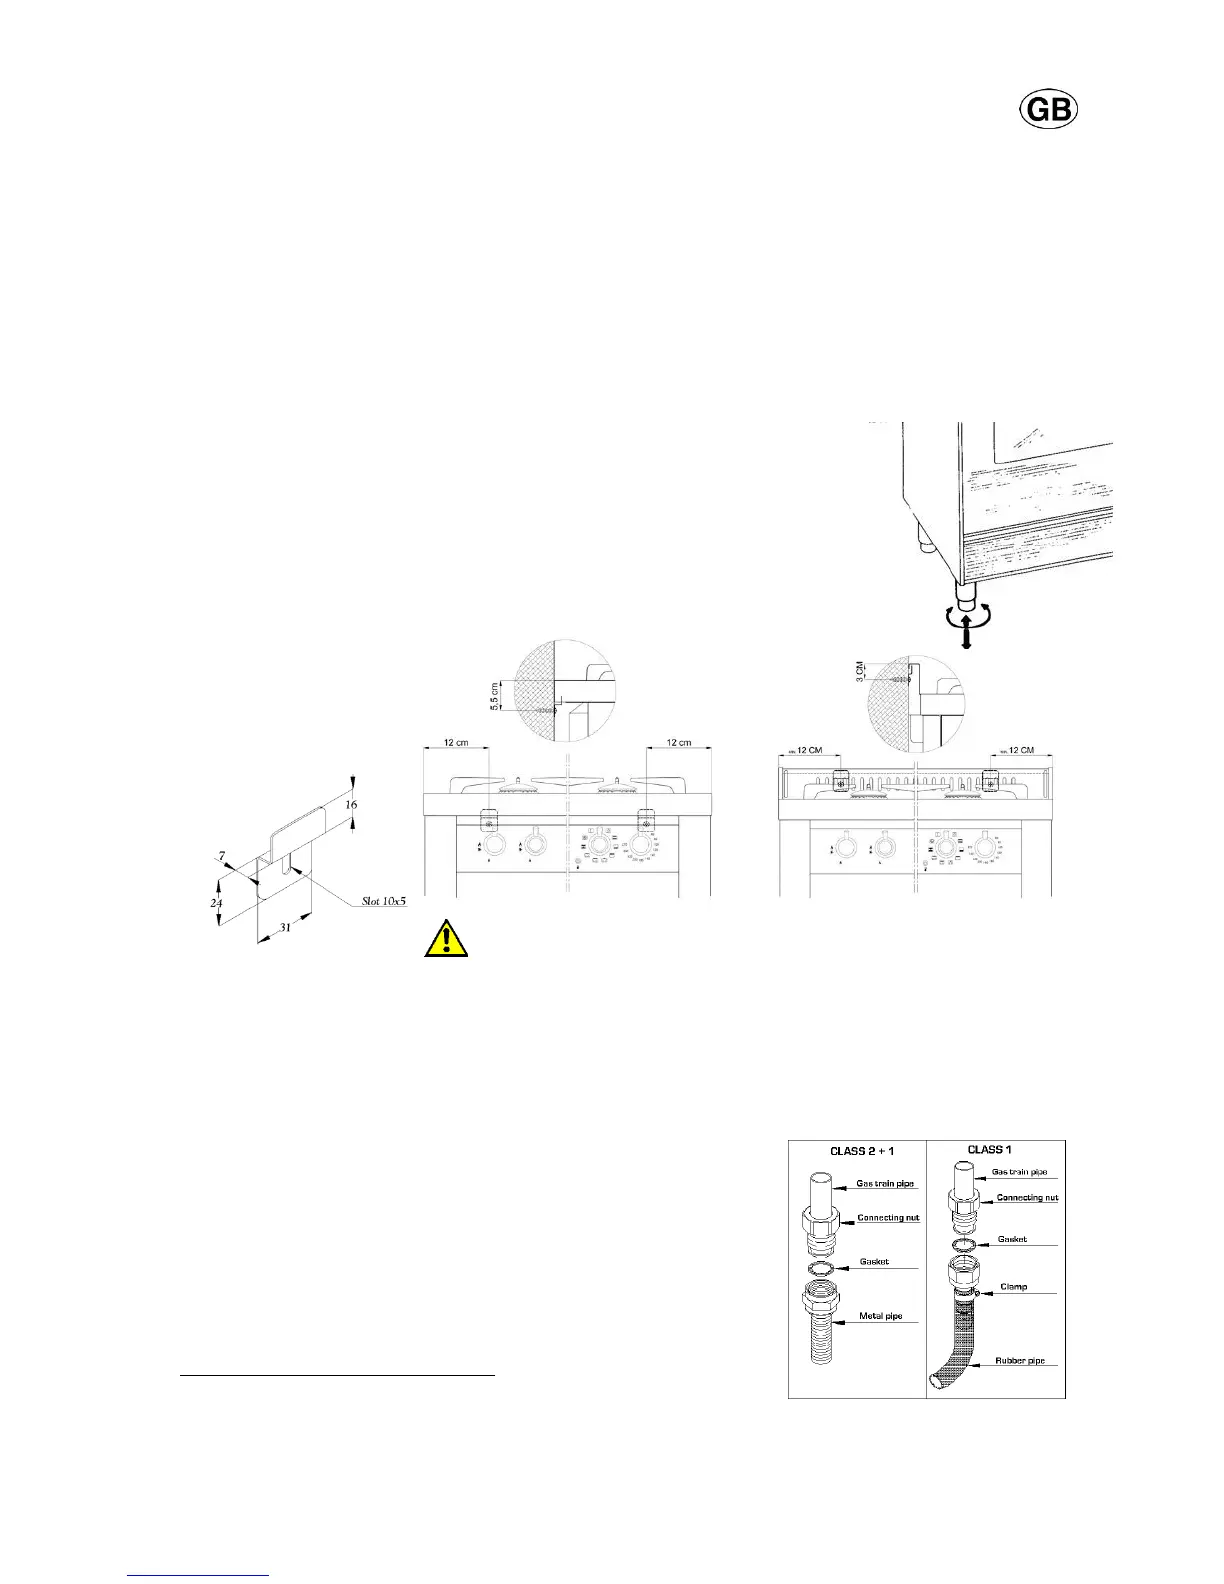
removing this protection so as not to damage the protected parts. Now the feet can be fitted.
They must be fixed to the ends of the slits on the cooker pedestal. Their height can be adjusted
in order to line the cooker up with other units. Ensure that the cooker is perfectly stable. Fit the
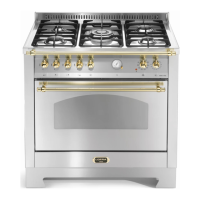
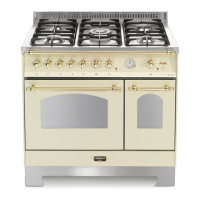
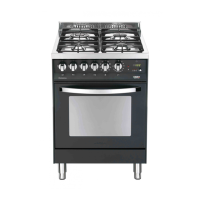
burners, the flame diffusers and the grids into their seats on the hob (see paragraph 3.9). Some
models come with rubber pads that prevent the steel hob surface from being scratched. Fit
them to the central pan grid made of chrome-plated rod.
For the installation anchor the cooker by using the supplied kit referring
to the relevant drawing. We provides two brackets, which will serve to
anchor the wall-terminal of the cooker. We must fix the brackets to the
wall, following the instructions of the drawings. We must then slightly lift
the cooker to let in the bracket on the crease of the wall-terminal or
working top cooker.
Note: When the burners are alight, there must not be any
draughts inside the room in that they may affect the flame or even blow it out.
(PLEASE NOTE: The fixing hook is not provided as the type will depend on the
construction of the wall to which it will be drilled and fitted. The installer should
provide the fixing hook).
1.4.CONNECTION TO THE GAS SUPPLY: CURRENT INSTALLATION STANDARDS
The cooker should be connected according BS 6172-1990,
using either a rigid or flexible connections.
a) Class 2 (Built-in cooker sub-class 2/1): use a continuous
flexible stainless steel pipe, as per current installation
standards, which can be extended to a maximum of 2000
mm.; the ends of the pipe must be fitted with an ISO
228/1coupling and gasket or an ISO 7/1 threaded coupling
with mechanical gasket.
b) Class 1 (Free-standing cooker): Class 2 instructions also
apply. In addition, a non-metallic flexible pipe can be used
as long as it complies with current standards and the
following installation instructions are observed: the pipe must be longer than 400 mm and