5
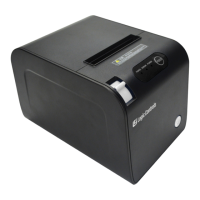
3 Installation
3.1 Connecting Printer to Computer or POS Terminal
3.1.1 Turn off printer and connect the interface cable (USB/Ethernet) to the
printer.
3.1.2 For USB interface, connect the other end of USB interface cable to the
computer.
3.1.3 For Ethernet interface, connect the Ethernet cable to Ethernet hub,
switch, or router.
3.2 Connecting to Cash Drawer
Connect cash drawer cable to cash drawer port at the back of printer.
Use 24V/1A cash drawer only. Incompatible cash drawer will cause damage to
both the cash drawer and the printer.
Do not connect cash drawer port to the telephone line. It may cause failure
condition on telephone line and printer.
3.3 Connecting to Power
3.3.1 Please only use the supplied power adapter.
3.3.2 Make sure the AC power is unplugged and the printer is powered off
before connecting the power cord.
3.3.3 Connect DC power cord of the power adapter to printer.
3.3.4 Connect power cord to power adapter and then AC power plug to wall
socket.
3.3.5 Push the power switch on the front of printer to turn on power.