11
7. Cook the food according to the time suggested in the frying guide in the Frying
Guidelines section, the packaging of the food or in the recipe. Adjust cooking time
according to personal taste. You can check the progress of the cooking by raising the
frying basket using the handle.
2. Plug the fryer into the mains socket. The POWER indicator will light up.
3. Adjust the temperature control to the desired setting. The WORKING indicator will light
up.
4. Wait until the WORKING indicator turns o (indicating that the fryer has reached the
set temperature) before lowering the food into the oil.
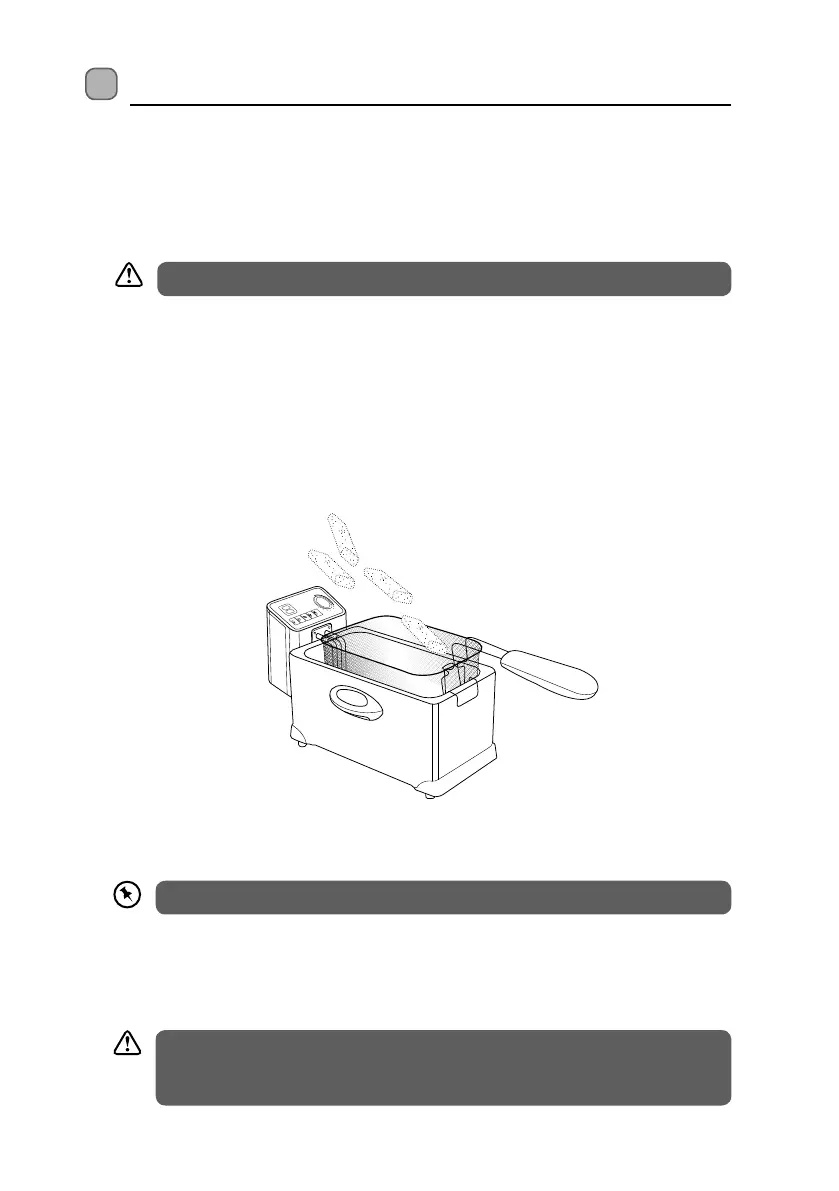
5. Place the food to be cooked (which should be as dry as possible) in the frying basket.
Always have the frying basket in the raised position when lling it with food. Do not
overll the frying basket.
Operation
1. Fill the oil tank with oil between the MIN and MAX level marks shown on the inside of
the oil tank. Check the oil level before using the fryer on each separate occasion.
• Corn oil, sunower oil, ground nut oil and vegetable oil are all suitable for use with
the fryer. If you wish you may use solid vegetable fat but this is much more dicult
to handle. Solid fat should be melted in a separate pan before transferring it to the
oil tank.
Do not use margarine, butter or olive oil. Do not mix dierent oils and fats.
During frying you may hear slight clicking noises and you may see the
WORKING indicator going on and o several times. This indicates that the
temperature is being maintained and is quite normal.
MIN
190
170
150
130
POWER
WORKING
150°C
6-8
min
160°C
6-8
min
170°C
6-7
min
180°C
18-20
min
190°C
11-17
min
6. Using the handle CAREFULLY AND SLOWLY, lower the frying basket of food into the
oil tank (be careful not to touch any metal parts of the fryer as they may be hot).
The basket is designed to rest on the cooking elements.
 Loading...