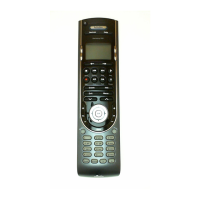
User Manual Harmony 520
page 10 v. 1.0
6. Add as many custom-labeled buttons as you like. Click More Custom Labels to add labels one
at a time.
7. When you update your Harmony remote, use the Right Arrow and Left Arrow on the remote to
view your custom-labeled buttons.
Changing the Settings for your Harmony Remote
Click Remote Preferences to change the remote’s settings:
• Turn on/off Harmony Assistant (for additional information, see Displaying Help on Your Harmony
Remote.)
• Select the type of help to display on the remote (for additional information, see Displaying Help on
Your Harmony Remote.)
• Set the backlight timing (for additional information, see Picking Up the Remote
and Using the
Glow Button.)
• Show/Hide the “Starting Activity” message (for additional information, see Selecting an Activity
.)
• Turn on/off the tilt sensor (for additional information, see Picking Up the Remote
.)
Learning Infrared (IR) Commands
The Harmony remote can learn infrared commands from other remote controls, and should only be used
in situations where the Harmony remote’s database does not already contain an infrared command you
would like to use.
Determine the device you would like to send the infrared command to:
1. Connect your Harmony remote to your computer to start the Harmony remote software.
2. Click View Devices.
3. Click a device.
4. Click Learn Infrared Commands.
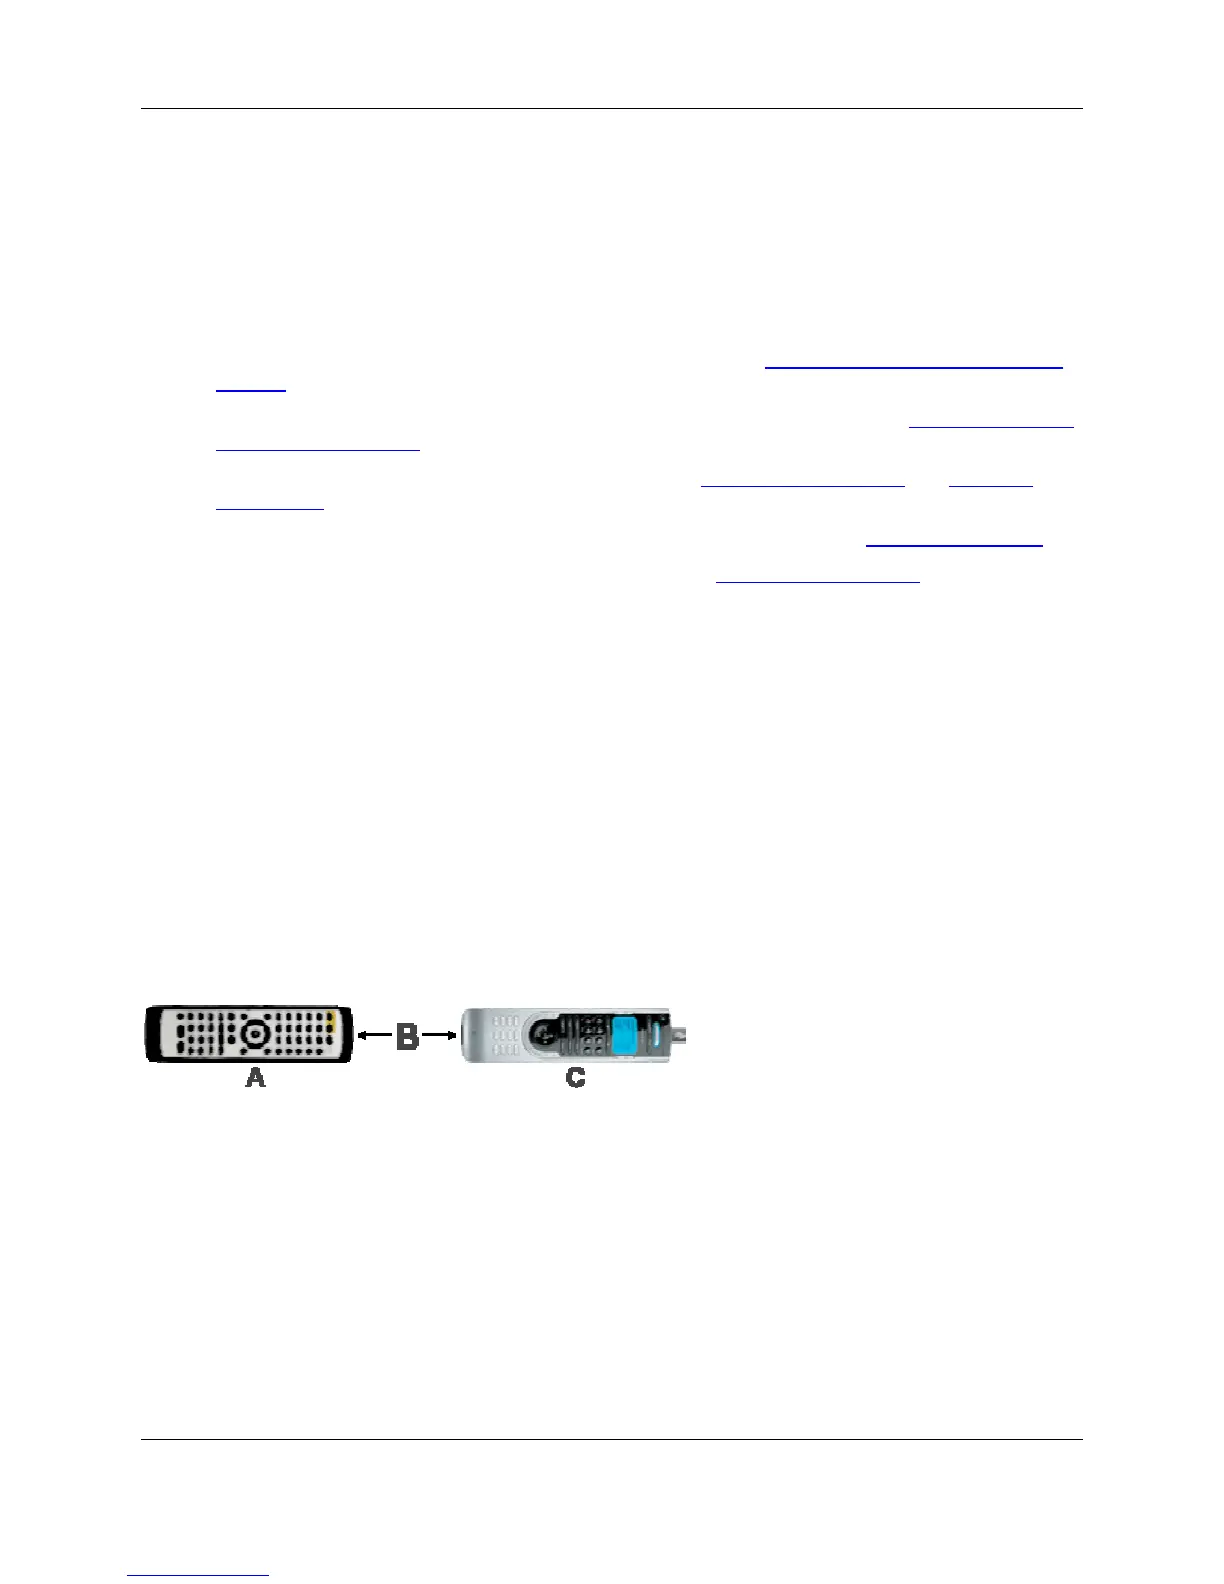
Using the Infrared Sensor
The Harmony remote has an infrared sensor at the end opposite to the USB connector. The Harmony
remote uses this sensor to learn commands from original device remotes.
• A: Your original remote
• B: Distance between remotes: 5-10 cm (2"-5") apart
• C: Your Harmony remote