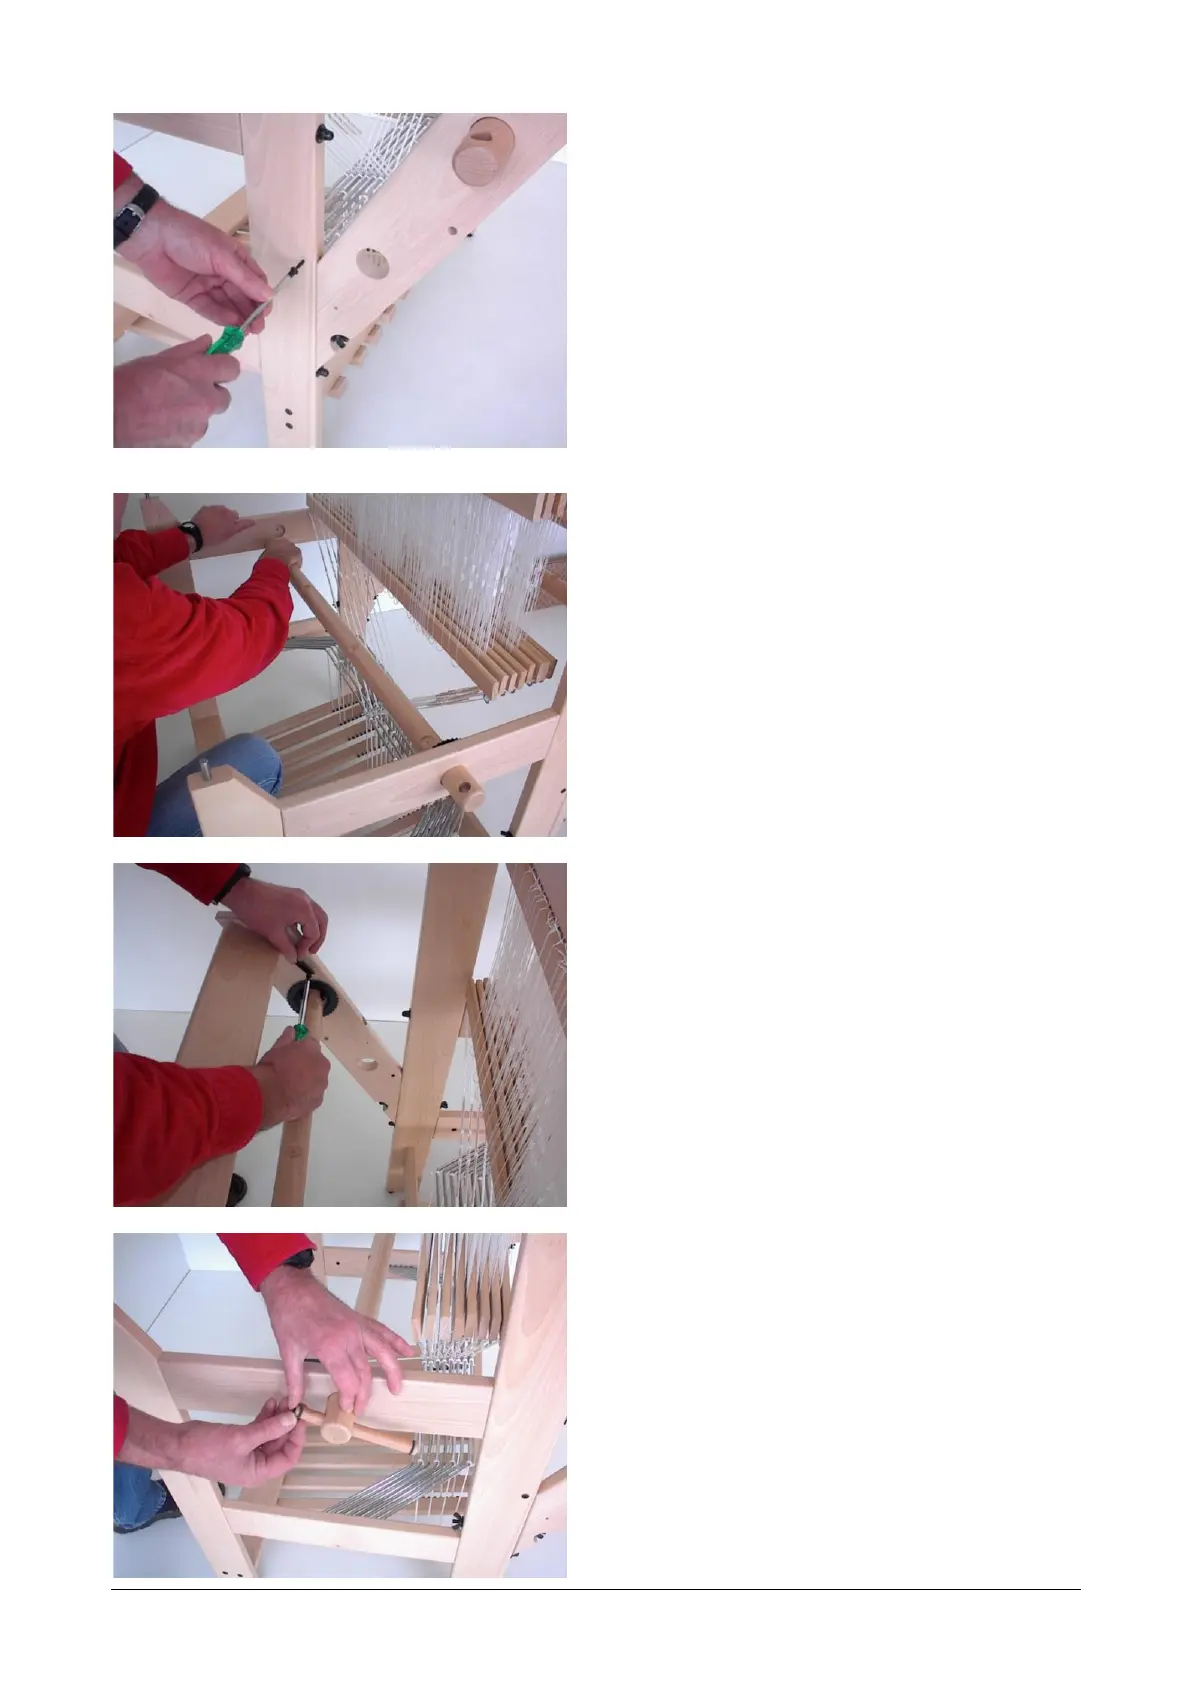
In both uprights at the back of the loom there is
a hole in the location where the polyurethane
dowels of the back part are inserted. With the
two screws 3 X 20 (not the round head
4.5 X 17 ones) you will secure the
polyurethane dowels.
These dowels make it possible to fold the back
part of the David to save space when the loom
is not in use. To do so, you first have to
unscrew the wing nuts from the threaded ends.
You will need a warp to keep the back part
folded, or you have to tie the back part to the
uprights.
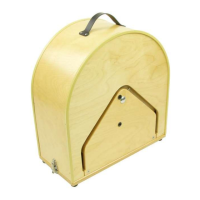
Install the cloth beam in the loom. First insert
the side with the ratchet wheel into the hole in
the side rail, while you keep the other end of
the beam just below the opposite side rail.
Because of the beam is slanted in this position,
the hole is tight and you have to turn the beam
while pushing it through.
To slip the other end of the beam in place, you
have to push the side of the loom slightly
outwards.
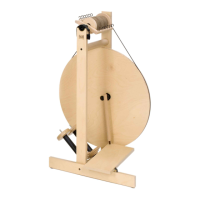
Install a ratchet next to the ratchet wheels of
both beams. Use the round head screws
4.5 X 17. Tighten them and then unscrew them
just far enough that they can turn freely.
Insert the beam handles through the holes in
the beams and secure them by rolling the
rubber O-ring into the groove around the
handles. The third O-ring in the hardware bag
is a spare.
If you have to assemble a brake for the warp
beam, don’t install the handle in the warp
beam.