5. Connect the USB A-to-RS-232 cable between the computer and the RS-232 serial port on
the SPECTRA (Figure 5).#
6. Successful installation is indicated by the appearance of “USB Serial Port (COM #)” under the
“Ports (COM &LPT)” tab in the Windows Device Manager. If the virtual COM port (VCP) is not
registered by the operating system, download and install the VCP driver from Lumencor’s
Control Software page.#
7. Connect the DC power supply to the SPECTRA.#
8. Check that the liquid light guide or optical fiber is securely connected to the output adapter
on the front panel and that the output end is safely directed into an enclosed optical path (e.g.
microscope input collimator or a beam dump).#
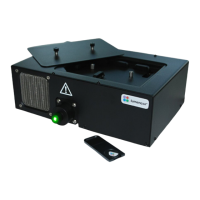
9. Toggle the power switch on the rear panel to the ON position. The green LED next to the
switch (Figure 5) indicates that power to the light engine is ON.#
10.Run the GUI by going to the Program Menu and selecting LLE 7CH GUI.#
11.In the COM pulldown menu (GUI window, upper right), select COM # assigned to USB-Serial
port.#
12.Press the “INIT” button in the GUI.#
13.The computer should now have control of the SPECTRA. In the GUI window, a graduated
slider controls the output intensity for each component light source [1,2]. The ON-OFF button
below each intensity slider turns light output from the selected source on or off.#
14.The G/Y button selects green or yellow light output from SPECTRA light engines. Green
output is the default selection on start up. For SPECTRA X light engines, this control is
inactive and green/yelllow output selection is accomplished by manual interchange of filters
(Figure 3).#
15.There is no warm-up time; the light engine output stabilizes less than 1 second after the light
output is switched on. Light output can be switched off during intervals when it is not
required for active viewing or data collection. After light output is switched off, the cooling
fan will continue to run for 5 minutes, after which it will automatically stop until light output is
turned back on.#