Table
Table lock knob
4. Tension lever
6. Auxiliary
mounting hole
Work support hex screw
2. Bed locking hex socket
head screw
5. Table lock knob
Mounting hole
Base
1. Work support
Sanding belt
Sanding plate
Sanding disc
Work table assembly
Disc guard
7. Switch
Mounting hole
Belt bed
3. Tracking
knob
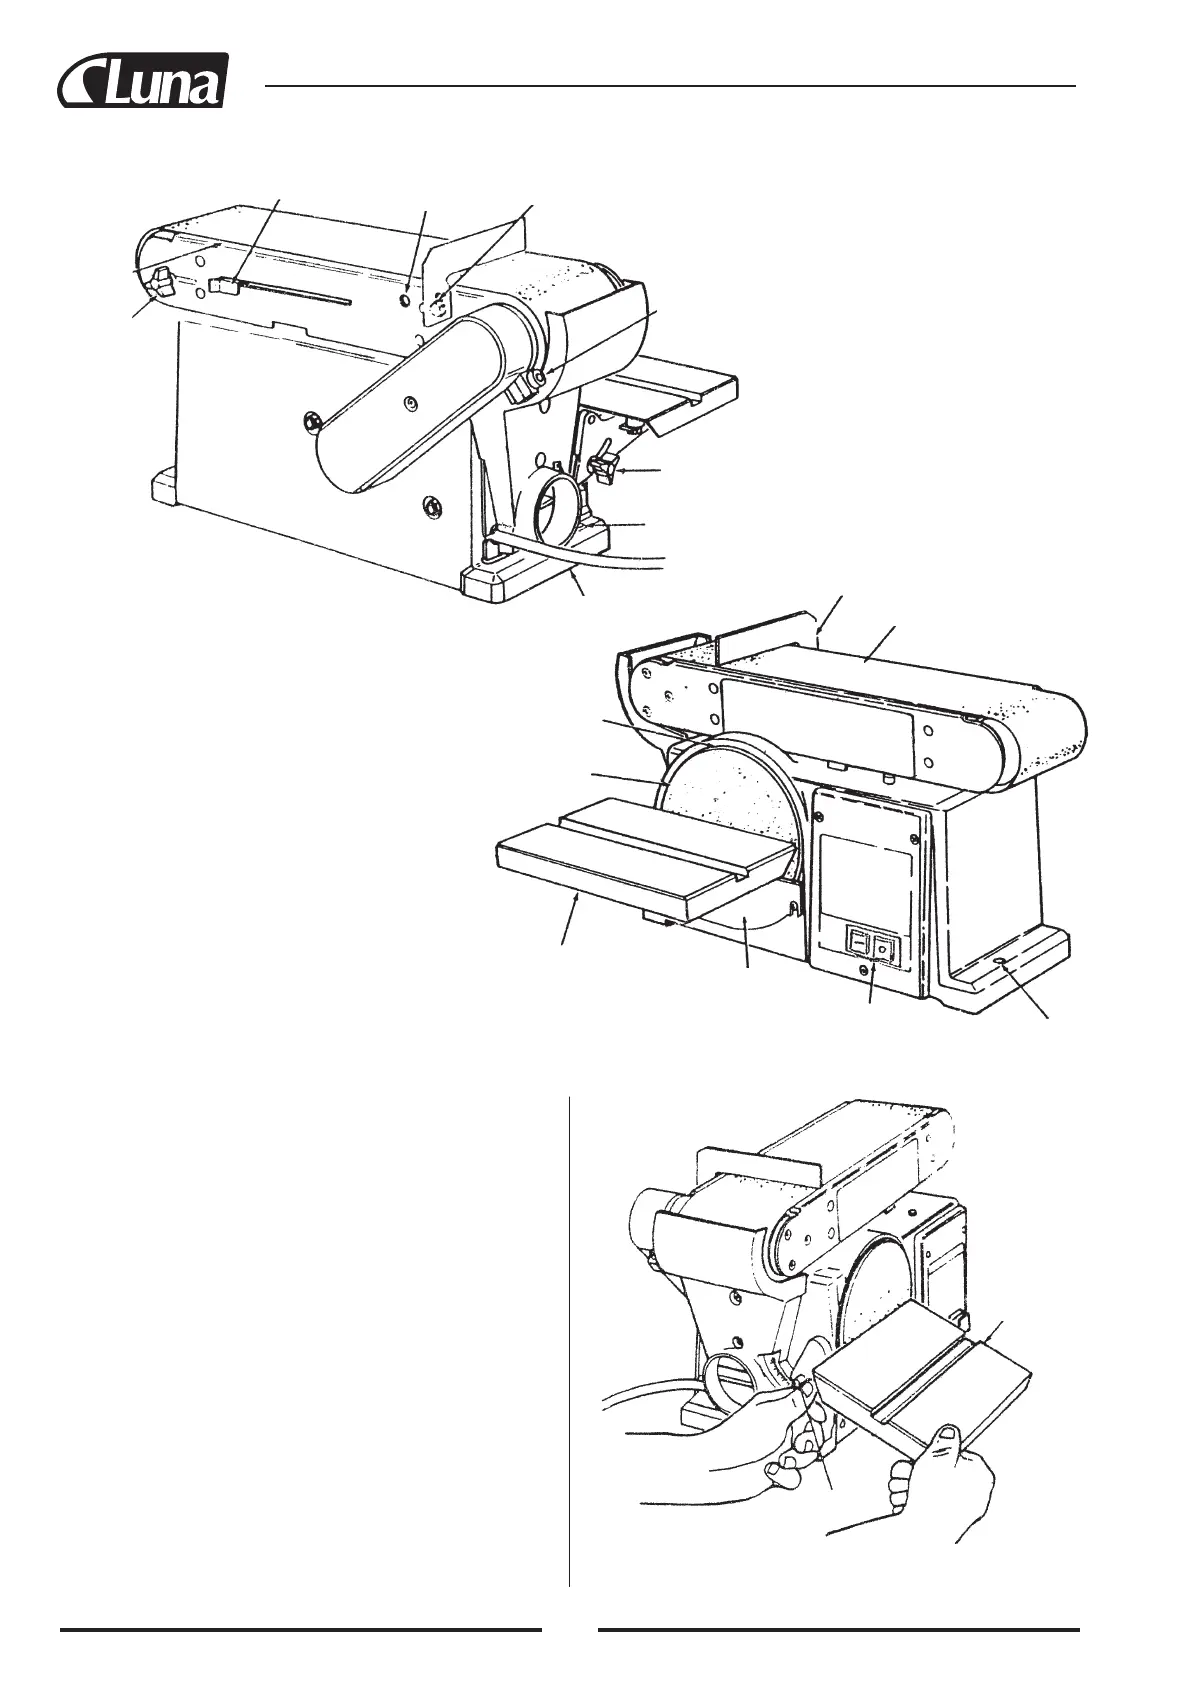
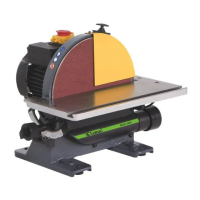
GETTING TO KNOW YOUR BELT AND DISC SANDER
WARNING: To avoid injury from accidental start, turn switch
“off” and remove plug from power source outlet before making
any adjustments.
1. Work Support. Supports the workpiece on the sanding belt.
2. Hex socket head screw. Loosening screw allows belt bed to be
raised to the vertical position.
3. Tracking knob. Turning knob counterclockwise causes sanding
belt to move towards the disc; turning knob clockwise causes
sanding belt to move away from the disc.
4. Tension lever. Sliding lever to the right releases the sanding
belt tension; sliding lever to the left applies belt tension.
5. Table lock knob. Loosening knob allows the worktable to be
tilted for bevel sanding. (Scale pointer on table trunnion; scale
attached to base.)
6. Auxillary mounting hole. Allows table assembly to be mounted
for end sanding when the bed is placed in vertical postion.
7. Switch.
BASIC OPERATION
BEVEL SANDING
The worktable can be tilted from 0° to 45° for bevel sanding.
Loosen the table lock knob and tilt the worktable to desired angle
as shown. Retighten table lock knob.
36