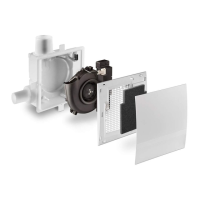
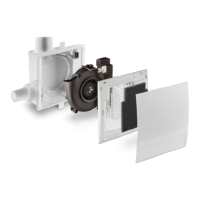
Assembly – Heat exchanger unit and Interior screen
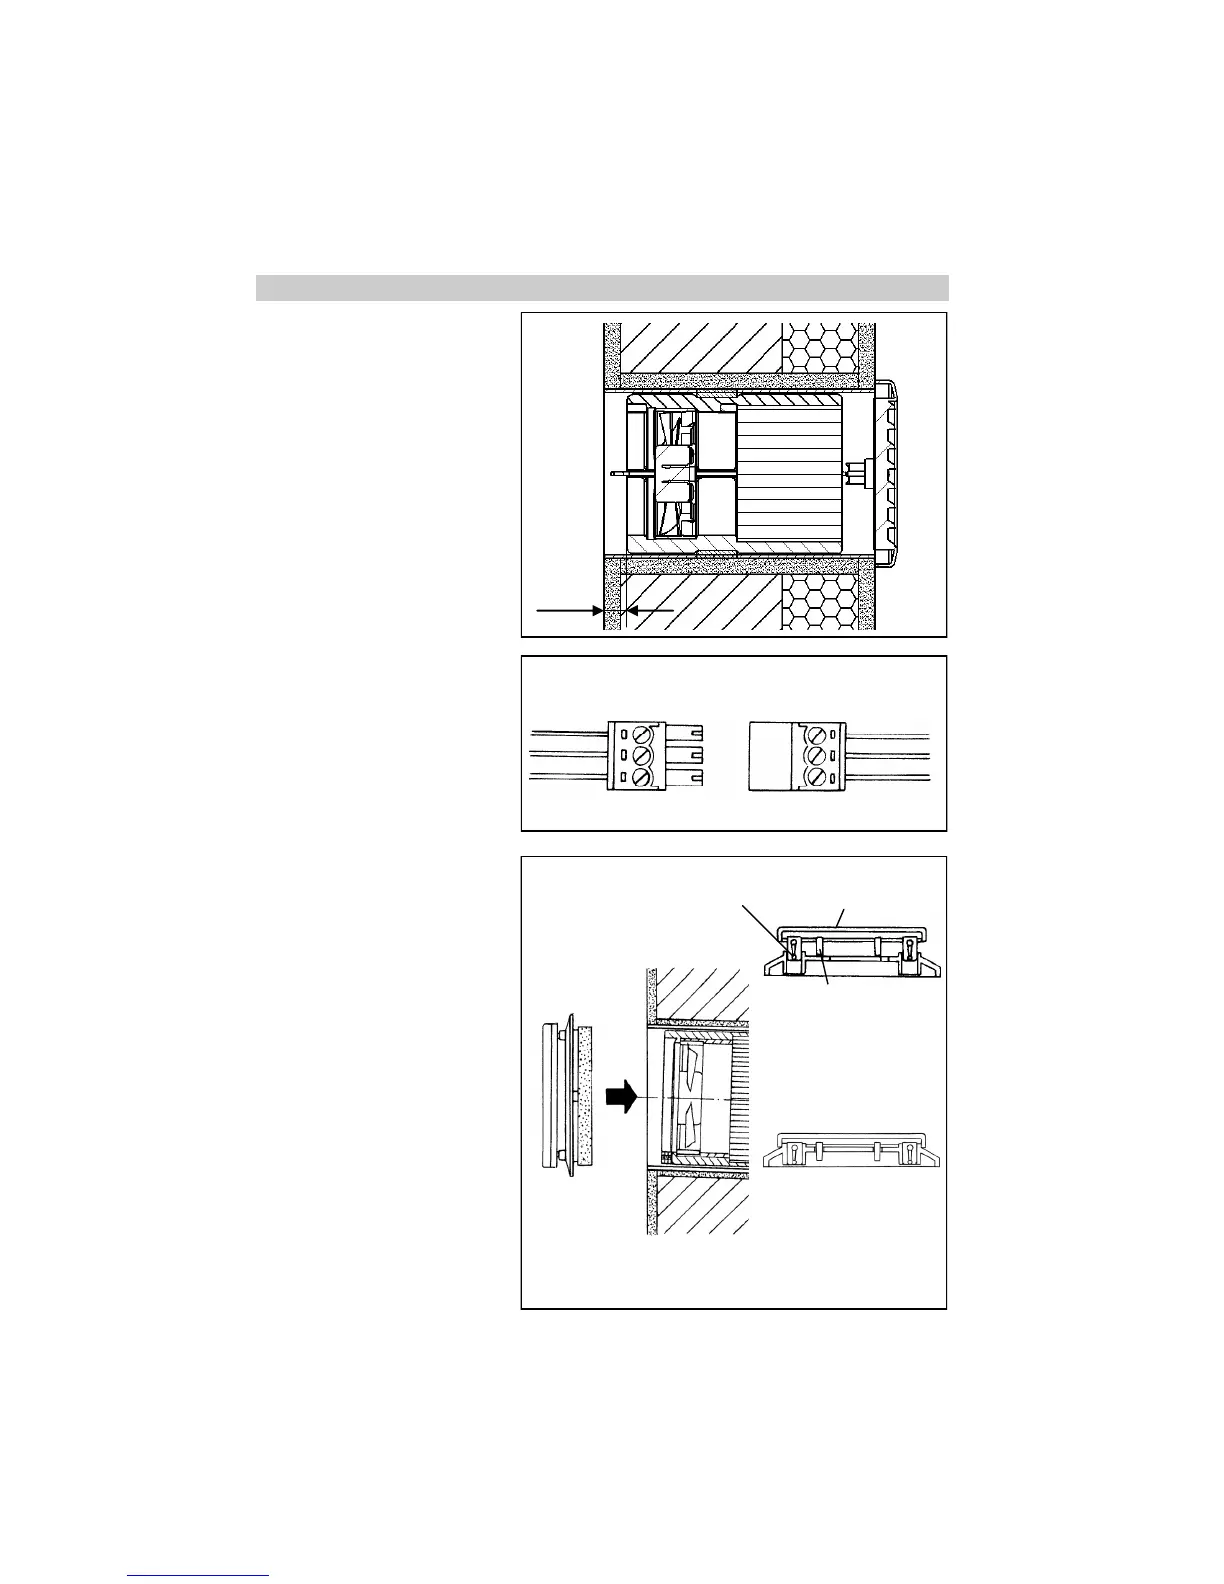
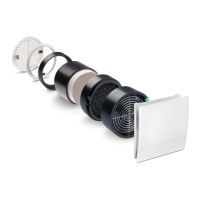
Remove the inside plaster protec-
tive cover and insert the heat ex-
changer unit into the assembly
tube, observe 15 mm distance.
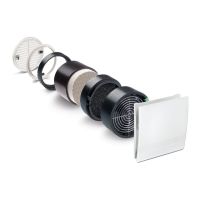
Using the loop on the inside of the
heat exchanger unit, the unit can be
adjusted by pulling out, if required.
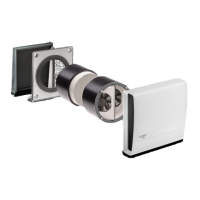
Connect the cable to the connector
and install into the tube in front of
the motor.
6
⑦
Cable Motor cable
red
blue
purple
⑧
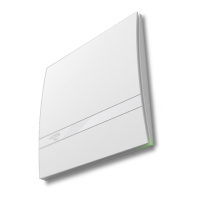
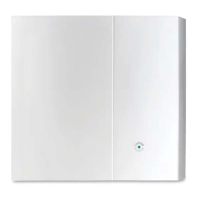
Insert inside closure with filter, snap
the interior screen in in the Open
position!
Finished!
⑨
15 mm
„Open position“
„Closed position“
Catch lock
Fixing pin
Design screen
- Catch locks snapped in
- Fixing pins in front of
cover frame
- Design screen turned
180° compared to Open
position.
- Fixing pins sunk into the
bore holes of the cover
frame.