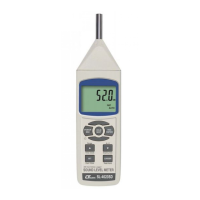
Remark :
* Lower Display will show the Position/Location no.
( P1, P2... P99 ) .
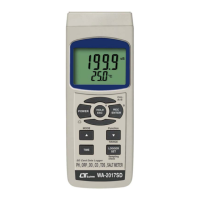
* During execute the Manual Datalogger,
press the " SET Button " ( 3-7, Fig. 1 ) once, then use
the " Button " ( 3-5, Fig. 1) or " Button " ( 3-6,▲▼
Fig. 1 ) to set the measuring position ( 1 to 99, for
example room 1 to room 99 ) to identify the
measurement location. After finish the adjustment
location no., press the " Enter Button " to entry.
b. Finish the Datalogger
Press the " REC Button " ( 3-4, Fig. 1) continuously at
least two seconds, the " REC " indication will be
disappeared and finish the Datalogger.
5-4 Check time information
During the measurement if press " Time check Button "
( 3-5, Fig. 1 ) > 2 seconds, the lower LCD display will
present the time information of Year/Month, Date/Hour,
Minute/Second.
5-5 Check sampling time information
During the measurement , If press " Sampling Check
Button " ( 3-6, Fig. 1 ) > 2 seconds, the lower LCD display
will present the Sampling time information in second unit.
5-6 SD Card Data structure
1) When the SD card is used into the meter, the SD card
When the first time, the SD card is used into the meter,
the SD card will generate a folder :
SLA01
12