- 6 -
LCD Monitor Control Functions
(Chapter applies to standard LUVOX LCD MONITORS Only)
Each LUVOX LCD monitor has an internal microprocessor
dedicated to control display image. This microprocessor has the
capability to adjust the monitor to the source it is attached to.
This auto-adjustment is done when the unit is first installed,
connected and powered up, and each time the video input source
is changed. When the display image is not satisfying, the user can
adjust all settings by entering the OSD (On-Screen-Display) menu
functions with the control keys located on the backside of the
monitor.
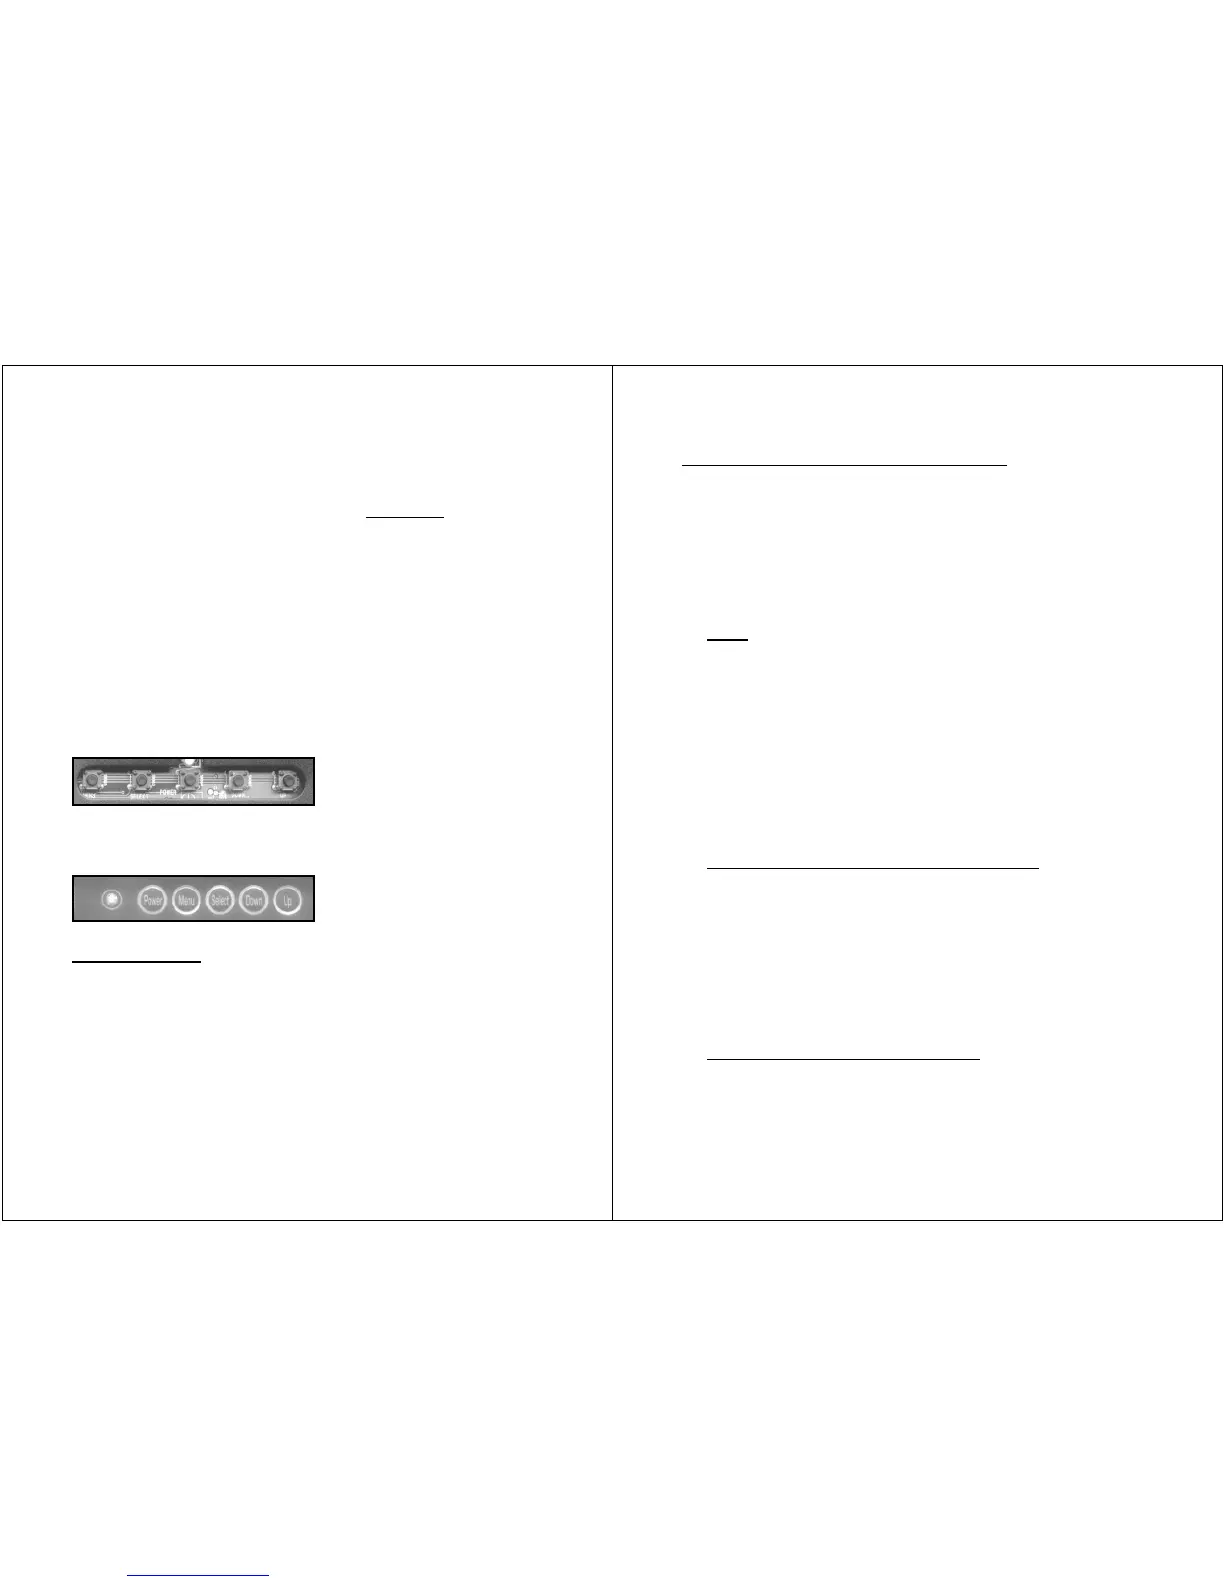
LUVOX F100 & F120 LCD monitor series control keys:
(menu – select – power – down – up)
LUVOX F150, F170 & F190 LCD monitor series control keys:
(power – menu – select – down – up)
Key functions
1. Press POWER to turn on the monitor (power LED indicates
green), press POWER again to turn it off.
2. Press SELECT to select input source:
VGA <select> Composite Video <select> S-Video
(power LED indicates red for invalid signal sources)
3. Press UP to run the AUTO-COLOR balance function
4. Press DOWN to run the AUTO-ADJUST image function
(AUTO- functions are only possible in VGA mode)
- 7 -
OSD (On-Screen-Display) function
1. Press MENU to activate the OSD menu
2. Press UP / DOWN to navigate between the primary
functions.
3. Press SELECT to enter one of the primary functions
4. Press MENU to return one level in the menu
5. Press MENU in the main menu to exit OSD and save all
settings in memory.
Color
1. In the main menu select COLOR.
2. Press UP / DOWN to navigate
3. Press SELECT to adjust value with UP / DOWN
4. return to previous level with MENU
Brightness: Adjust intensity level of the image
Contrast: Adjust bright / dark level difference
Color Adjust: Adjust color of the screen’s image
Color Temp: 9300 and 6500 temperature setting
& RGB adjustable user temperature
Image Setting (2
nd
function in VGA mode)
1. In the main menu select IMAGE SETTING.
2. Press UP / DOWN to navigate
3. Press SELECT to adjust value with UP / DOWN
4. return to previous level with MENU
Clock: Adjust horizontal size of the image
Phase: Adjust focus of the image
Sharpness: Adjust clarity of the image
Video (2
nd
function in video mode)
1. In the main menu select VIDEO.
2. Press UP / DOWN to navigate
3. Press SELECT to adjust value with UP / DOWN