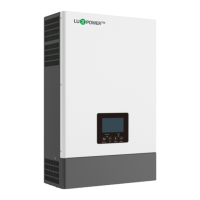
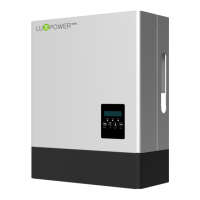
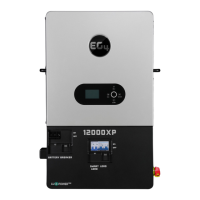
The ECO Hybrid Inverter, part of the SONAR series, is a versatile and high-frequency pure sine wave solar inverter designed for a variety of applications, including pure off-grid, backup power, self-consumption, and on-grid scenarios. This multifunctional device integrates two MPPT solar charge controllers, offering a wide MPPT range of 120V to 385V. It boasts a rated power of 6KW with a power factor of 1, and notably, it can operate with or without a battery in both on-grid and off-grid modes, providing flexibility for different energy setups.
A key feature of the inverter is its separated generator input interface, which allows for remote control of the generator. This enables the system to automatically start the generator when the battery voltage falls below a pre-defined cut-off value or when a charge request is received from the Battery Management System (BMS). Conversely, the generator will stop when the voltage exceeds the AC charge setting value. When the generator is active, the battery will be charged, and the generator's power can be bypassed to the AC output to supply all loads. The system prioritizes AC input if both utility and generator inputs are available. It also supports parallel operation with 2-3 inverters in single-phase or three-phase parallel systems to charge the battery with the generator, depending on the generator's load performance.
The inverter supports advanced parallel functionality, allowing up to 10 units to be paralleled for increased capacity. This parallel function can be configured for both single-phase and three-phase systems. For parallel operation, users need to ensure proper cable connections, set up the monitoring system by adding all datalogs to one station, and enable or disable the shared battery function depending on whether the system shares a single battery bank.
For battery management, the inverter supports CAN/RS485 communication for Li-ion battery BMS, ensuring compatibility with various battery types. When using lithium batteries, it is crucial to ensure that the battery BMS is compatible with the Luxpower inverter. The installation process involves connecting power cables and communication cables between the inverter and the battery, followed by configuring the battery type and brand via the LCD or the monitoring system. For lead-acid batteries, the recommended charge current is 0.2C (C to battery capacity), and a minimum 200Ah capacity battery is suggested for SNA5000 WPV models.
The device offers comprehensive monitoring and control capabilities through a WIFI/GPRS remote monitoring system. This allows for remote setting adjustments and firmware updates, accessible via a dedicated website and free IOS/Android applications. The monitoring system provides real-time data on solar yielding, battery discharging, energy consumption, and feed-in energy. Users can view current time/date, firmware version, serial number, PV voltage and power, battery information (type, brand, voltage, SOC, power), system working status, UPS/EPS output information, AC output power percentage, loads consumption, and grid/generator information.
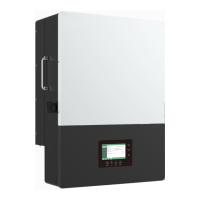
The LCD display provides an intuitive interface for settings and status monitoring. Users can navigate through various settings using four buttons: Return, UP, Down, and Enter. Settings include date and time, PV input mode (independent strings or same string for 2 MPPTs, or DC source input), battery type and capacity, UPS output voltage and frequency, buzzer enable/disable, maximum charge current (total, AC, and generator), cut-off voltage/SOC, discharge end voltage/SOC, AC input voltage range, AC charge settings (time, voltage, SOC), feed-in enable/disable and power percentage, battery wakeup enable/disable, maximum generator input power, PV off-grid enable/disable, power save function (green function and ECO mode), parallel settings (type and battery share), CT offset, fan speed settings, and generator charge settings.
The Dry Contact Signal control feature allows the inverter to deliver signals to external devices. The Dry port (NO2, COM2) can signal when the battery voltage reaches a warning level, while the GEN port (NO1, COM1) can be used to wake up the generator and initiate battery charging.
The inverter supports various working modes, including off-grid inverter mode, Hybrid Mode 1 (charge first), Hybrid Mode 2 (load first), and Bypass Mode. In off-grid mode, solar power is prioritized for loads and battery charging. In Hybrid Mode 1, solar power charges the battery first, with AC taking the load, and any excess solar power feeding into the grid if enabled. Hybrid Mode 2 prioritizes loads with solar power, and the battery discharges to support loads if solar power is insufficient. Bypass Mode uses AC to take the load, with solar power used for battery charging. These modes can be configured with or without AC charge and based on time, battery voltage, or SOC.
Maintenance and safety are paramount. The manual emphasizes that all operations and connections must be performed by qualified persons. It warns against disassembling the unit, as incorrect re-assembly can lead to electric shock or fire, and unauthorized modifications will void the warranty. To prevent electric shock, all wirings must be disconnected before maintenance or cleaning. The inverter should only charge deep-cycle lead-acid or lithium rechargeable batteries, and never a frozen battery. Proper cable sizes and breakers are recommended for optimal operation. The unit must be connected to a permanent grounded wiring system, complying with local requirements. It is crucial to avoid short-circuiting AC output and DC input and not to connect to the mains when DC input short circuits.
Installation guidelines include mounting the unit on a solid, non-flammable surface, allowing adequate air circulation (20 cm to the sides, 50 cm above and below), and ensuring the ambient temperature is between 0°C and 55°C. The recommended installation position is vertically on the wall. The manual provides detailed steps for battery, PV, AC input/output, and generator connections, including recommended cable sizes, breaker specifications, and torque values for terminals. For CT connections, the inverter supports three ratios (1000:1, 2000:1, 3000:1), and users must select the correct ratio in the monitor page or LCD.
The device also includes a comprehensive troubleshooting and error list, categorized into fault codes (E-series) and warning codes (W-series). These codes help users identify and resolve issues such as internal communication faults, battery or fan failures, software mismatches, short circuits, phase errors, and voltage/temperature anomalies. For many errors, the recommended action is to restart the inverter or check specific connections and settings. If issues persist, users are advised to contact Luxpower support.