Three wires control heating and
cooling. One wire operates
heat, one operates cooling and
the third provides 24 VAC.
Connect the 24-volt power wire to RH. Install a
jumper connecting RH to RC. This jumper is usually
pre-wired. connect the heat wire to W, and the
cooling wire to Y.
Three wires control a cooling
only system. One wire operates
the compressor, one operates
the fan and the third provides
24 VAC.
Connect the 24-volt power wire to RC. Connect the
cooling wire to Y and the fan wire to G.
Four wires control a heating
and cooling, electric, gas or oil,
forced air system that is NOT a
heat pump.
Connect the 24 VAC transformer wire to RH or RC.
Install a jumper connecting RH to RC This jumper is
often prewired. Connect the heat wire to W, the
cooling wire to Y. and the fan wire to G.
Four wires control a Single
Stage Heat Pump. They were
labeled: G, Y, R or RH or RC,
and either B or O was used.
Do not connect wires to both B and O. Connect the
reversing valve wire to B or O, just as the previous
thermostat. Install a jumper wire from RH to RC.
Connect 24 VAC wire to RH too. Install a second
jumper wire from W to Y. Connect compressor wire
to Y and the fan wire to G.
More than 4 wires are
connected to the old
thermostat.
Contact our Technical Assistance Line.
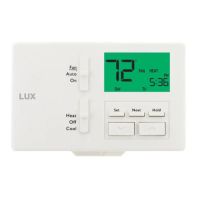
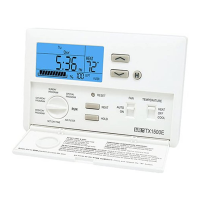
Troubleshooting the Display
Problems that may be identified from the display of your programmable thermostat are
listed here with suggested resolutions.
For more detailed information please refer to the instructions that came with your
thermostat..
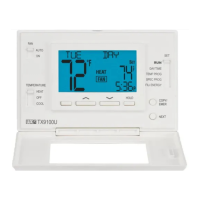
Peel protective plastic label from display.
Display blurred and
unreadable.
Peel protective plastic label from display.
Press the small round inset RESET button on the
front of your unit using a small Philips screw driver.
Replace thermostat batteries with fresh AA size
Duracell® or Energizer® alkaline batteries. Be sure
that they are installed with their polarity (+ and -)
correct.
Clean battery contacts with a pencil eraser and pry