Fold Fold Fold
3
Preparing for Access
IP Addressing
If the AMS-2600 is connected to a network with a 192.168.0.X address
scheme, and your computer shares a similar address on the same network,
you can skip to the next step, Access and Setup
.
n Note: If another device on your network shares the 192.168.0.2
address, you’ll need to temporarily reassign or remove that
device while you configure the AMS-2600.
If your network uses an address scheme other than 192.168.0.X, you’ll need
to set a temporary static IP address on the computer you’re using for
configuration. To do so, set the IP address of your computer to an address
in the 192.168.0.X range, then set the Gateway/Router address to 192.168.0.2
(the default IP address of the AMS-2600).
Once you’re finished configuring the switch, you can return your comput-
er’s IP configuration to normal, typically “Obtain Automatically/DHCP.”
n Note: Visit http://luxul.com/ip-addressing to learn more about
changing your computer’s IP address and getting connected.
4
Access and Setup
Getting Connected
Use an Ethernet cable to connect your computer to the AMS-2600, then power
on the switch.
Logging In
To access the AMS-2600 web configuration, open your web browser and
enter the switch’s default 192.168.0.2 IP address in the address field. Log in to
the switch using the default user name and password:
Default IP: 192.168.0.2
Username: admin
Password: admin
Select the menu items on the left to view and/or modify the configuration.
Refer to the Quick Setup Guide at Luxul.com for more detailed information on
setup, IP configuration and routing.
5
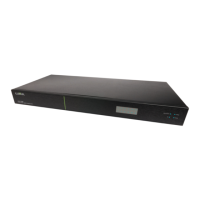
Hardware Operation
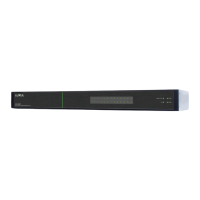
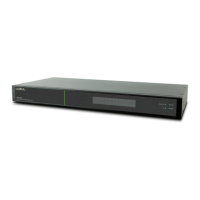
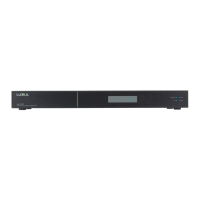
The front panel of the AMS-2600 switch features a Power LED, System LED
and a Link/Activity LED for each port. The back panel of the switch includes
(24) gigabit RJ-45 ports, two gigabit RJ-45 uplink ports with two shared SFP
ports (combo ports), a power connector, and a switch to select blue or green
front-panel LEDs. Each Ethernet port has one LED to indicate Link/Activity as
well as connection speed.
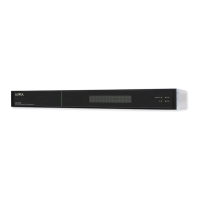
AMS-2600 Front Panel
Status Indicators
The following table describes the LED functionality for both front and
back indicators:
Front
Indicator
State Description
Power
On The AMS-2600 is switched on.
O AMS-2600 is switched o or not connected to
AC power. Check power connections and power
switch at on the rear of the unit.
Link/Act
On Device connected to the port.
Flashing Port is receiving or transmitting data.
O No device connected to the port or the device
is o.
Back
Indicator
State Description
Speed/
Link/Act
Green Gigabit device connected to the port.
Amber 10/100Mbps device connected to the port.
Flashing Port is receiving or transmitting data.
O No device connected to the port or device is o.
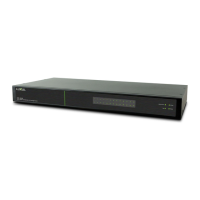
SELECTING FRONT-PANEL LED COLOR
Use the switch on the rear panel of the AMS-2600 to select either blue or
green for the Power and System LEDs on the front panel to best match the
equipment in the rack where the switch is sharing space.
AMS-2600 Selector Switch
 Loading...