Electrical Requirements & Hook-up
WARNING
Electrical Grounding
Instructions:
This outdoor gas cooking appli-
ance is equipped with a three-
prong (grounding) plug for your
protection against shock hazard
and should be plugged directly
into a properly grounded three-
prong outlet. Do not cut or remove
the third prong from this plug.
AVERTISSEMENT
Instruction pour la mise _ la
terre electrique:
Cet appareil est muni d'une fiche
trois broches (mise _ la terre)
afin de vous prot_ger des chocs
et doit _tre branch_ directement
dans une prise de courant _ trois
broches ad_quatement mise _ la
terre. II ne faut pas couper ou en-
lever la broche de mise _ la terre
de cette fiche.
CONNECTION TO AC
Installation should include an
outdoor 120VAC 15A GFI electri-
cal outlet located adjacent to the
grill. A qualified electrician can
install a GFI outlet either inside
the island enclosure for built-in
units, or near the normal location
of use for freestanding units. The
GFI plug has an internal breaker
which reduces shock hazard.
For freestanding grills, simply
plug the electrical cord into a
GFI plug. For built-in units, the
supplied 12V transformer must
be connected to the grill during
installation (see Fig. 7-1). Once
connected to the grill, the power
cord may be plugged into a GFI
outlet. If the electrical system
fails to operate, a connection
may have come loose in ship-
ping. See the Troubleshooting
section for more details.
BATTERY INSTALLATION
Your grill includes a standard 9v
battery that provides backup
power for the electronic ignition
system. To install or replace the
battery, follow this procedure:
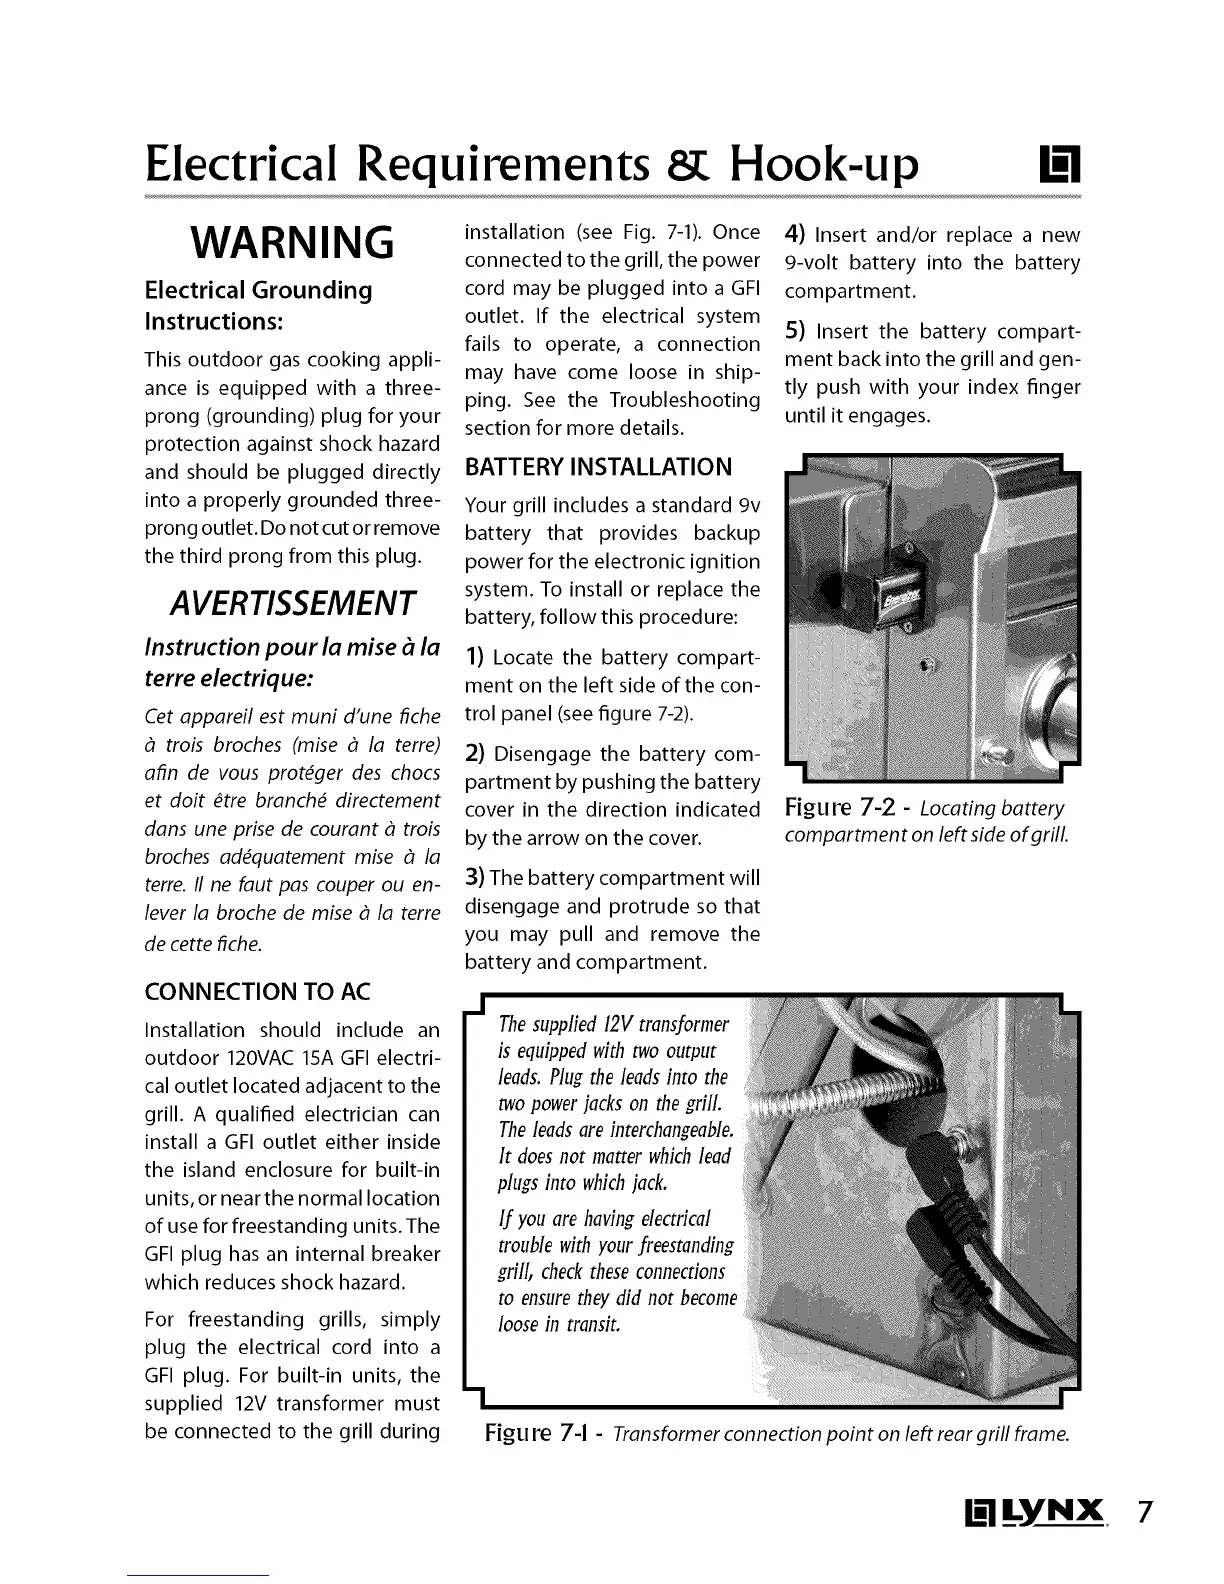
1) Locate the battery compart-
ment on the left side of the con-
trol panel (see figure 7-2).
2) Disengage the battery com-
partment by pushing the battery
cover in the direction indicated
by the arrow on the cover.
3) The battery compartment will
disengage and protrude so that
you may pull and remove the
battery and compartment.
4) Insert and/or replace a new
9-volt battery into the battery
compartment.
S) Insert the battery compart-
ment back into the grill and gen-
tly push with your index finger
until it engages.
Figure 7-2 - Locating battery
compartment on left side of grilL
Figu re 7-1 - Transformer connection point on left rear grill frame.
B _I-yNX 7
 Loading...