P a g e | 4
MOUNTING THE HEATER
Initial mounting considerations have been discussed, and now it’s time commit your placement theory into motion.
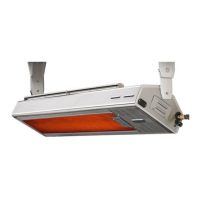
Consider the following pieces of information to help you through: The Lynx Eave Mount Patio Heater is made from the
finest materials available- heavy gauge stainless steel. As a result, this heater is heavy- It weighs around 50 pounds and
must be mounted securely. The ‘100 pound rule’ should be followed, whereas, it must be mounted such that the
anchors will support at least 100 pounds, or it may be considered a ‘suspension hazard’. FAILURE TO INSTALL THE
HEATER IN SUCH A MANNER MAY CAUSE THE HEATER TO FALL, RESULTING IN PROPERTY DAMAGE, INJURY, OR
DEATH. ADDITIONALLY, LOCAL CODES REGARDING HEAD CLEARANCE REQUIREMENTS MUST BE OBSERVED. Each
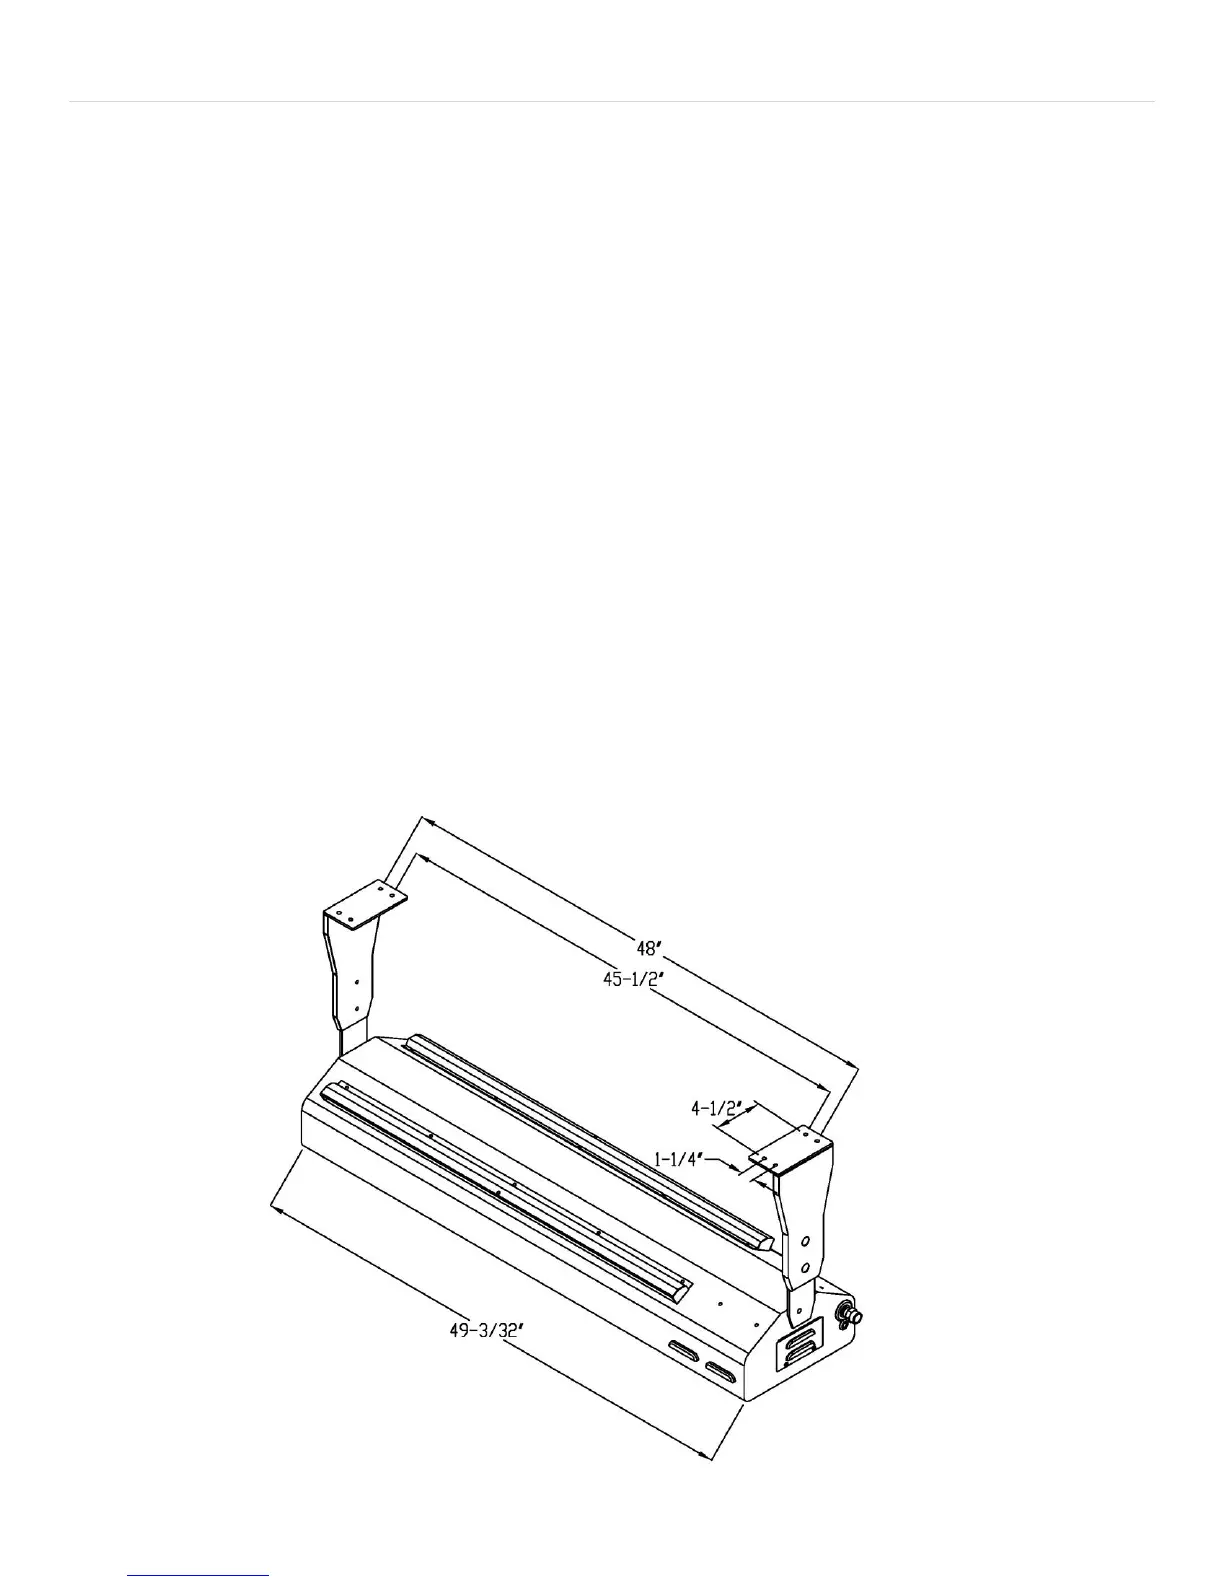
mounting bracket is provided with (4) mounting holes. A quantity of (8) 5/16 x 1/1-2” Stainless lag bolts have been
provided for installation. If mounting into solid wood, for example, an eave joist , then only 2 holes (front to back holes)
per bracket need to be used (the inside holes nearest the vertical wall). Otherwise, use all (4) holes per bracket. If
mounting into a ‘hollow surface’, for example, stucco over wallboard and studs, , then 5/16” anchors, that are
appropriate for the mounting surface ,must be used (not provided).The distance between the outermost holes of the
mounting brackets, across the heater length , is 48”. This distance is intended to accommodate standard roof joist
spacing of 24” O.C. The distance between the innermost holes of the mounting brackets is 45-1/2”. The short distance
between the holes (side to side) on each mounting bracket is 1-1/4”. The long distance (front-to back) is 4-1/2” between
the holes. See illustration.
Mounting Bracket Spacing
 Loading...