13. Clip the male connection at the output of the breathing hose with the female connec-
tion of the exhale counterlung (BLACK connection) -> Put the circlip on the secured
position.
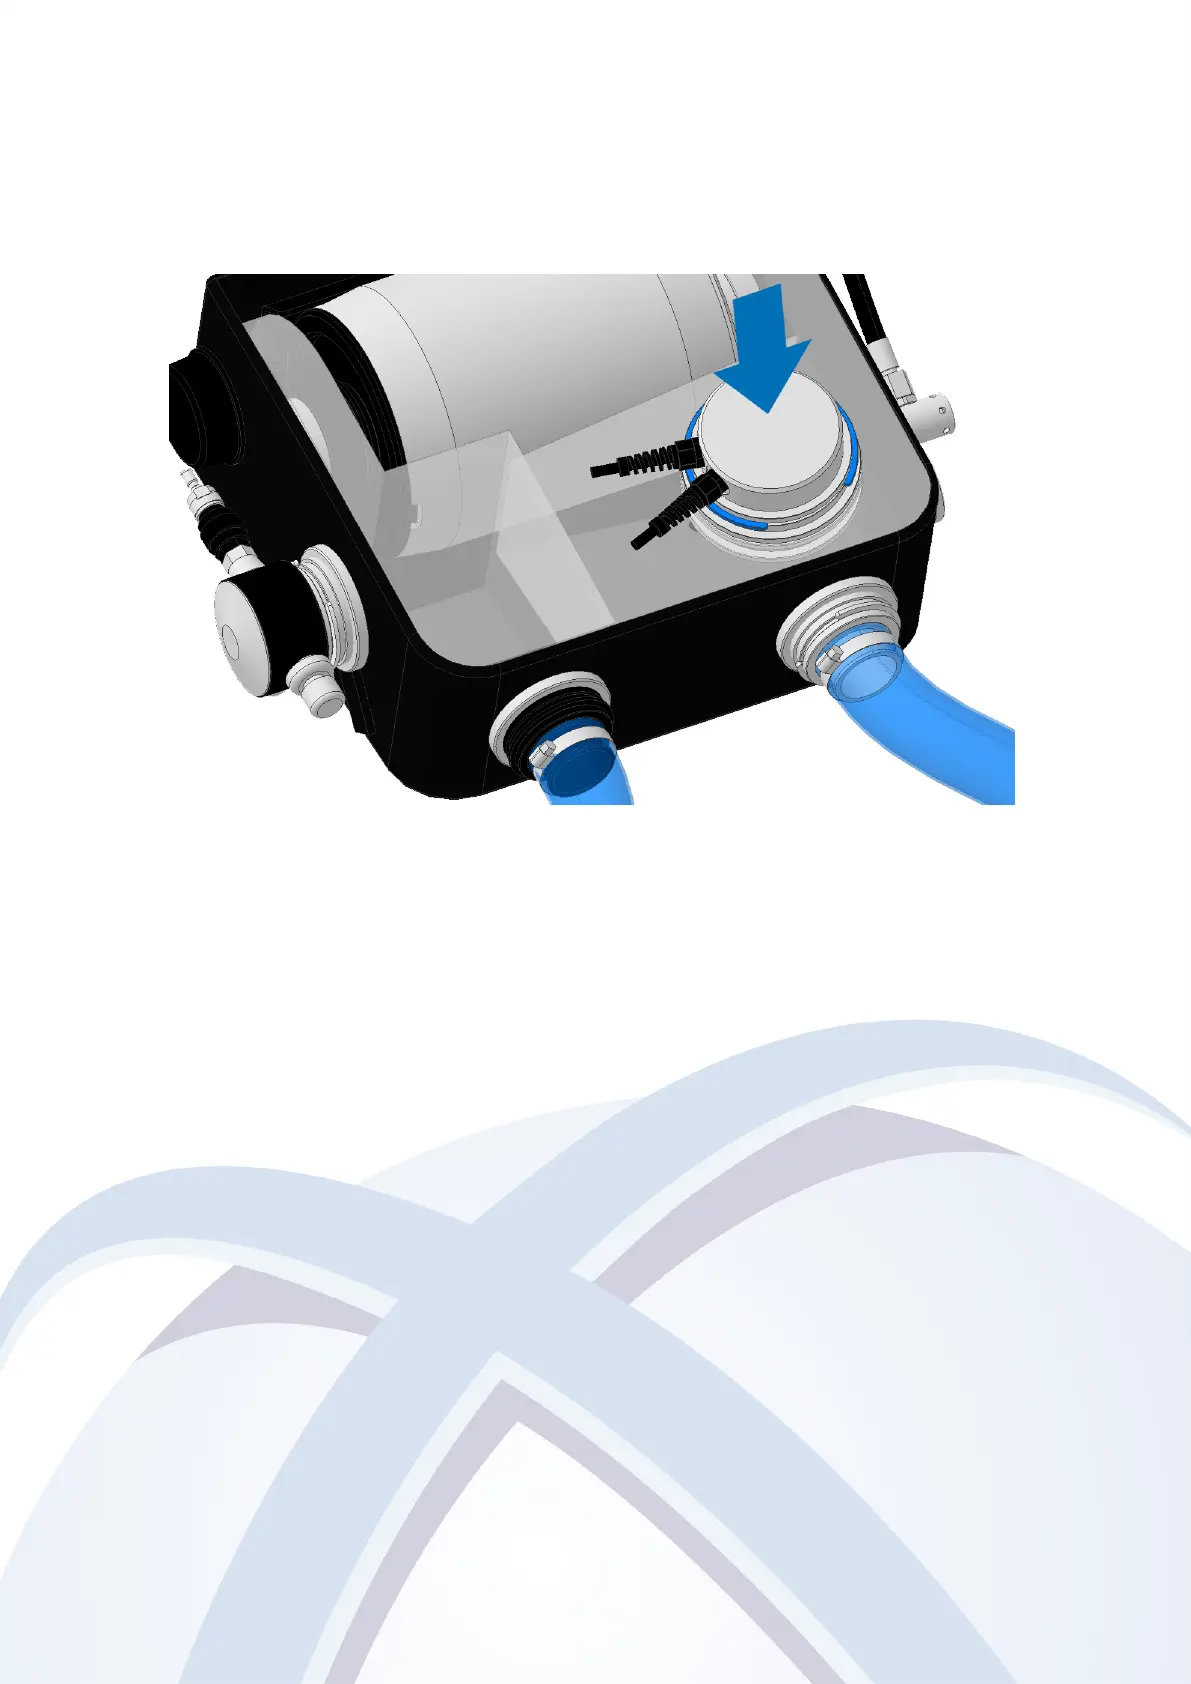
14. Introduce the cells housing into the inhale counterlung.
15. Insert the HUD through the buttonhole and clip it on the support.
WARNING Cables not rolling up the Inhale counterlung
16. Then tests can be done.
3.1.3 Tanks checking
WARNING Before each dive, the user needs to verify the pressure of the tanks and analyses
carefully the gas.
3.1.4 Tanks connection
Connect the DS4 regulator on the oxygen tank, strap the tank underneath the kevlar bag
placing the valve on the right side of the rebreather and secure the CMF valve.
Connect the Diluent’s regulator on the tank (with at least a second stage for back up, a
manometer, a direct system to manage the buoyancy and a second direct system for the
TRITON).
Before going into the water, connect the direct system on the ADV.
3.1.5 TRITON setting diagram
Figure 3.2 gives a setting diagram of the successive steps for setting the TRITON. This flow
chart can be used as a "memorandum".
20
 Loading...