5
ENGLISH
Register
Thank you for your purchase. Register your product nowfor:
• WARRANTY SERVICE: Registering your product will
help you obtain more efficient warranty service in case
there is a problem with yourproduct.
• CONFIRMATION OF OWNERSHIP: In case of an
insurance loss, such as fire, flood or theft, your
registration of ownership will serve as your proof
ofpurchase.
• FOR YOUR SAFETY: Registering your product will
allow us to contact you in the unlikely event a safety
notification is required under the Federal Consumer
SafetyAct.
Cleaning
WARNING: Blow dirt and dust out of all air vents with
clean, dry air at least once a week. To minimize the risk
of eye injury, always wear ANSI Z87.1approved eye
protection when performingthisprocedure.
WARNING: Never use solvents or other harsh
chemicals for cleaning the non‑metallic parts of
the lamp. These chemicals may weaken the plastic
materials used in these parts. Use a cloth dampened
only with water and mild soap. Never let any liquid get
inside the lamp; never immerse any part of the lamp
into aliquid.
Repairs
WARNING: To assure product SAFETY and
RELIABILITY, repairs, maintenance and adjustment
(including power cord repairs, and brush inspection
and replacement, when applicable) should be
performed by a MacTools® factory service center or
a MacTools® authorized service center. Always use
identical replacementparts.
Accessories
WARNING: Since accessories, other than those
offered by MacTools®, have not been tested with
this product, use of such accessories with this lamp
could be hazardous. To reduce the risk of injury, only
MacTools® recommended accessories should be used
with thisproduct.
Recommended accessories for use with your lamp
are available at extra cost from your local dealer or
authorized service center. If you need assistance in
locating any accessory, please contact MacTools®, call
1-800-MAC-TOOLS (1-800-622-8665) or visit our website:
www.mactools.com.
MAINTENANCE
WARNING: To reduce the risk of serious personal
injury, turn unit off and disconnect it from
power source before making any adjustments or
removing/installing attachments or accessories.
An accidental start‑up can causeinjury.
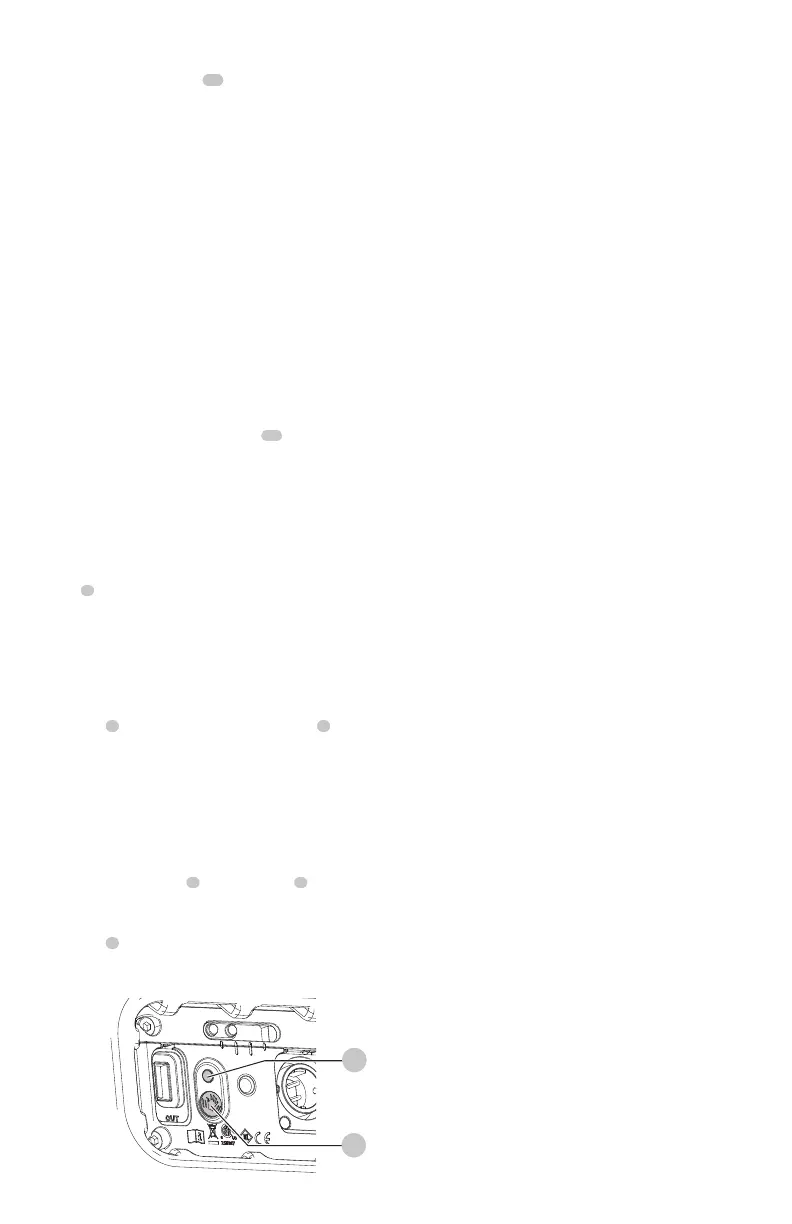
Fig. E
9
2
Motion Sensor Button (Fig.A, E)
1. To activate motion sensing, press the motion sensor
button
2
. The motion sensor indicator LED
9
will
illuminate indicating that motion sensing isactive.
NOTE: Motion sensing will now work with any
brightness level.
2. To use motion sensing, select any brightness level. The
LED will illuminate for approximately 30 seconds and
will shut off if no motion is detected. To turn the area
light using moting detection, swipe your hand in front
of the motion sensor
8
to turn the LED
5
on. The area
light will remain on as long as motion is detected.
3. To deactivate motion sensing, press the motion sensor
button
2
. The motion sensing indicator LED will turn off
indicating that motion sensing is notactive.
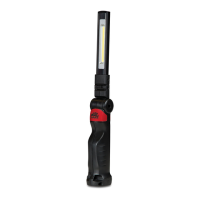
On/Off Switch (Fig. A)
CAUTION: Do not stare into area light lens.
Serious eye injury couldresult.
To turn the area light on, slide the on/off/brightness
switch
1
to one of the three brightness levels (roughly
500lm, 1000lm and 2500lm).
To turn the area light off, slide the on/off/brightness switch
to the off position.
Magnets (Fig.A)
CAUTION: When the area light hangs by the
magnets, do not shake the area light or the object
from which it hangs. Do not hang the area light from
anything that is not secure. Personal injury or property
damage mayoccur.
CAUTION:
Only use the magnets for hanging the
LED area light. The magnets are not intended to
support additional weight. Do not attach or hang
anything additional to the area light or risk of breakage
mayoccur.
WARNING: Do not stand directly under the area light
when it is being supported soley by themagnets.
The area light has six built in magnets
11
on the side and
base. These magnets are intended to hold the area light in
place on metalsurfaces.
Screw Threads (Fig. A)
1. Place the screw threads
12
of the area light on the
tripod's mounting screw using a screw with a 1/4" bolt,
and 20threads perinch.
2. Rotate the area light clockwise toattach.
 Loading...