To create a route:
1.
Press
NAV/ROUTE,
then the
LEFT ARROW.
2.
The route menu is displayed. Since there are no routes in the
receiver's memory, only two options are displayed
, "SET ROUTE"
and "BACKTRACK." Use the
UP/DOWN ARROW
to high light
"SET ROUTE" and press
ENTER.
3.
The receiver displays a FROM field and a TO field, with the cursor
active in the FROM field. The FROM field is the starting position.
Select the FROM-waypoint by pressing the
RIGHT ARROW
to
scroll through the waypoint library. Press
ENTER
when way-
point SEATTL is displayed.
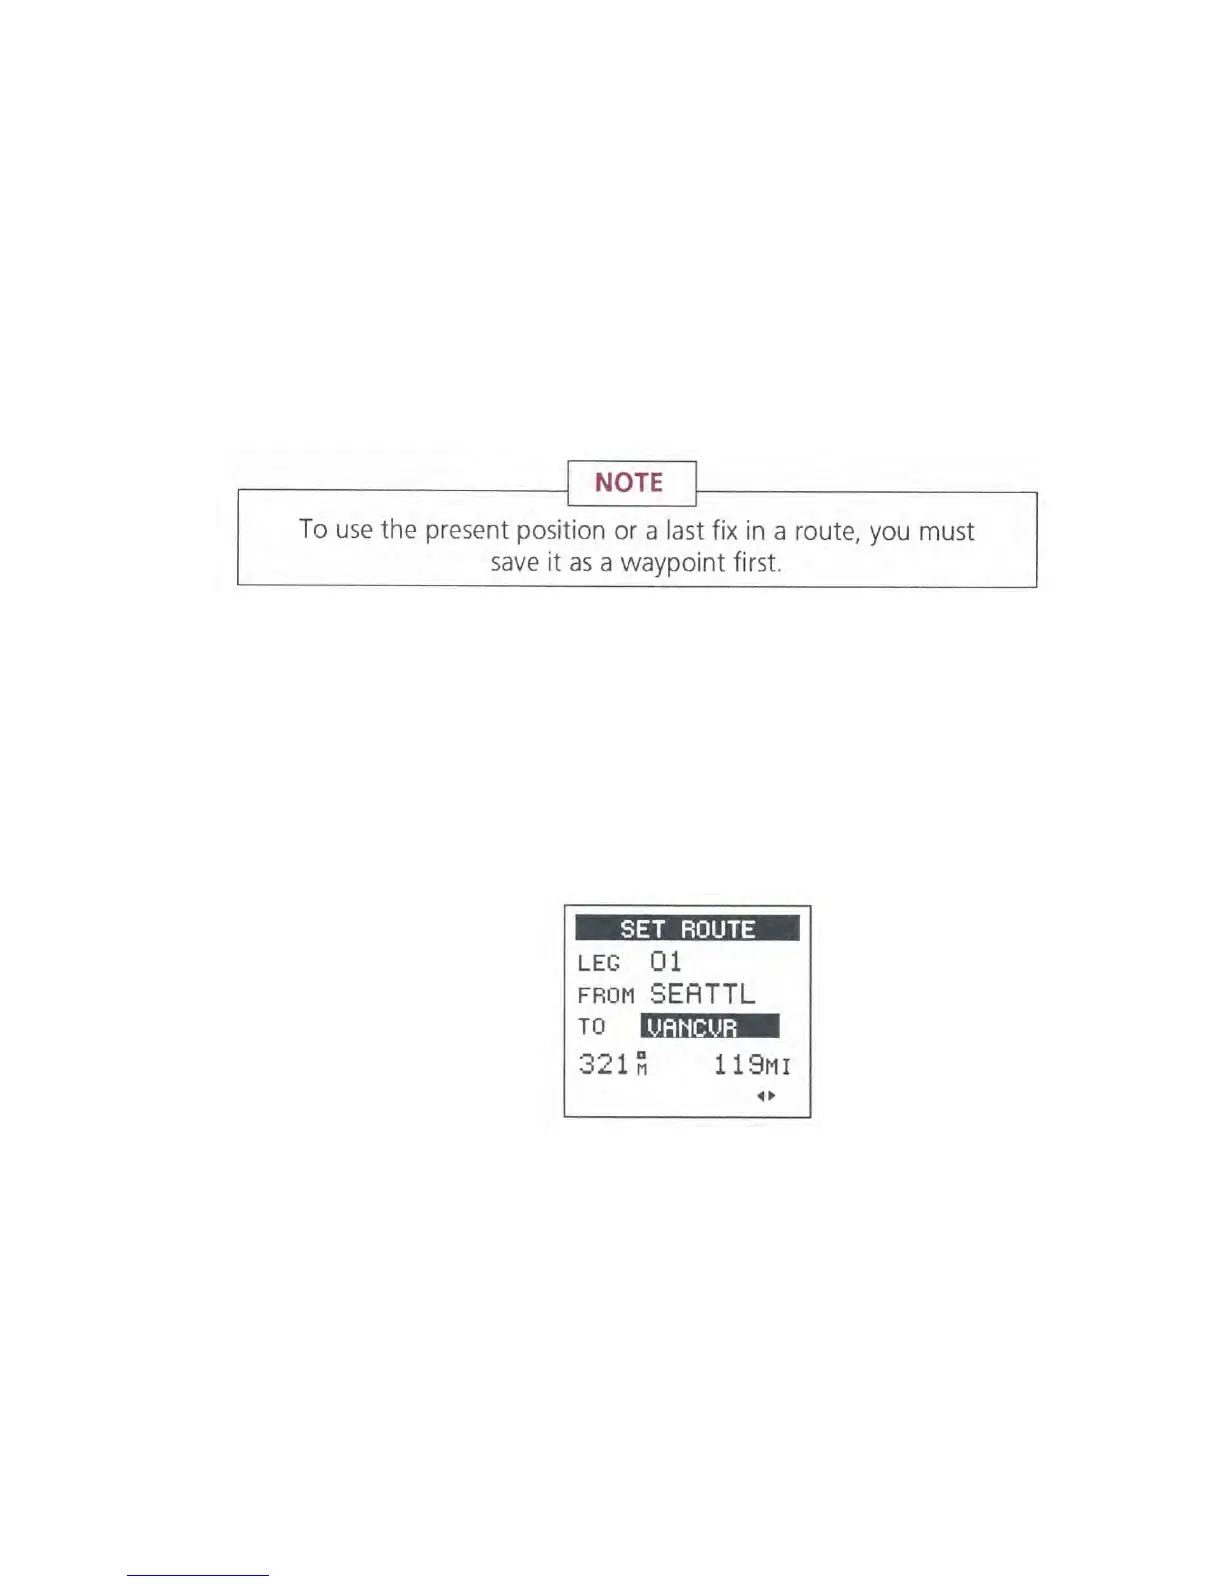
4.
The receiver moves the cursor to the TO field. Select the
destination of the first leg in the same way. For now, display
waypoint VANCVR. As soon as a waypoint is displayed in the
TO-field, the receiver shows bearing and distance from the
FROM-waypoint to the displayed waypoint. lf the waypoints
were entered correctly above, bearing and distance from
waypoint SEATTL to waypoint VANCVR should be 321°m
(
magnetic) and 119 miles. Press
ENTER
to select the displayed
waypoint.
5.
The receiver saves VANCVR as the destination of the first leg,
and also as the FROM-waypoint of the next leg.
The TO-
-
waypoint of one leg is always the FROM
-
waypoint of the
next leg.
If you were to continue adding waypoints to the
route, you would have a multileg route of up to 15 legs.
Since we aren't adding any more waypoints now, press
ENTER
again. The receiver saves the route, activates it for navigation,
and displays the Navigation screen.
6.
Any route can also be reversed so your original starting position
becomes the destination. To reverse a route, press
NAV/
ROUTE,
then the
LEFT ARROW
twice. Use the
UP/DOWN
25