7
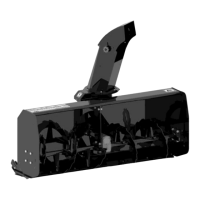
ASSEMBLY
STEP1
SNOWBLOWERPREPARATION
NOTE:Thissteprequirestwopeople.
Wraptherotationring(item1)(grooveinside)around
theedgeofthedischargechute(item2)asshown.
Placethechute(item3)(openingfacingforward)over
therotationring.
IMPORTANT:Theringmustbeinsidethebaseofthe
chute.Itisthechutethatwillholdtherotationringin
place.
On the right side of snowblower, install the grooved
rotationring(item4)underthechuteasshown.
Secure the chute and rotation ring in place with six
hex bolts 1/4’’ x 1 1/4’’ (item 5) and nuts as shown.
Donottightentoofirmly.
On the left side of the snowblower, install the other
half of rotation ring (item 6) under the chute as
shown.
Securethechuteandrotationringinplacewiththree
hexbolts1/4’’x11/4’’ (item7)andnuts(asshown).
Donottightenthenutstoofirmly.
(Nutsthat aretoo tightmightprevent the chute from
rotating side to side. Only a slight pressure is
necessary).
Installtherotationring
Adjust the hydraulic motor (item 1) byloosening the
threenutsonthecarriagebolts(item2)thatholdthe
hydraulicmotorinplace.Donotremovethenuts.
Slidethemotortowardsthechute(item3)asshown
(the grooves on the motor’s sprocket must match
those of the rotation ring). Adjust and retighten the
nuts.Tightenfirmly.
Install the sprocket guard (item 4) as shown and
secureinplacewithtwo1/4’’x1/2’’bolts(item5).
Installtherotationring&chute
Installthesprocketguard
WARNING
Operateonlywhenalltheguardsareinplace.
 Loading...