6 ENGLISH
ASSEMBLY
CAUTION:
• Always be sure that the tool is switched off and
the battery cartridge is removed before carrying
out any work on the tool.
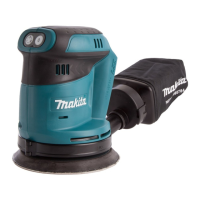
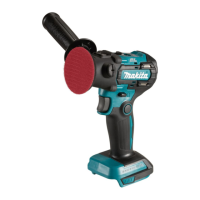
Installing abrasive disc
1
2
► 1. Pad 2. Abrasive disc
To install the abrasive disc, rst remove all dirt or for-
eign matter from the pad. Then attach the abrasive disc
to the pad. Be careful to align the holes in the abrasive
disc with those in the pad.
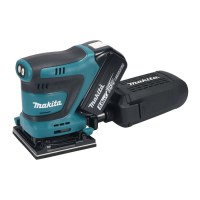
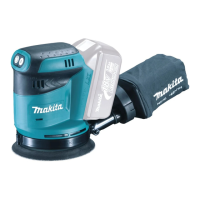
Installing dust bag (optional
accessory)
1
► 1. Dust bag
Install the dust bag on the tool with its mouth directing
downwards.
Emptying dust bag
1
► 1. Dust nozzle
When the dust bag is about half full, switch off the tool, and
remove the dust bag from the tool. Then remove the dust nozzle
from the dust bag after unlocking the dust nozzle by turning it
slightly counterclockwise. Empty the dust bag by tapping it lightly.
1
► 1. Dust nozzle
After emptying the dust bag, install the dust nozzle on the dust
bag. Turn the dust nozzle slightly clockwise to lock it in place. Then
install the dust bag on the tool as described in "Installing dust bag".
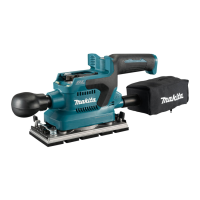
Installing paper lter bag (Optional
accessory)
1
► 1. Holding tab
Make sure that the logo on the cardboard lip and the
logo on the dust box are on the same side, then install
the paper lter bag by tting the cardboard lip in the
groove of each holding tab.
 Loading...