14 ENGLISH
NOTE: Depending on the conditions of use and the
ambient temperature, the indication may dier slightly
from the actual capacity.
NOTE: The rst (far left) indicator lamp will blink when
the battery protection system works.
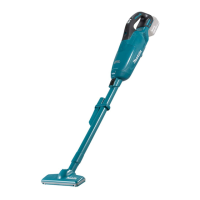
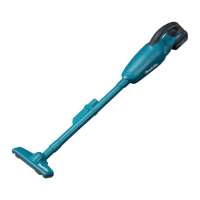
Switch action
► Fig.4: 1. Suction power change button 2. ON/OFF
button
To start the cleaner, simply push the ON/OFF button. To
switch o, push the ON/OFF button again.
You can change the suction power of the cleaner in
four steps by pushing the suction power change button.
Each push on this button repeats the Quiet/Normal/
High/Max mode in a cycle.
Level Indication Mode
1
Quiet mode
2
Normal speed
mode
3
High speed mode
4
Max speed mode
NOTE: You can change the suction power before
turning on the cleaner.
NOTE: The cleaner starts the operation with the
same suction power as the last operation.
Lighting up the lamp
CAUTION: Do not look in the light or see the
source of light directly.
To turn on the lamp, push the suction power change
button. The lamp goes o in approximately 10 seconds.
While the cleaner is running, the lamp turns on.
The lamp goes out approximately 10 seconds after
stopping operation.
NOTE: When the remaining battery capacity gets low,
the lamp starts blinking. The timing, at which the lamp
starts blinking depends on the temperature at work
place and the battery cartridge conditions.
► Fig.5: 1. Suction power change button 2. ON/OFF
button 3. Lamp
PARTS DESCRIPTION
► Fig.6
1 250 mL dust case
(Optional accessory)
2 400 mL dust case
(Optional accessory)
3 Mesh lter 4 Cyclone body
5 High performance
lter (Filter frame in
gray color) (Optional
accessory)
6 HEPA lter (Filter frame
in white color) (Optional
accessory)
7 Sponge sheet 8 Cleaner body
9 Hand strap (Country
specic)
- - - - - -
ASSEMBLY
CAUTION: Always be sure that the tool is
switched o and the battery cartridge is removed
before carrying out any work on the tool.
NOTICE: Make sure all the attachments and
components are secured in place properly before
use.
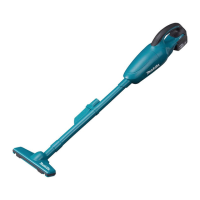
Installing and removing cleaner
attachments
CAUTION: After installing attachments, check
if they are securely installed. If the attachments are
installed imperfectly, they may come o and cause
personal injury.
CAUTION: Be careful not to hit your hand on
the wall etc. when removing the attachments.
When using attachment with lock
function
To install attachment, insert it to the suction inlet of the
cleaner until it clicks. Make sure that the attachment is
locked.
► Fig.7: 1. Suction inlet 2. Attachment with lock func-
tion 3. Hook 4. Release button
NOTICE: When installing the attachment with
lock function, be sure to align the release button
on the cleaner with the hook on the attachment. If
they are not aligned, the attachment will not be locked
and may come o from the cleaner.
To remove attachment, pull it o the cleaner while
pressing and holding the arms of the release button.
► Fig.8: 1. Release button 2. Arm of release button
3. Attachment with lock function 4. Suction
inlet
 Loading...