H
hparkerJul 28, 2025
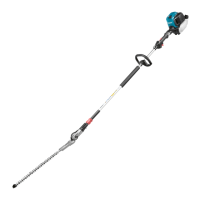
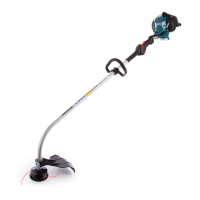
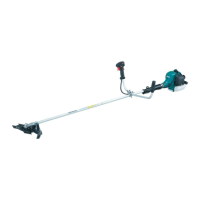
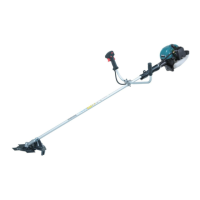
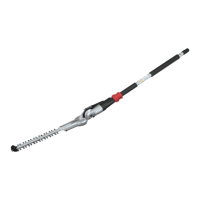
Why is my Makita EN420MP vibrating abnormally?
- CChristina BryantJul 28, 2025
If your Makita Trimmer vibrates abnormally, stop the motor immediately. This could be because the drive system is not working properly. In this case, you should ask an authorized service center to inspect and repair it.