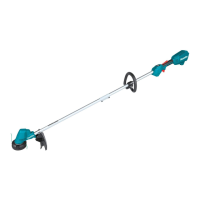
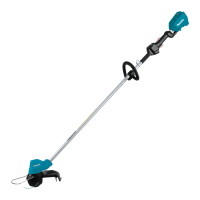
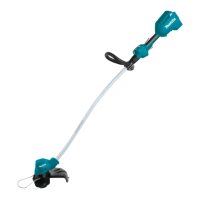
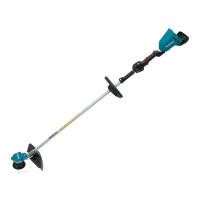
12 ENGLISH
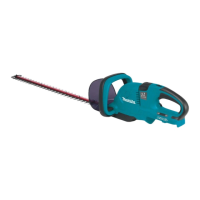
1. Place the tool upside down, and then remove 6
bolts.
1
►1. Bolt
2. Remove the cover, gasket, plate A and plate B.
2
1
3
4
►1. Cover 2. Gasket 3. Plate A 4. Plate B
NOTE:Thegasketorplatesmayremainonthecover.
3. Remove the rod and the bearing.
1
2
►1. Rod 2. Bearing
NOTE:Therodorbearingmayremainonthecover.
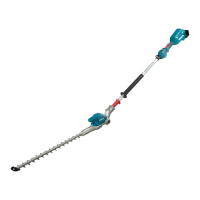
4. Remove 2 bolts, 2 sleeves, and the felt pad, and
then remove the shear blades.
1
3
4
2
►1. Felt pad 2. Bolt 3. Sleeve 4. Shear blades
NOTICE: Be careful not to lose the bolts.
5. Remove the blade cover, and then attach it to the
new shear blades.
6. Adjustthecranksothat2holesarelinedupon
the alignment line.
1
2
►1. Hole 2. Alignment line
 Loading...