14 ENGLISH
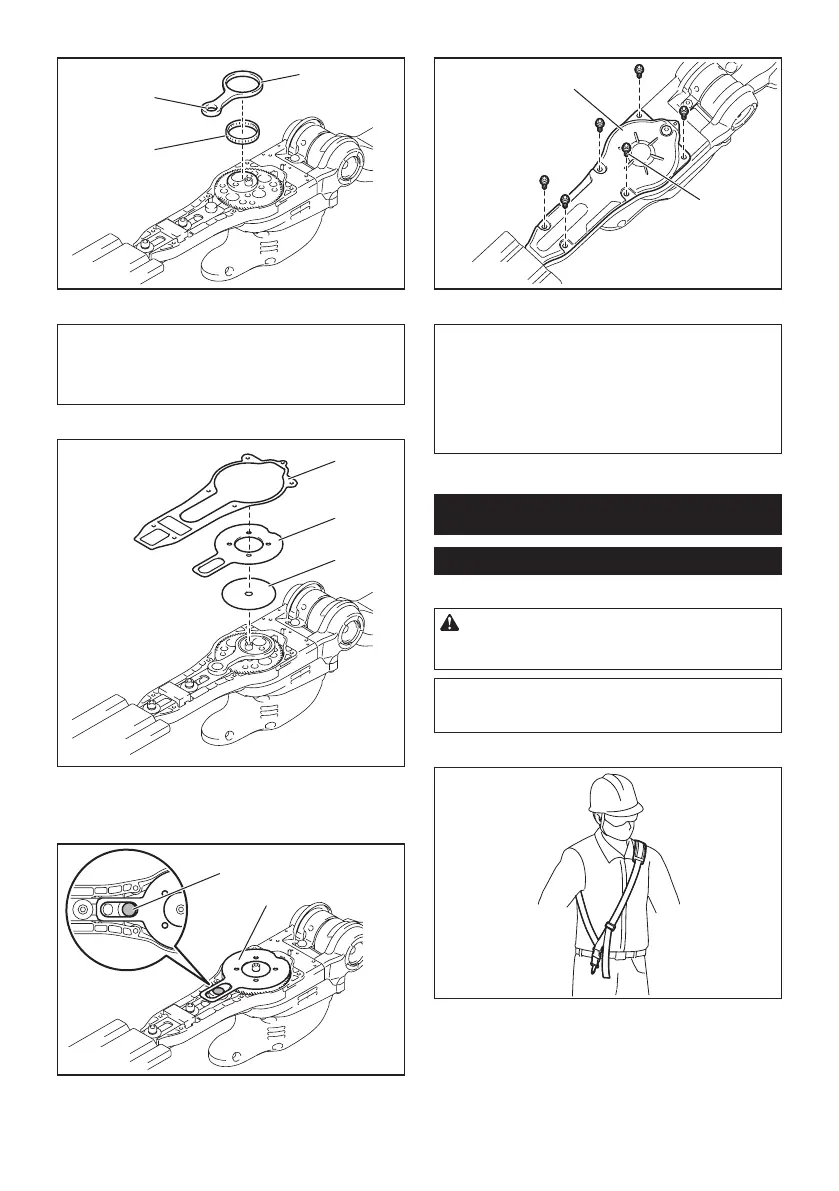
11. Attach the bearing and the rod.
2
3
1
►1. Rod 2. Small hole 3. Bearing
NOTICE: Apply a small amount of grease to the
inner periphery of the small hole of the rod.
NOTICE: Make sure that the protrusion on the
shear blades ts in the small hole on the rod.
12. Attach plate B, plate A, and the gasket.
1
2
3
►1. Gasket 2. Plate A 3. Plate B
13. Align the hole in the plate with the protrusion on
theshearbladessothattheprotrusiontsinthehole.
1
2
►1. Protrusion 2. Plate
14. Attach the cover, and then tighten 6 bolts.
1
2
►1. Cover 2. Bolt
NOTICE: If the shear blades do not move
smoothly, the shear blades are not engaged with
the rods properly. Install the shear blades again.
NOTICE: If the parts other than the shear
blades such as the rods are worn out, ask Makita
Authorized Service Centers for parts replacement
or repairs.
OPERATION
Attaching the shoulder harness
Optional accessory for XNU01
CAUTION: Before operation, make sure that
the shoulder harness is properly attached to the
hanger on the tool.
NOTE: Use the shoulder harness attached to the tool.
Beforeoperation,adjusttheshoulderharnessaccord-
ing to the user size to prevent fatigue.
1. Weartheshoulderharnessonyourshoulder.
 Loading...