Explanatory Photos for DISASSEMBLY
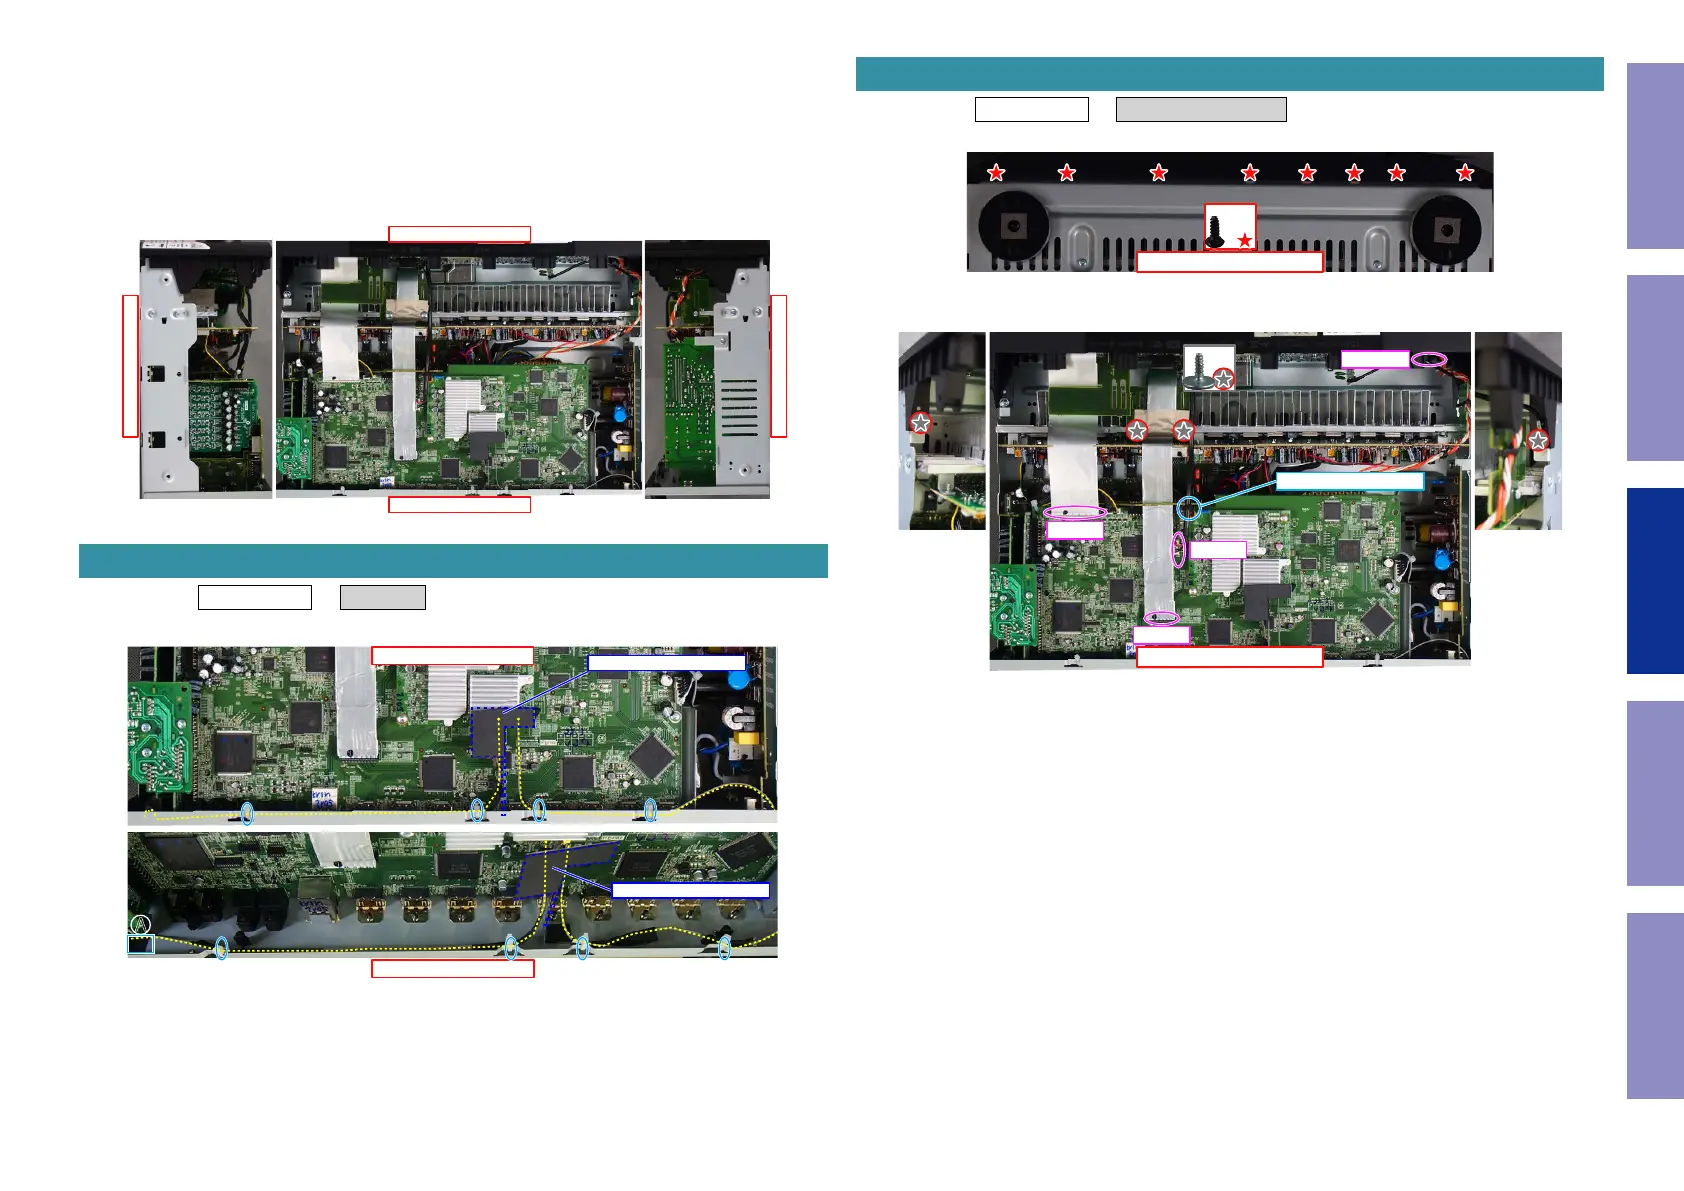
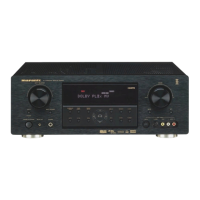
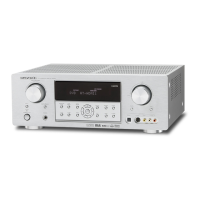
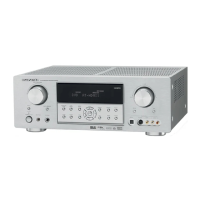
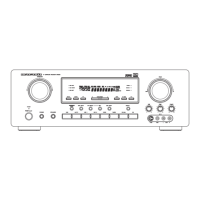
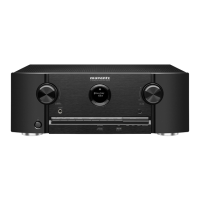
• For the shooting direction of each photos used in this manual, see the photo below.
• A, B, C and D in the photo below indicate the shooting directions of photos.
• The photographs with no shooting direction indicated were taken from the top of the unit.
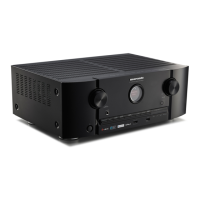
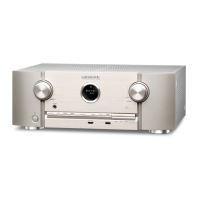
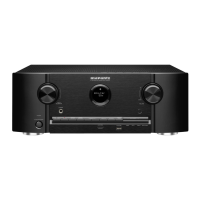
• Photos of SR5012 U are used in this manual.
The viewpoint of each photograph
(Shooting direction : X) [View from the top]
Proceeding : TOP COVER → WiFi ANT
(1) Remove the INSULATION SHEET. Cut the wire clamps.
NOTE : ・If the INSULATION SHEET has been removed, replace with a new sheet.
・ When attaching the INSULATION SHEET, align with the Silk-Print and up to side of the NET-
WORK MODULE PCB.
・Fix with tape in position A.
↓Shooting direction: C↓
↑Shooting direction: D↑
↑Shooting direction: A↑
↓Shooting direction: B↓
1. WiFi ANT
↑Shooting direction: A↑
View from the TOP
INSULATION SHEET
�
INSULATION SHEET
Proceeding : TOP COVER → FRONT PANEL ASSY
(1) Remove the screws.
(2) Remove the screws. Remove the CORD HOLDER and connectors. Remove the FFC.
2. FRONT PANEL ASSY
View from the bottom
x8
↑Shooting direction: A↑
x4
FFC
FFC
N1008
CP4400
CORD HOLDER
75
Caution in
servicing
Electrical Mechanical Repair Information Updating


 To Next Page