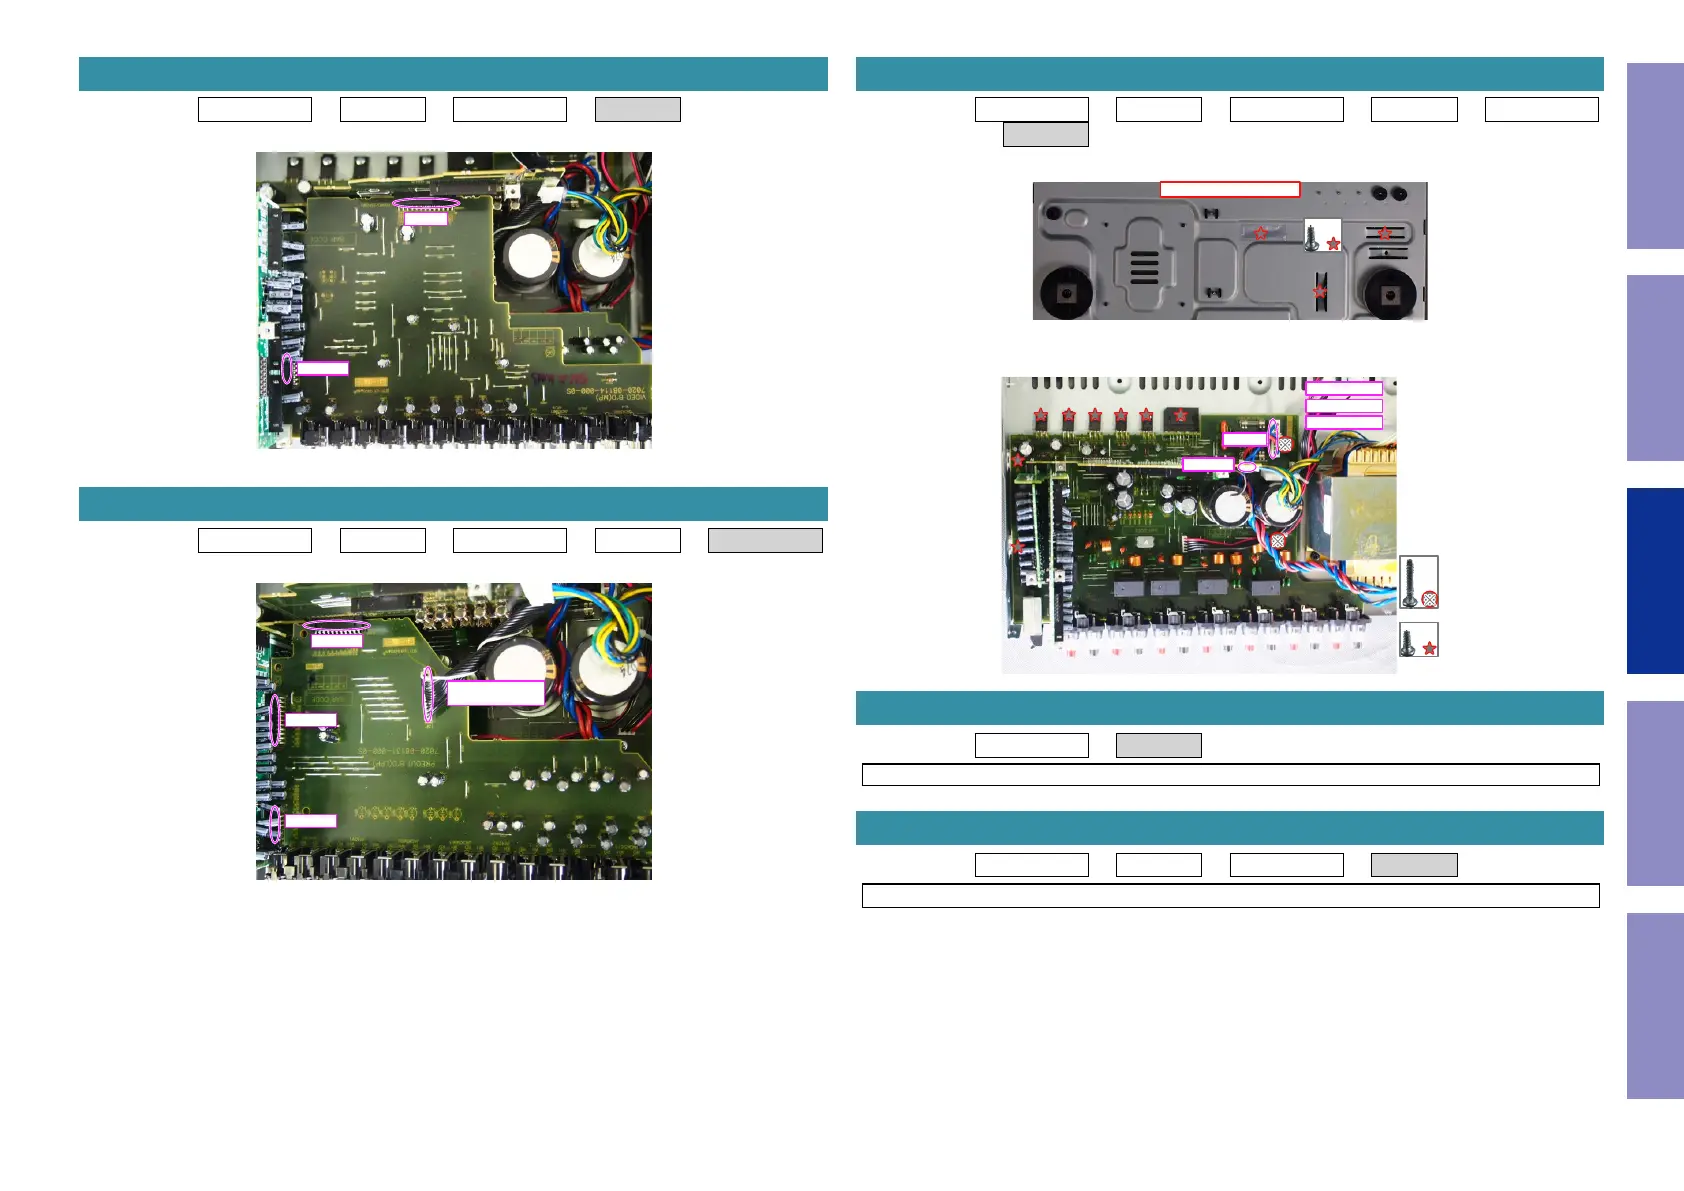
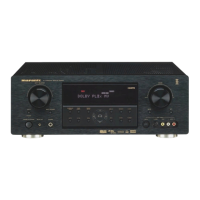
Proceeding : TOP COVER → WiFi ANT → DIGITAL PCB → VIDEO PCB
(1) Remove the connector.
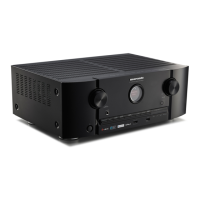
Proceeding : TOP COVER → WiFi ANT → DIGITAL PCB → VIDEO PCB → PREOUT PCB
(1) Remove the connector.
5. VIDEO PCB
N5000
CN5003
6. PREOUT PCB
CN5601
CN4704
CN5602
CN5600
from AMP PCB
Proceeding : TOP COVER → WiFi ANT → DIGITAL PCB → VIDEO PCB → PREOUT PCB
→ MAIN PCB
(1) Remove the screws.
(2) Remove the screws. Remove the connector.
Proceeding : TOP COVER → SMPS PCB
See "EXPLODED VIEW" for instructions on removing the SMPS PCB.
Proceeding : TOP COVER → COVER → DIGITAL PCB → TRANS
See "EXPLODED VIEW" for instructions on removing the transformer (TRANS).
7. MAIN PCB
View from the bottom
x3
x8
x2
from CP405
from CP403
from CP402
CP401
CP5003
8. SMPS PCB
9. TRANS
77
Caution in
servicing
Electrical Mechanical Repair Information Updating


 To Next Page