5
1.2. OPERATING MODES
The functions of the Genius computer can
be grouped into three categories, each
corresponding to a specific mode of operation:
• surface mode: the computer is dry on
the surface. In this mode you can change
settings, review your logbook, use the dive
planner, see remaining desaturation after a
dive, download to PC and much more;
• dive mode: the computer is at a depth of
1.2m/4ft or more. In this mode, Genius
monitors depth, time, temperature and
performs all decompression calculations;
dive mode itself can be broken down into 4
sub categories:
- pre-dive (Genius is on the surface but
actively monitoring ambient pressure, so
that it can begin to calculate a dive the
instant it is submerged below 1.2m/4ft);
- dive
- surfacing (Genius is on the surface at
the end of a dive; dive time calculation
is halted but if the diver submerges
within threeminutes the dive is resumed
including the time spent on the surface;
this for instance would allow a diver to
surface momentarily to set a bearing
towards the boat, then submerge again
and swim towards the boat);
- post-dive (after the threeminutes of
surfacing mode, Genius closes the
logbook and reverts to a display showing
desaturation time, no-fly time and surface
interval; this lasts until the desaturation
and the no-fly time both have been
reduced to zero);
• sleep mode: the computer is on the
surface after 3 minutes without operation
(10minutes from pre-dive mode). Though
the computer appears to be turned
off completely, it is still active. Genius
computes tissue desaturation and checks
the ambient pressure once every 20
seconds for uninterrupted monitoring of the
environment.
1.3. TURNING ON GENIUS AND
MAIN MENU
To start the computer, press the left button.
This brings up the home display, shown in
Figure 1. The home display provides at-a-
glance information about time, temperature,
battery status, settings of the algorithm and,
when paired to an active transmitter, tank
pressure. From the home display you can call
up the main menu with all available settings
and functions, but you can also directly reach
certain useful functions such as logbook, dive
planner, gas and algorithm settings, bluetooth
connection.
Once in the main menu, you will see the
familiar look of an icon-based user interface.
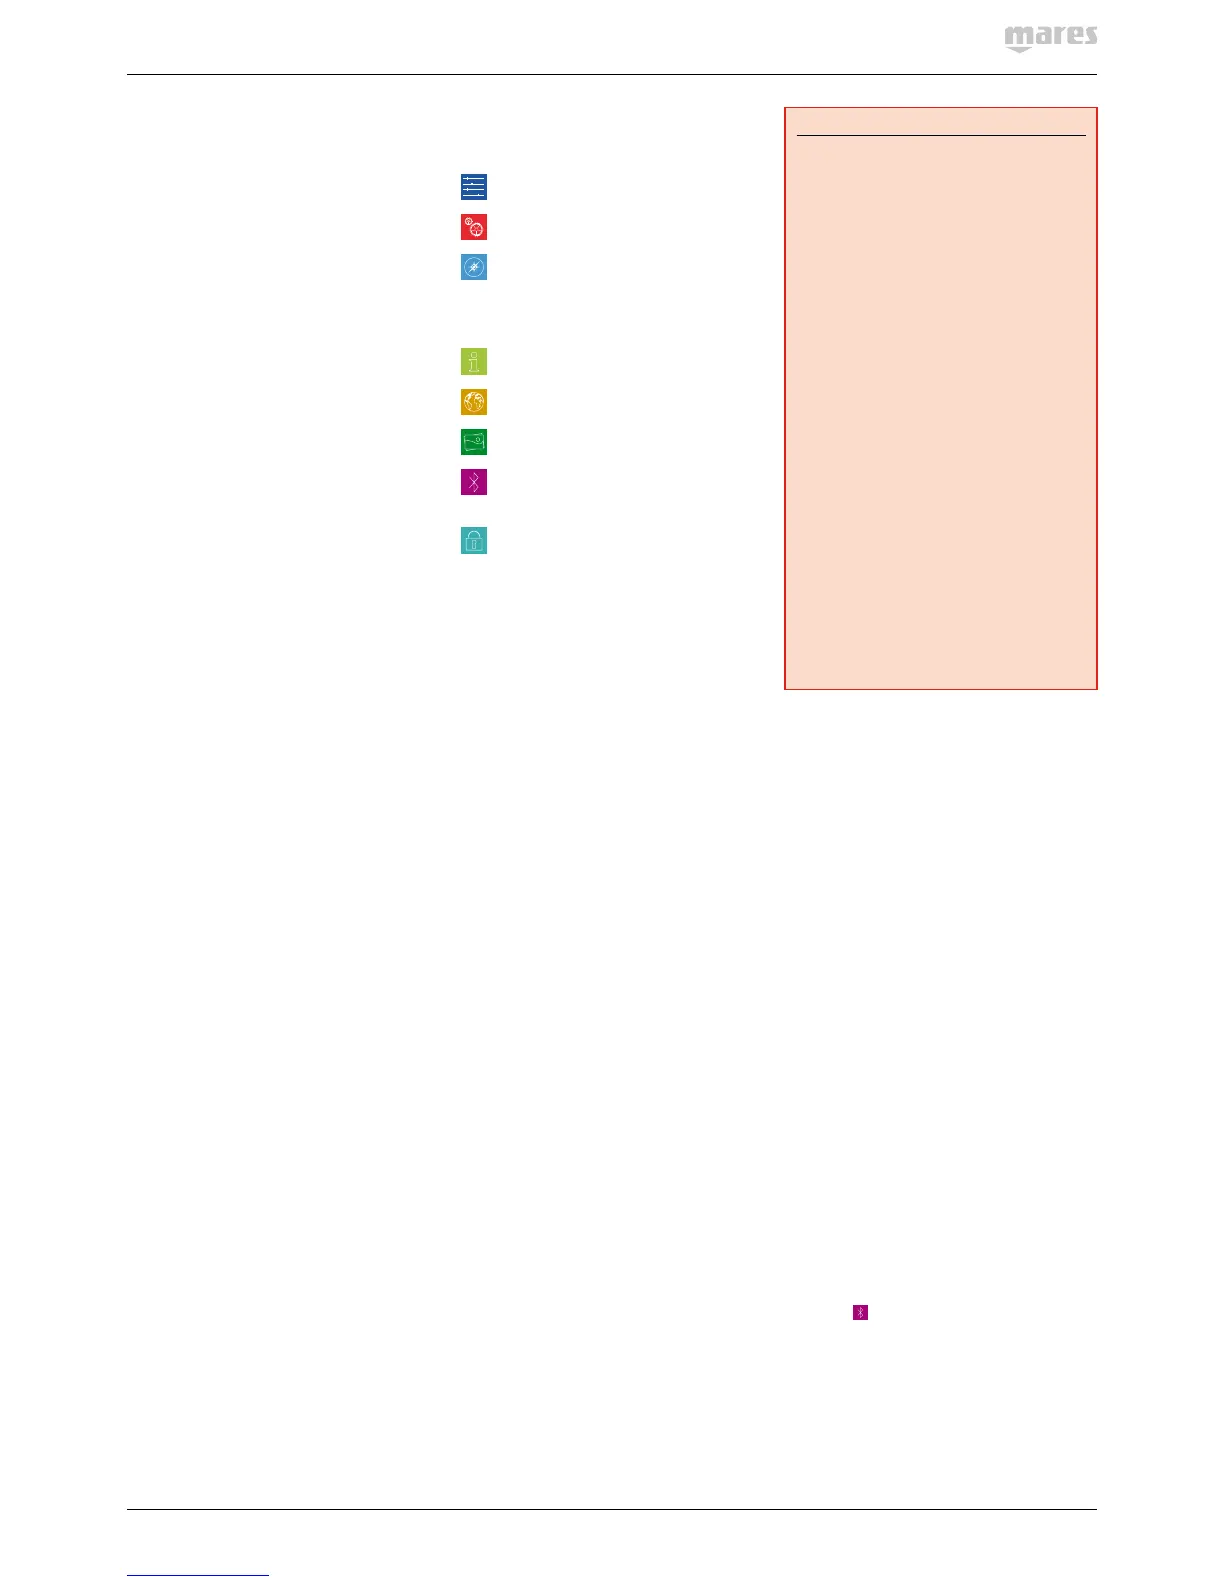
From the top left, in sequence, there are:
SET DIVE: here you can review and set
all parameters relating to a dive;
SET COMPUTER: set the language, the
clock, display brightness and more;
COMPASS: from within this menu you
can use the compass while on the
surface, for instance to set a bearing
which you will call up later on in the
dive to navigate towards a wreck;
INFO: find information about the
hardware and firmware of your Genius;
MAPS: view all maps uploaded to your
Genius;
PHOTOS: view all images uploaded to
your Genius;
BLUETOOTH: establish a bluetooth
connection to a device such as a
smartphone;
BUTTON LOCK: lock the buttons so
that the battery is not accidentally
drained during travel.
1.4. RECHARGEABLE BATTERY
Genius uses a lithium-ion rechargeable
battery. A full charge allows you up to 40 hours
of diving, depending on the usage of the high
intensity on the backlight and the temperature
of the water. The display alerts you of the
status of the battery. The four possible
situations are described as follows:
- A solid green battery symbol means Genius
has between 70 and 100% charge;
- A partially filled green battery symbol
means Genius has between 40 and 70%
charge, still enough for safe diving;
- A partially filled yellow battery symbol
means Genius has between 20 and 40%
charge.
- A partially filled red battery symbol means
Genius has between 0 and 20% charge. This
is not sufficient to ensure a safe dive hence
the computer is disabled from functioning.
In the event that the charge drops below 20%
during a dive, the message LOW BATTERY
appears on the display. When you see this
message, you should consider starting a safe
ascent as there may not be enough charge to
continue diving.
WARNING
- Starting a dive with less than 20% charge
can cause the computer to fail during the
dive. Recharge the battery as soon as
you notice this message.
- In sleep mode Genius uses up the
battery at a a very slow rate. If you
haven’t used Genius in several weeks
there may be a noticeable drop in battery
level, so you may have to recharge it
before diving.
- Leaving Genius unattended for long
periods of time such that the battery will
be completely discharged does not harm
neither the battery nor Genius. Logbook
data and all settings will be saved. After
charging you must however set the time
and date again.
- When the battery in Genius is completely
discharged, it may take up to 20 minutes
from the moment it is connected to a
power source before Genius reacts.
- Temperature can noticeably affect
battery performance. A low battery
warning may appear when diving in cold
waters even if you think that the battery
should have sufficient charge.
- It is advised that you charge the battery if
you intend to dive in cold water.
The rechargeable battery has a life time of
approximately 500 charging cycles. Please
contact your authorized Mares dealer if you
need to replace it.
1.4.1. CHARGING THE BATTERY
The battery takes about 4 hours to charge
from completely empty to completely full
when using the adapter that came with the
computer. It can take up to 8 hours when using
a standard adapter as not all adapters feed the
same current to the USB port. To charge the
battery, use the special clip and the USB cable,
connecting it either directly to a power supply
or to the USB port of a PC.
1.5. COMMUNICATING VIA USB
CABLE OR BLUETOOTH
Genius can communicate via low power
bluetooth directly to a smartphone, a PC or
a Mac. The data transfer is such that only
logbook information can be transferred via
bluetooth while firmware upgrades and image
or map uploads have to be carried out via PC
or Mac.
To connect Genius to a PC or Macintosh
computer, use the dedicated clip and the USB
cable. Once connected, Genius will show the
USB symbol on the display.
To initiate a bluetooth connection, press and
hold the BT button from the home display or
select the
icon from the main menu, then
start the MySSI app on your smartphone and
follow the instructions.
 Loading...