10 11
NOTE: Installation must be in compliance with the National Electrical Code and your
local electrical and plumbing codes.
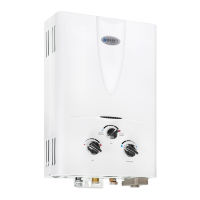
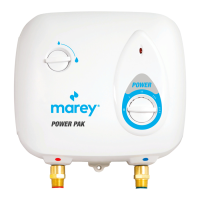
1. Do not install the unit in a room where there is a chance of freezing.
2. DO NOT install this water heater near tinder, volatile or flammable substances, or
near a strong magnetic field. The unit must only be mounted in a VERTICAL position
near the water fittings.
3. Mount the unit to a flat section of wall, well away from any potential water splashes
or spray. Be sure to use wall anchors, or screw directly into studs.
4. Position the unit upright with all plumbing connections at the bottom of the unit.
5. Make sure the water heater and all fittings are complete and intact.
6. Make sure that the main power supply, water pressure, ground, amperage,
voltage, and wiring meet all standards.
7. The water heater must be connected to a properly-grounded, dedicated branch
circuit with the proper voltage rating. The ground must be connected to the “ground
bar” at the circuit breaker panel.
8. This water heater MUST be permanently connected to fixed and dedicated circuit
breakers. If the heater will be unused, switch off the circuit breakers.
INSTALLATION
Locate an appropriate place on a section of wall that meets all safety and installation
requirements.
Front and back of the appliance (please see Fig. 07).
E L1 L2 L1 L2
Bottom case
Control board
Display screen
Terminal blocks
Flowmeter
Temp.sensor
heating chamber
ECO180
E L1 L2 L1 L2 L1 L2
Bottom case
Control board
Display screen
Terminal blocks
Flowmeter
Temp.sensor
heating chamber
ECO210|240|270
Fig. 05
Water out
High pressure discharge valve
Ball valve/shut off valve
Water in
Fig. 06
ECO180
ECO210|240|270