FX20 INSTALL GUIDE
12 VERSION 1.6 | APRIL 26, 2024
LEVEL THE CHASSIS AND RAILS
ENGAGE LEVELING PADS
1. Conrm that the machine is powered down.
2. Using a 19mm wrench, lower all leveling pads to the point where each caster can spin freely.
Note: Each leveling pad has two nuts on the bolt, the main nut and the lock nut. Ensure you are
lowering the pad with the main nut (lowest) on the bolt.
LEVEL THE PRINTER CHASSIS
The FX20 has several points of adjustment to ensure that the machine is level and square in order to print
accurately. The rst stage of the leveling process ensures that your machine has been leveled to earth.
Locating the FX20 on a level and smooth surface minimizes the amount of ne adjustment required, and
eases the installation process.
Removal of the lower side panel allows for viewing of the leveling pad bolts from the rear of the machine.
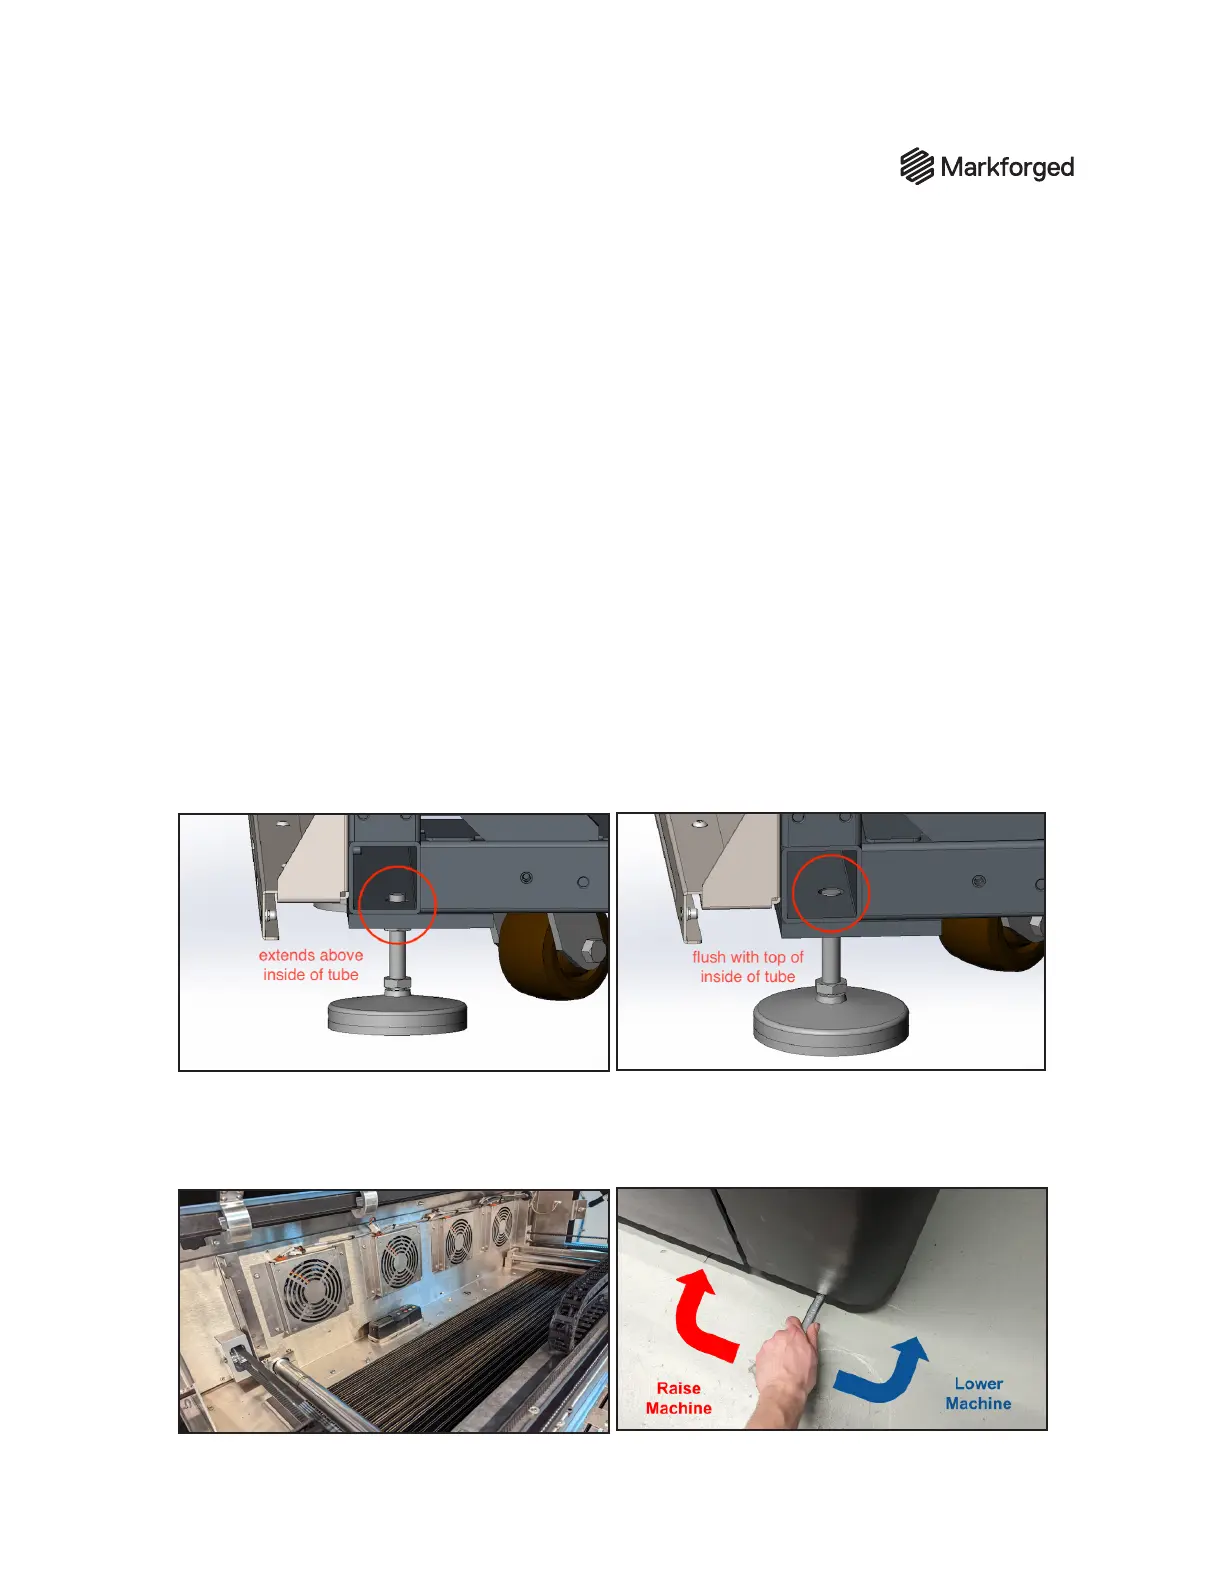
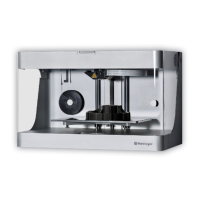
Note: Monitor the position of the bolt during the leveling process. Overextending the bolt can cause the
leveling pad to drop out or seize. The top of the threaded portion of the leveling foot must not be lower than
ush with the inside of the tube. See the images below for reference:
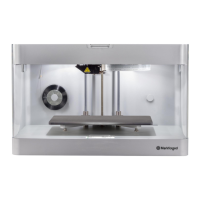
1. Open the lid of the FX20 to access the gantry.
2. Place the digital level at the rear of the machine, beneath the fan grates, near the center of the
frame. Do not position the level on the bolts.