FX20 INSTALL GUIDE
20 VERSION 1.6 | APRIL 26, 2024
5. Apply downward pressure on the rail to increase the spacing between the encoder and strip.
6. Repeat steps 3-5 on the opposite side.
7. Move the gantry rail to the front of the machine.
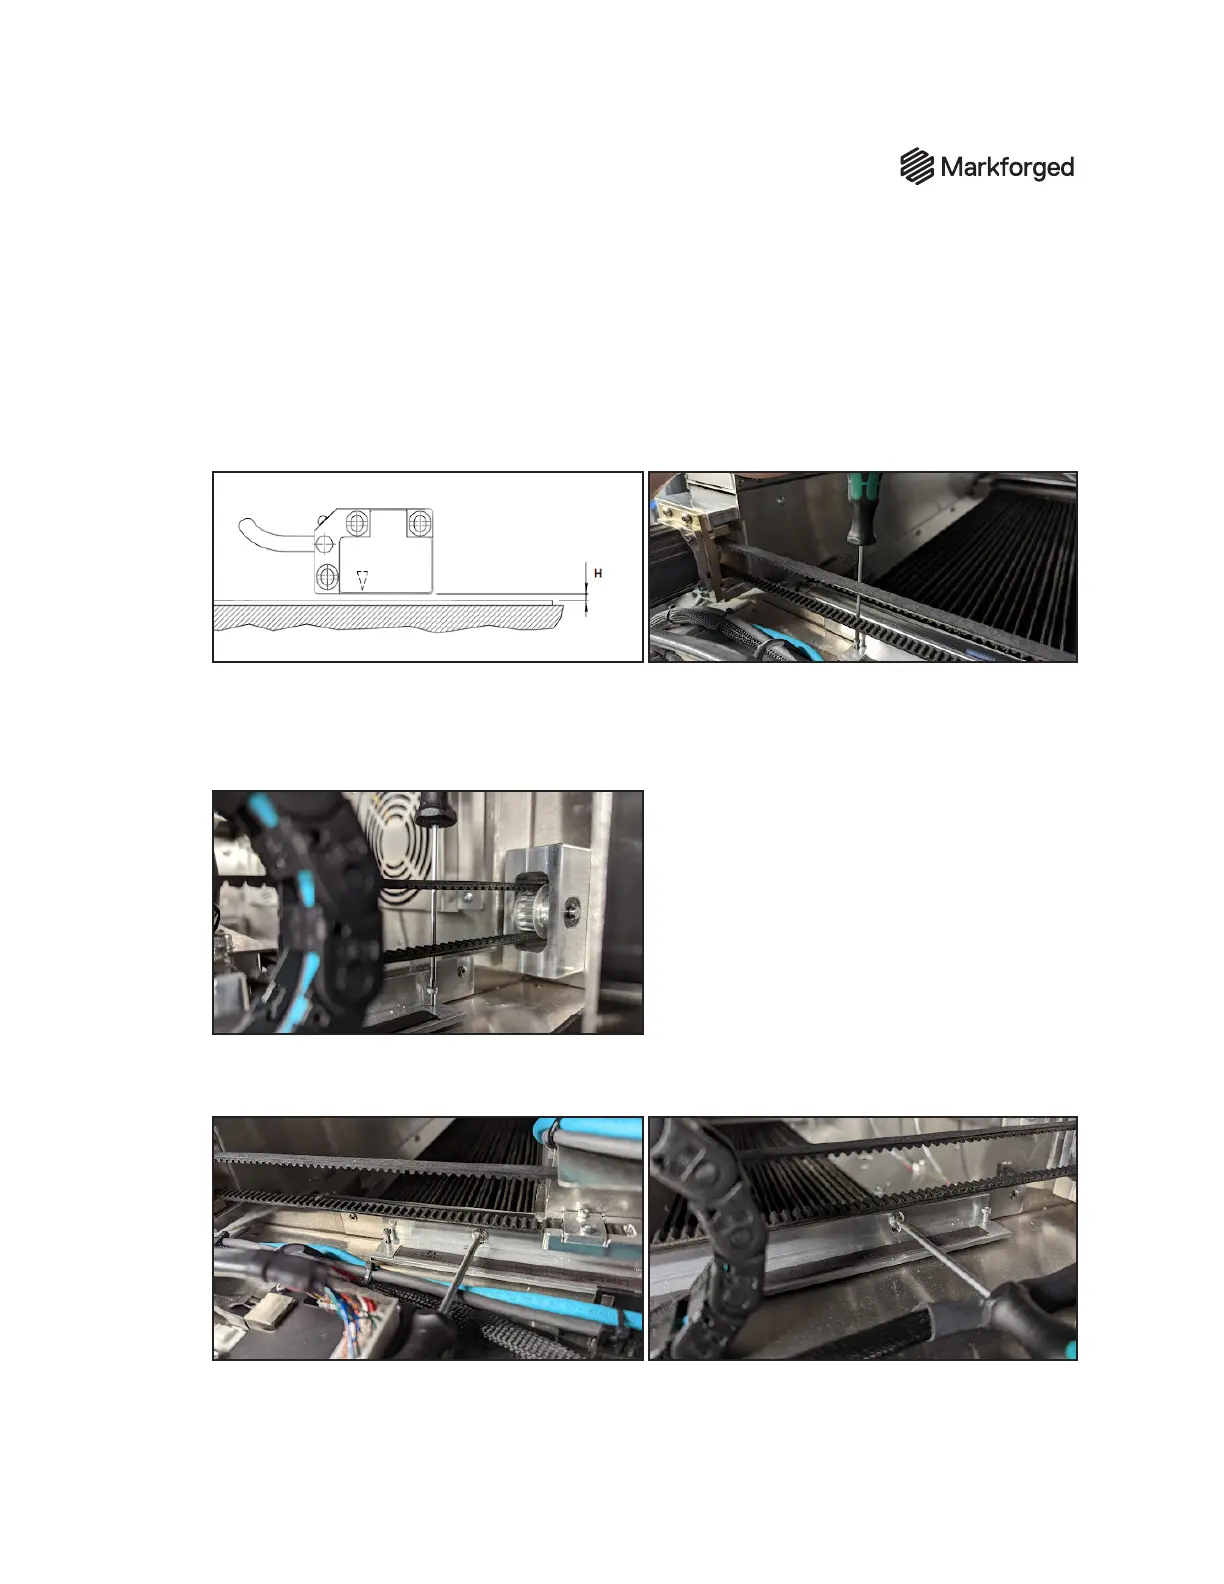
8. Tighten the front ne adjustment screw until the gap between the sensor and strip (labeled H on
diagram below) is between 0.25mm and 0.75mm. Fold a piece of paper in half twice to set this gap
(so four total layers of paper are being used to set the gap). Slide the paper in between and lower the
screw until the paper can be moved with slight friction.
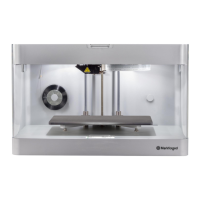
9. Move the Y-rail to the rear of the machine.
10. Tighten the rear ne adjustment screw until the gap between the sensor and strip is between
0.25mm and 0.75mm.
Fold a piece of paper in half twice to set this gap.
Slide the paper in between
and lower the screw until the paper can be moved with slight friction.
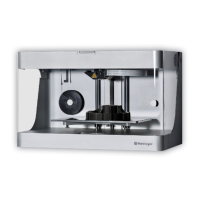
11. Tighten the two mounting screws, then verify that the encoder does not contact the strip
throughout travel. If it does contact the strip, repeat steps 8-10.
12. Repeat steps 3-7 on the opposite Y-rail.