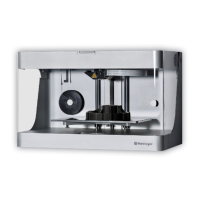
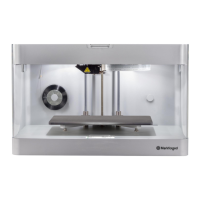
FX20 INSTALL GUIDE
8 VERSION 1.6 | APRIL 26, 2024
INITIAL SETUP
Before you begin, please ensure you have taken the following steps:
1. Review the available safety information, and composite and support material safety data sheets.
2. Perform a visual inspection of the FX20 machine, documenting any possible shipping damage.
a. If any damage to the unit is visible, contact Markforged Support.
3. Open the lid and unlock the gantry by removing the two pins, one from each side of the x-rail
carriage, and also the smaller pin from the print head. We highly recommend keeping these pins
with the tools for your printer as they may be needed for maintenance later.
4. Close the lid when nished.
5. Locate the customer’s power cord, plug it in, and turn on the printer.
6. Open the build chamber door:
a. Select the Build Chamber card on the touchscreen > Unlock Door.
7. Remove the FX20 Accessory Kit from the bottom of the build chamber.
8. Clear any items or debris from the build chamber and print bed.
9. Close the build chamber door.
10. Connect the printer to the Internet via Ethernet via the Ethernet port on the lower rear panel.
11. Perform a rmware update if available.
12. Register the printer to the customer's Eiger organization. If they do not have one, create one for
them. (See the Support website for more information about Eiger organizations.)
Reminder: In this guide, "x-axis" means right-to-left,
while "y-axis" means front-to-back.